

Teachers make the world go ’round! Year after year, men and women give their very best to teach our children. Though my children “homeschool” they really are enrolled in a “tuition-free online public school”. With that being the case, they have teachers that they meet with weekly (live sessions) and other opportunities (testing, open house, etc.). My kids have awesome teachers that are giving their very best to teach my kids.

Though I am very involved in my children’s education, I’m not the teacher. My role is to be their learning coach, in which I support them through their lessons and ensure they do physical activity. That’s why we were so excited to meet the kid’s teachers in person at the school’s recent open house. To express our appreciation, I made some quick Sharpie® teacher gifts for the kids to give their teachers (each kids has at least two teachers). Today, I’m sharing a quick tutorial on making your own.
1. Create a catchy printable.
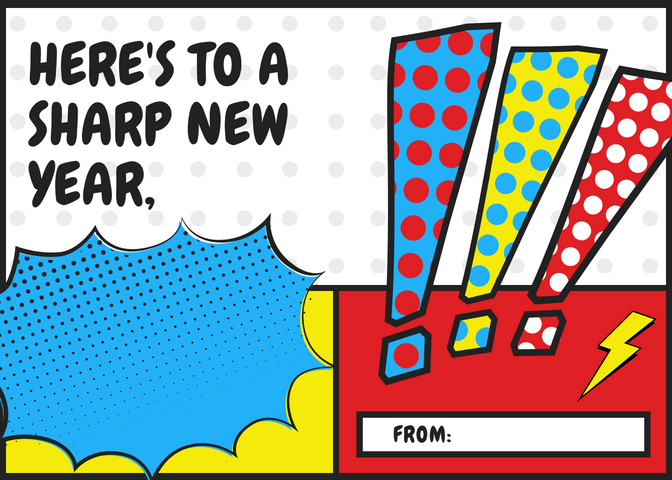
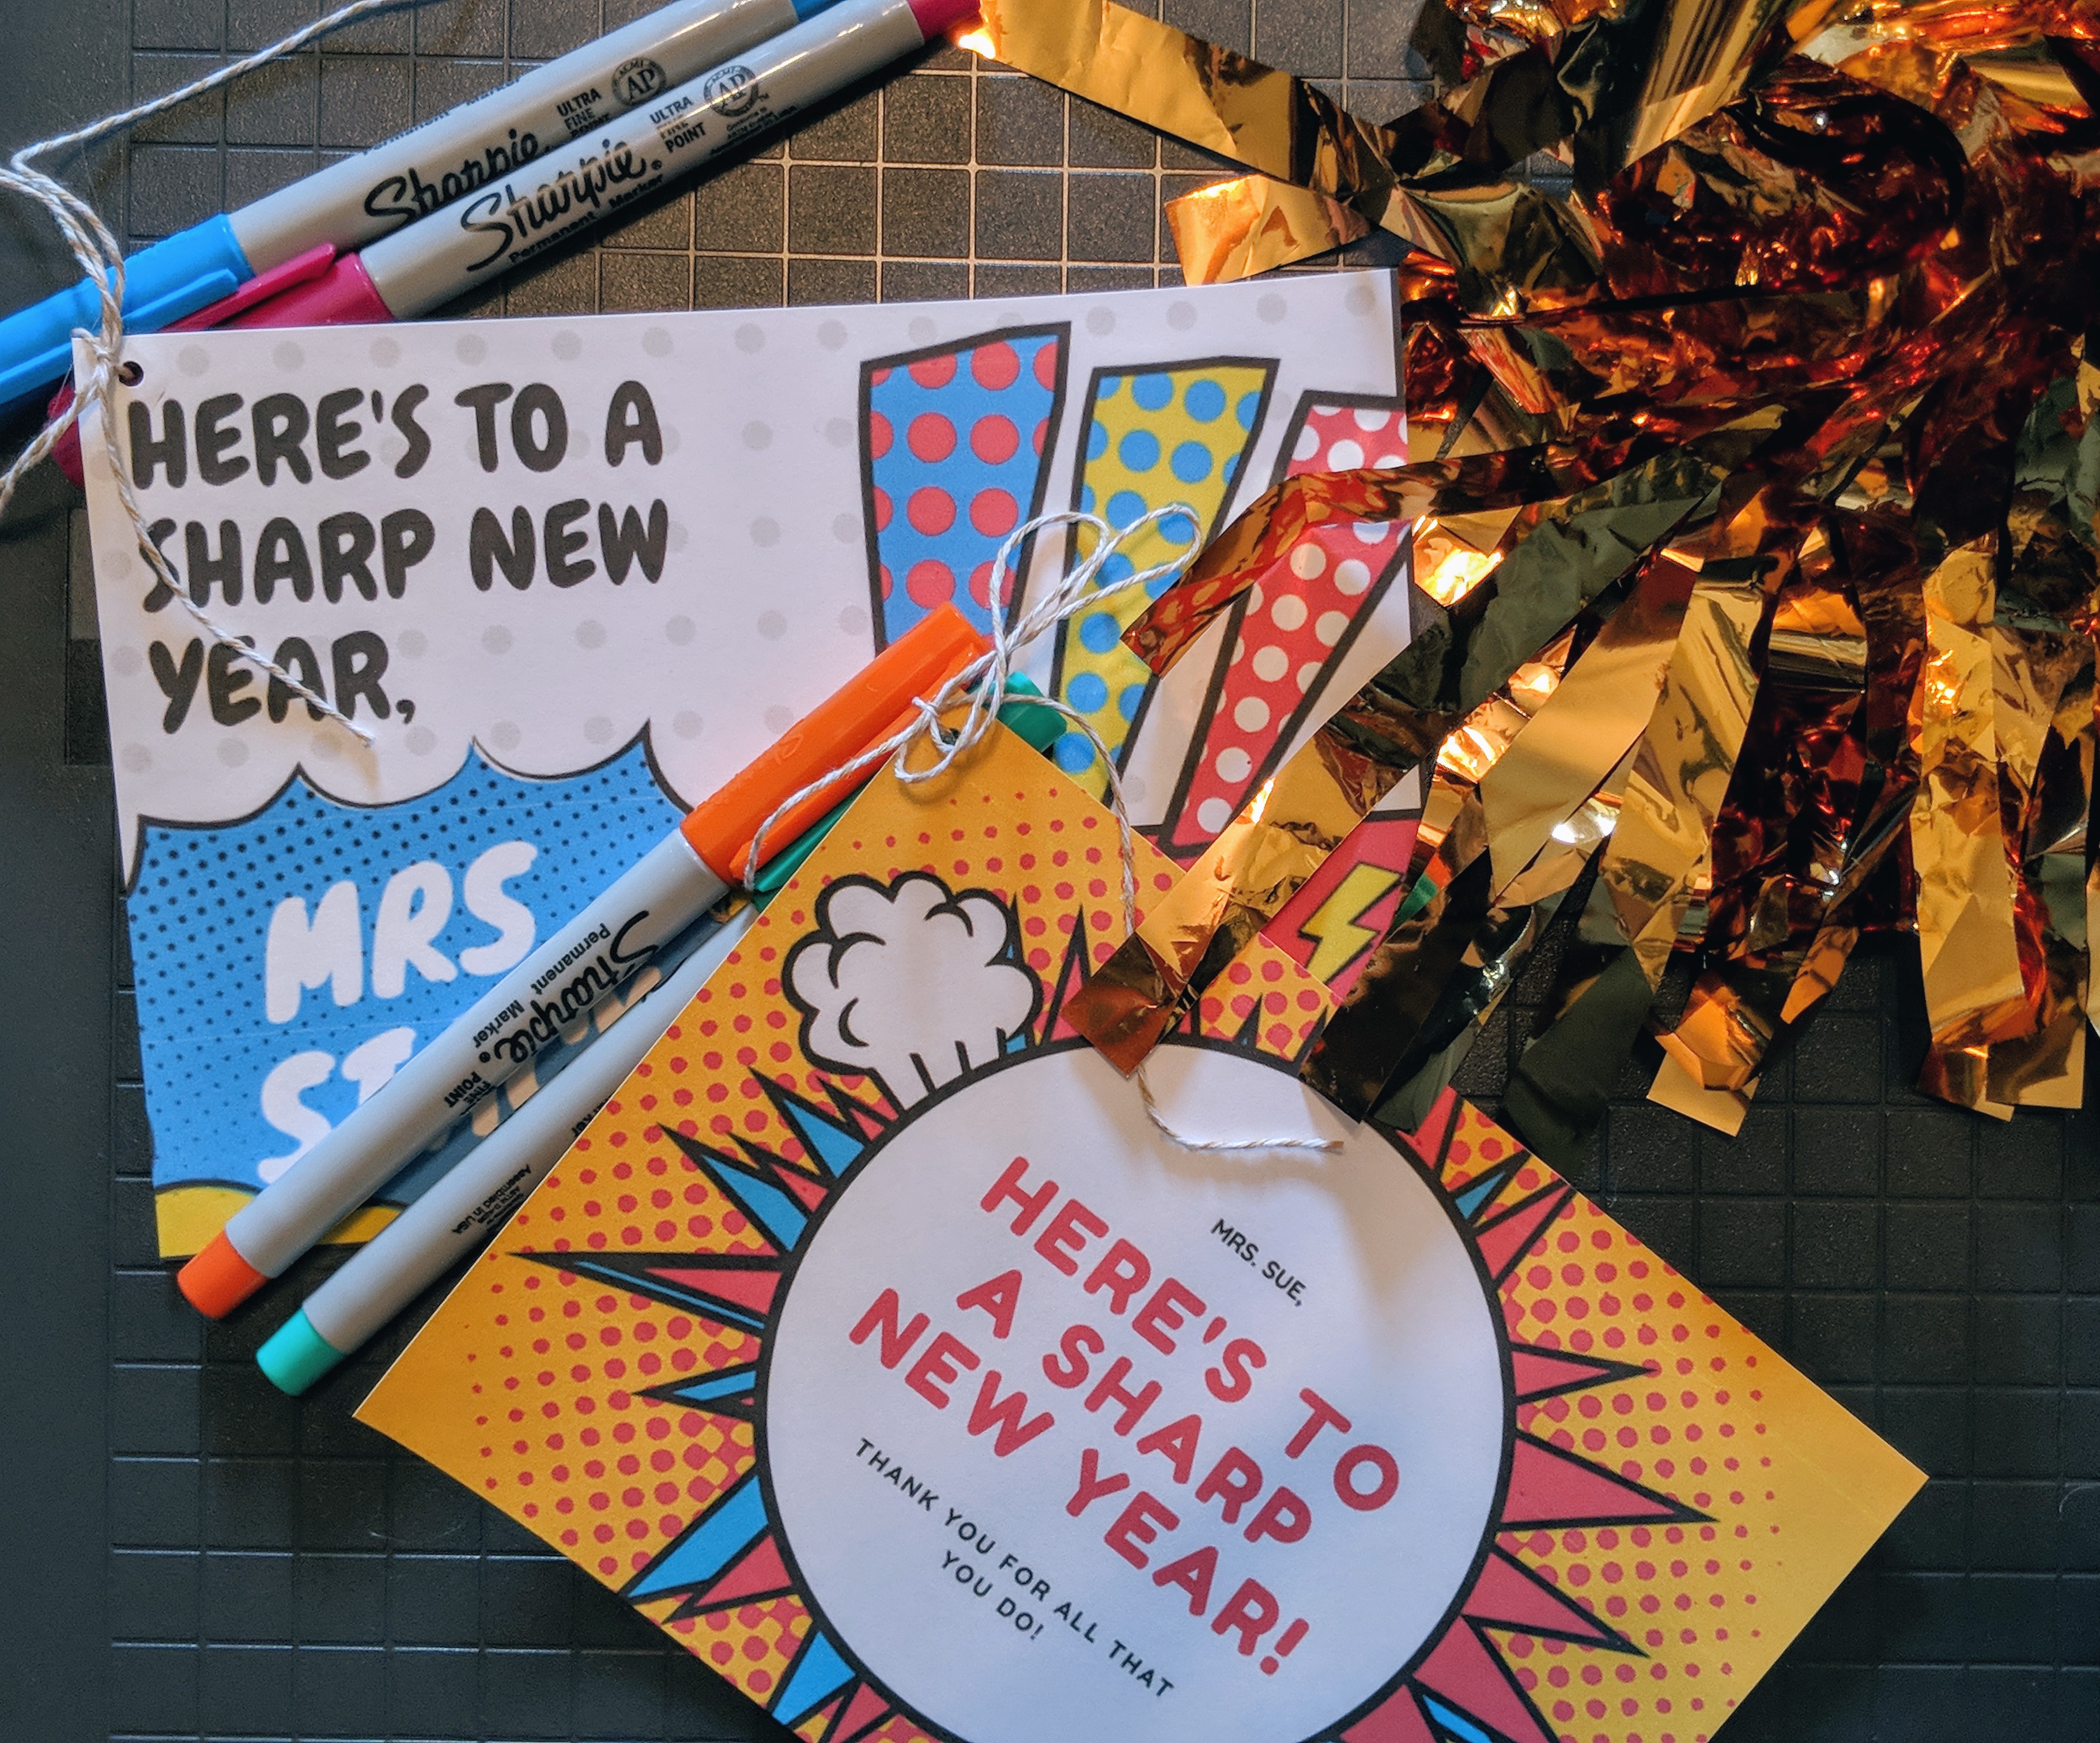
The fun part of this project was picking out a fun design. I decided something bright and colorful would go a long ways with this project. Both kids have at least two teachers so I did two designsYou can start from scratch and design a 3×5 printable. However, please feel free to download the ones attached. Just right click on them, open in a tab, and print on cardstock paper.
Here is a blank “Here’s To A Sharp New Year – Thank You For All That You Do!”

Here is a blank “Here’s To A Sharp New Year – Thank You For All That You Do!”

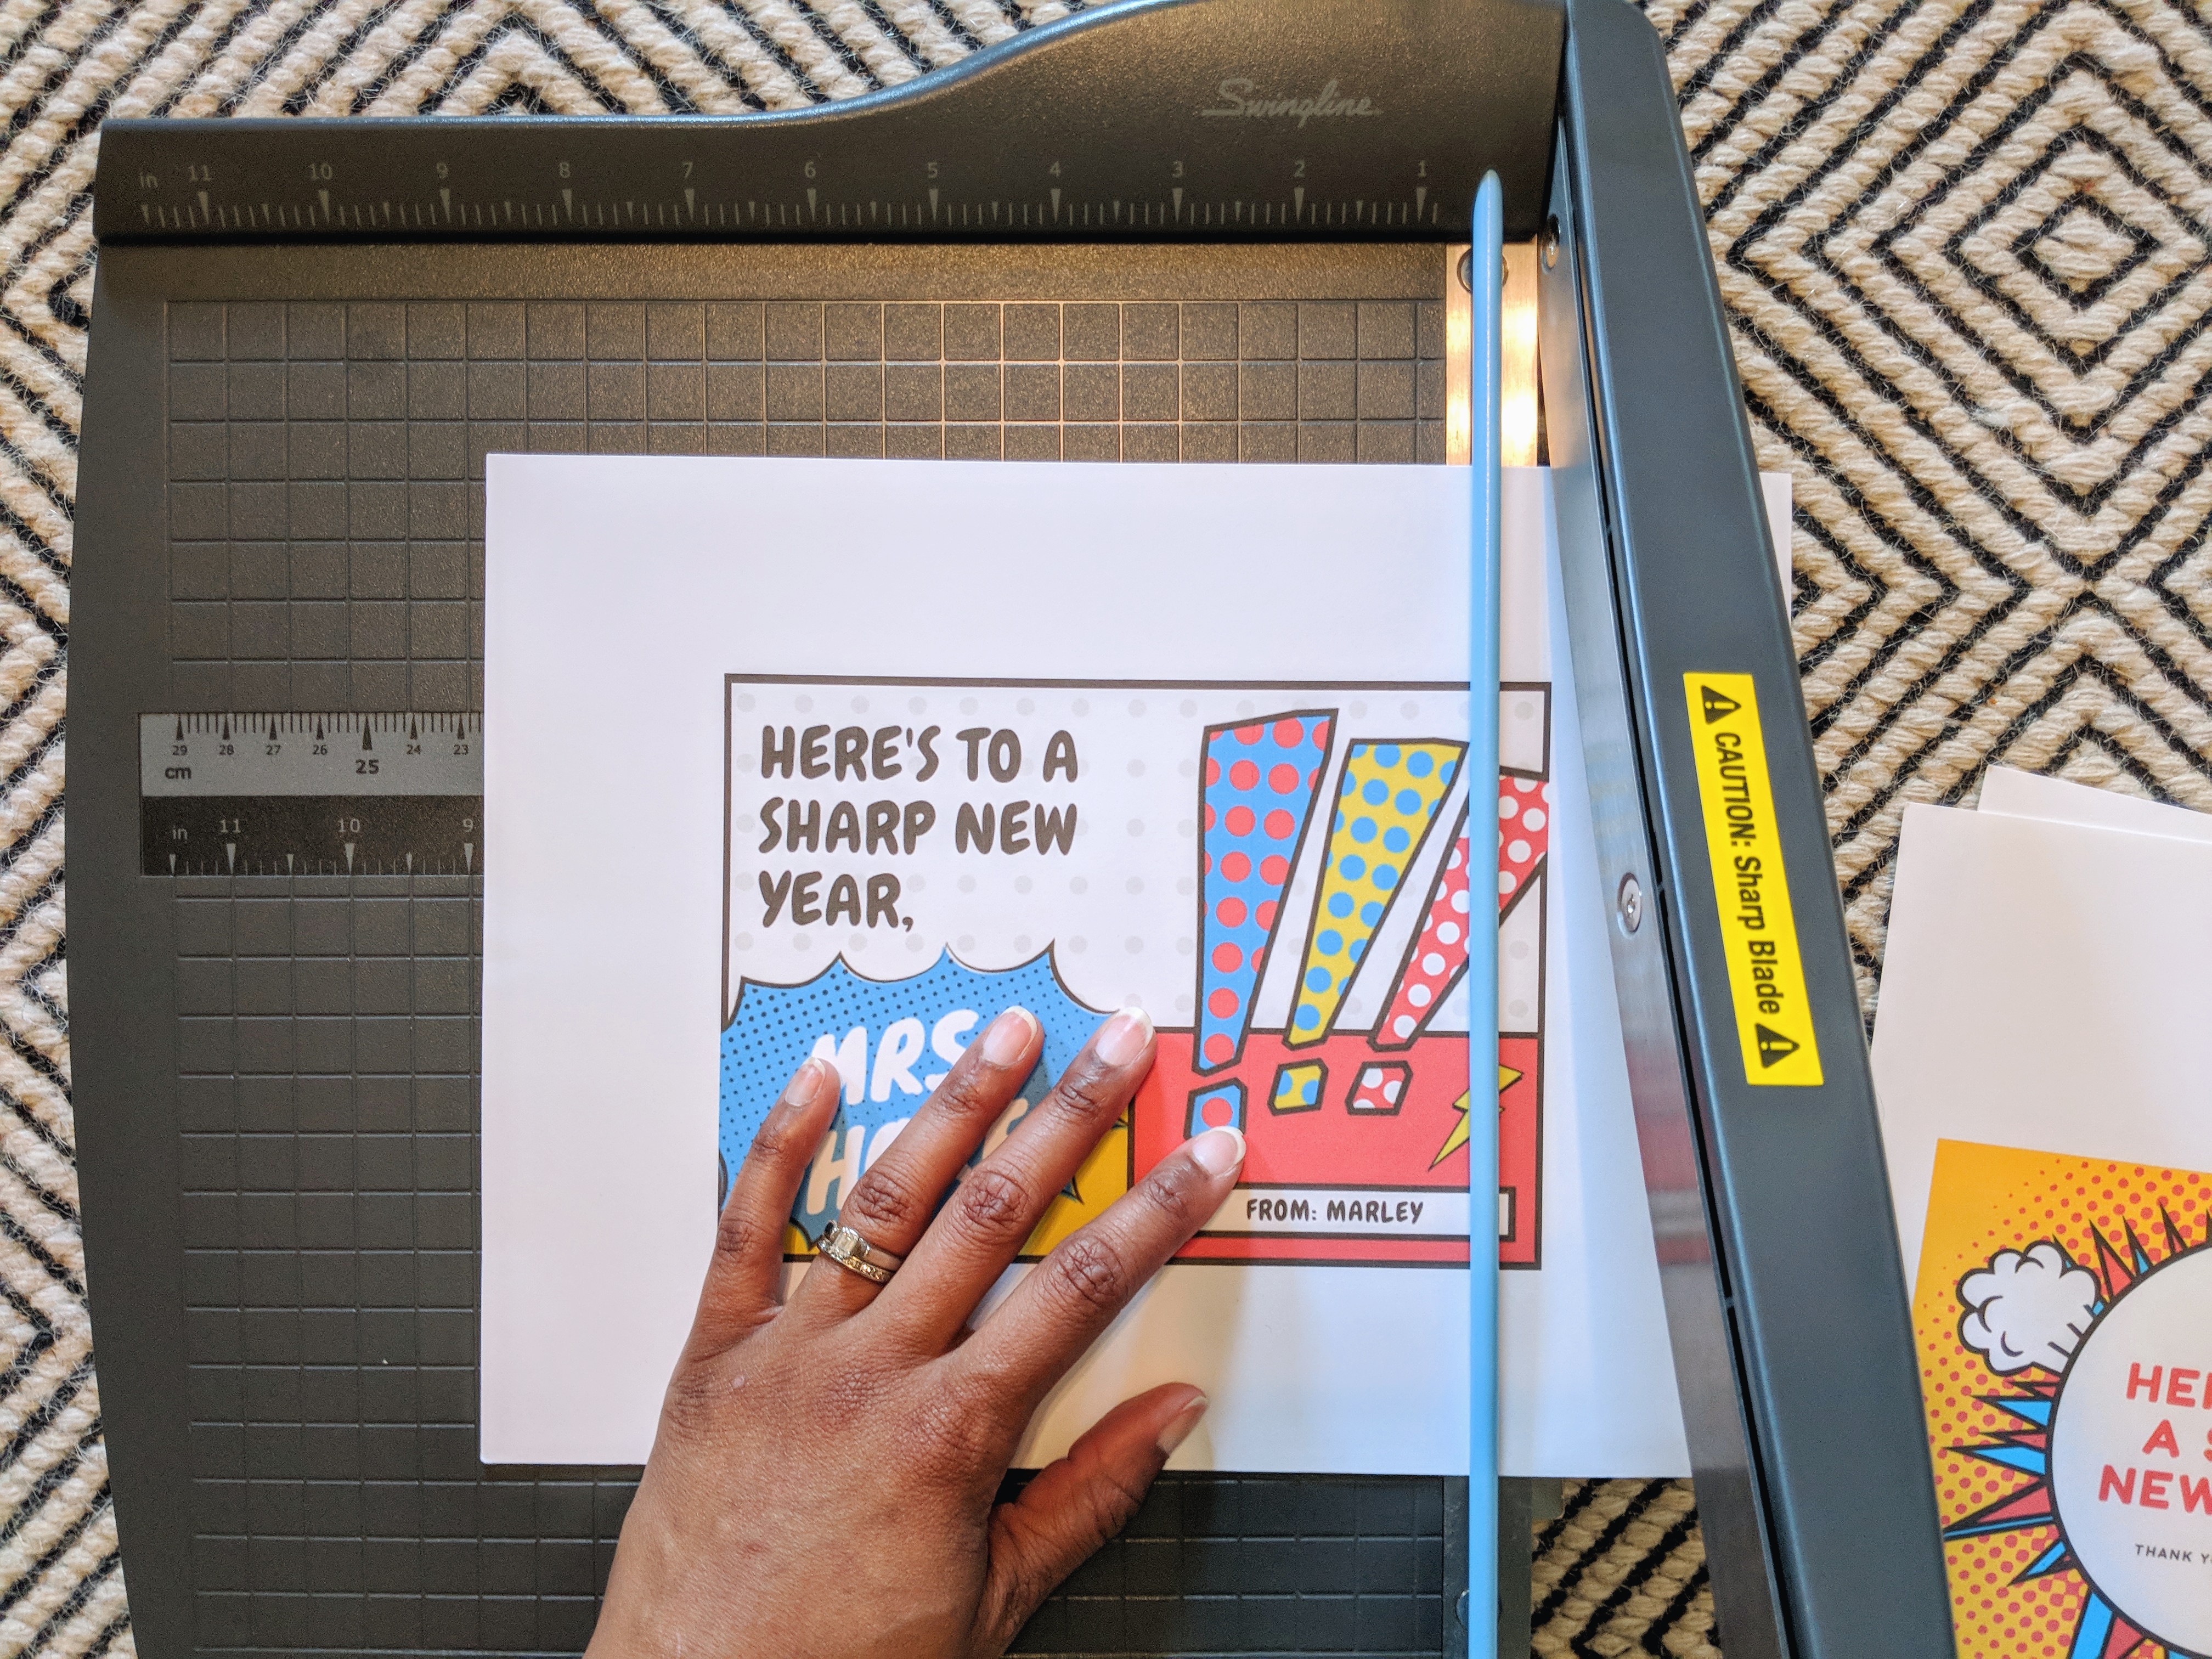
2. Use a paper cutter to get a professional cut.
After printing on card stock, you’ll want to cut the printable using a paper cutter. Most design software allows you the ability to crop with marks and bleeds. This will allow you to have defined lines when you proceed to cut the paper. Line up your paper on the edge of your cutter but I always like to leave a little of paper on the edge before I completely chop it off. There is nothing like cutting too much of anything off…fabric, hair, paper. You cannot come take it back. So I err on the side of safety but doing multiple cuts until it’s perfect. In the end, your gift will look more professional and that will go a long ways.
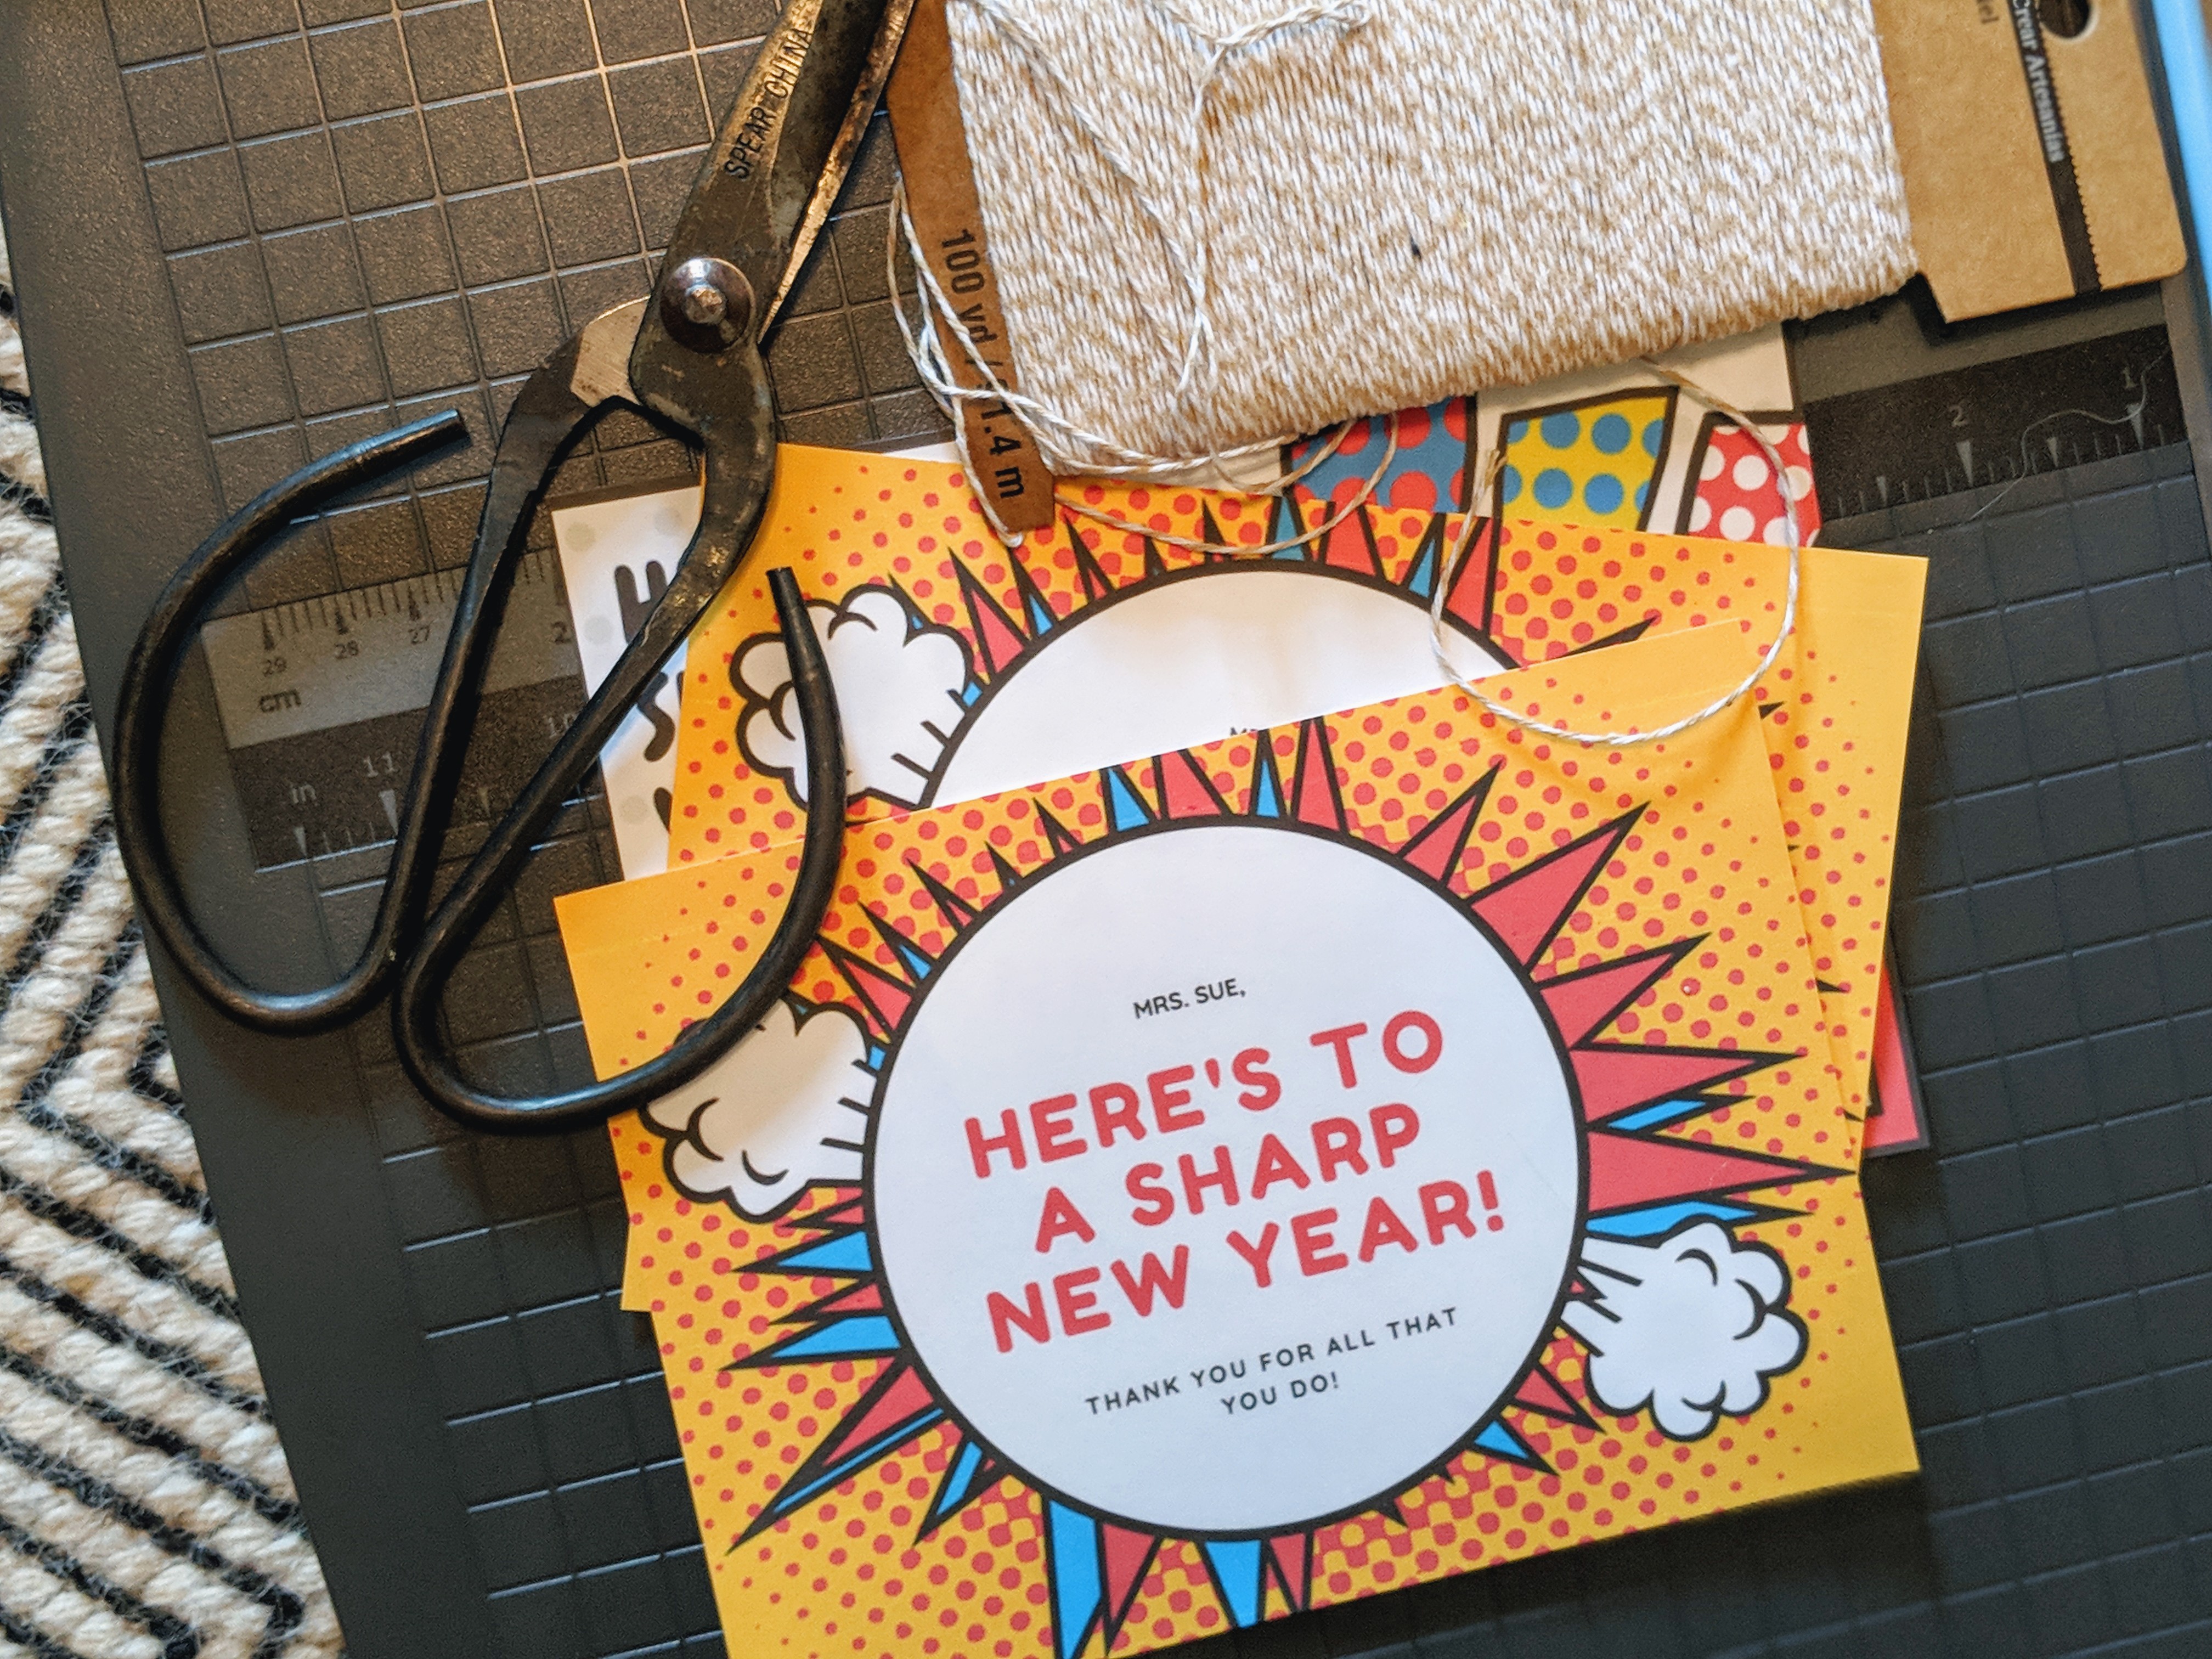
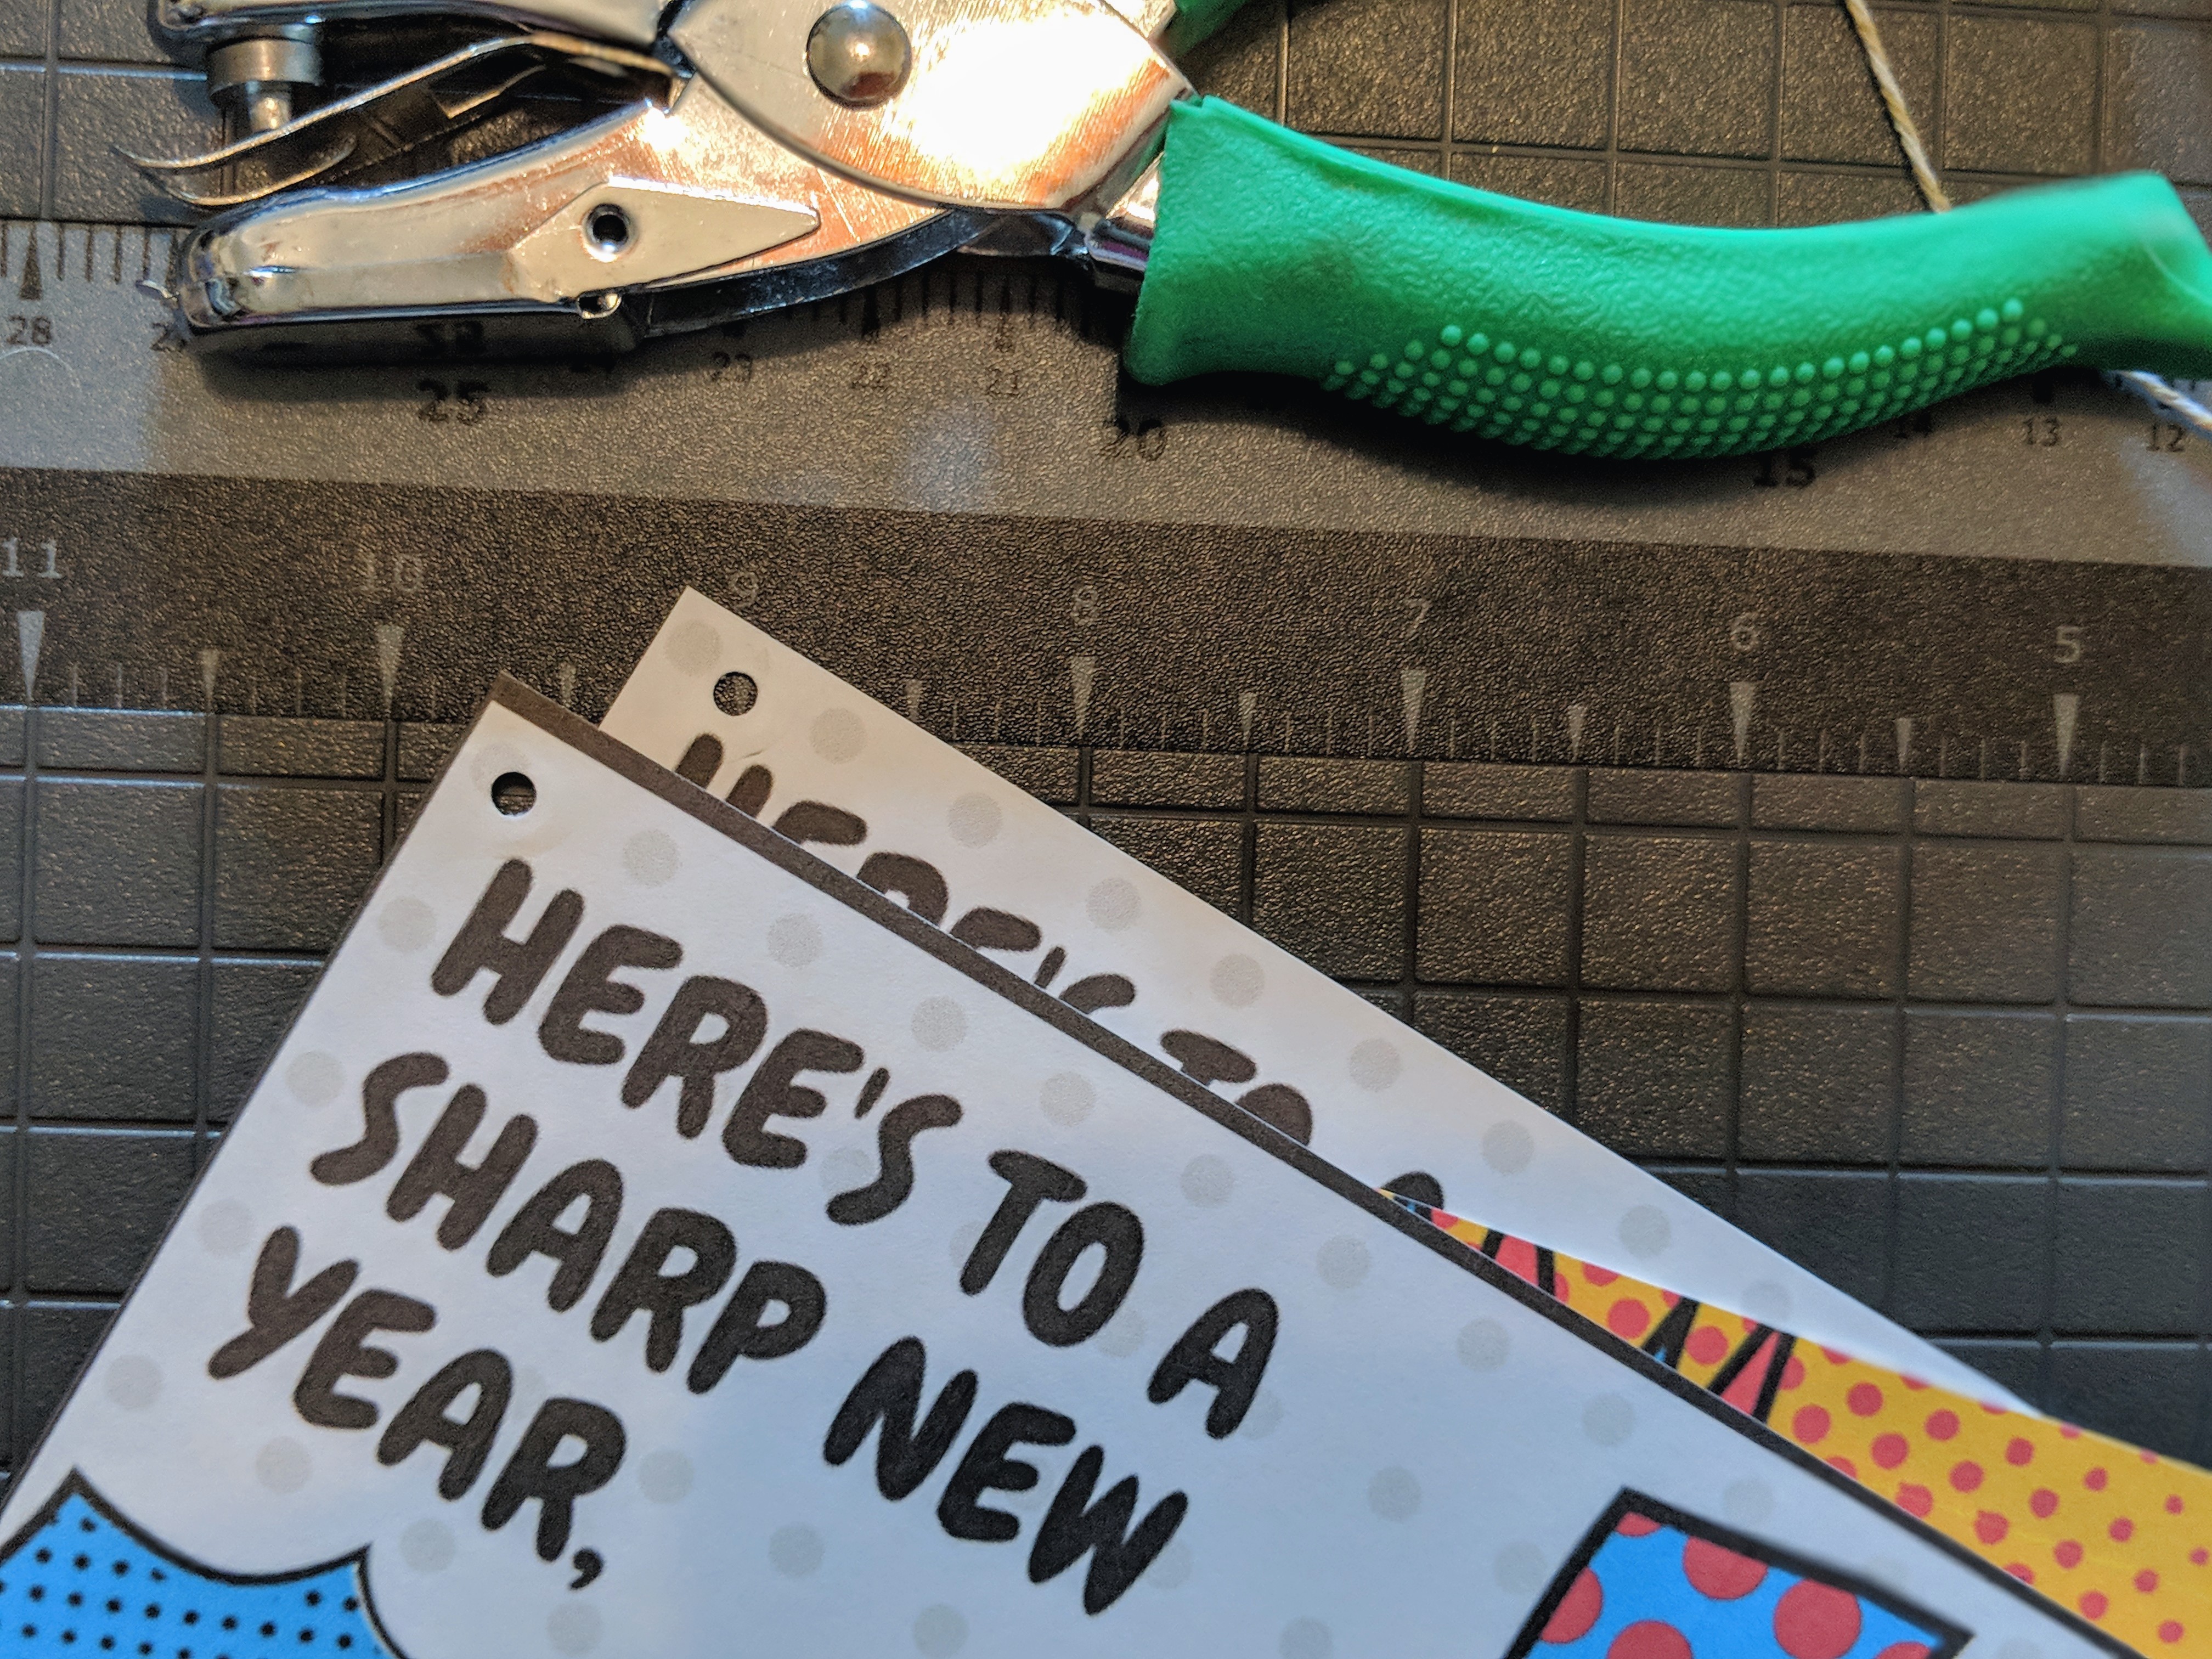
3. Hole punch and attach a colorful Sharpie® to your printable.
This step is pretty straight-forward. Once your printable is cut, you’ll want to hole punch it so that you can tie the Sharpies on to it. You could do multiple holes and tie it alongside the middle or one of the ends. Either way should do the trick. I was in a hurry so I only did one hole. Then I used twine to tie the markers to the paper. That’s it you’re all set!
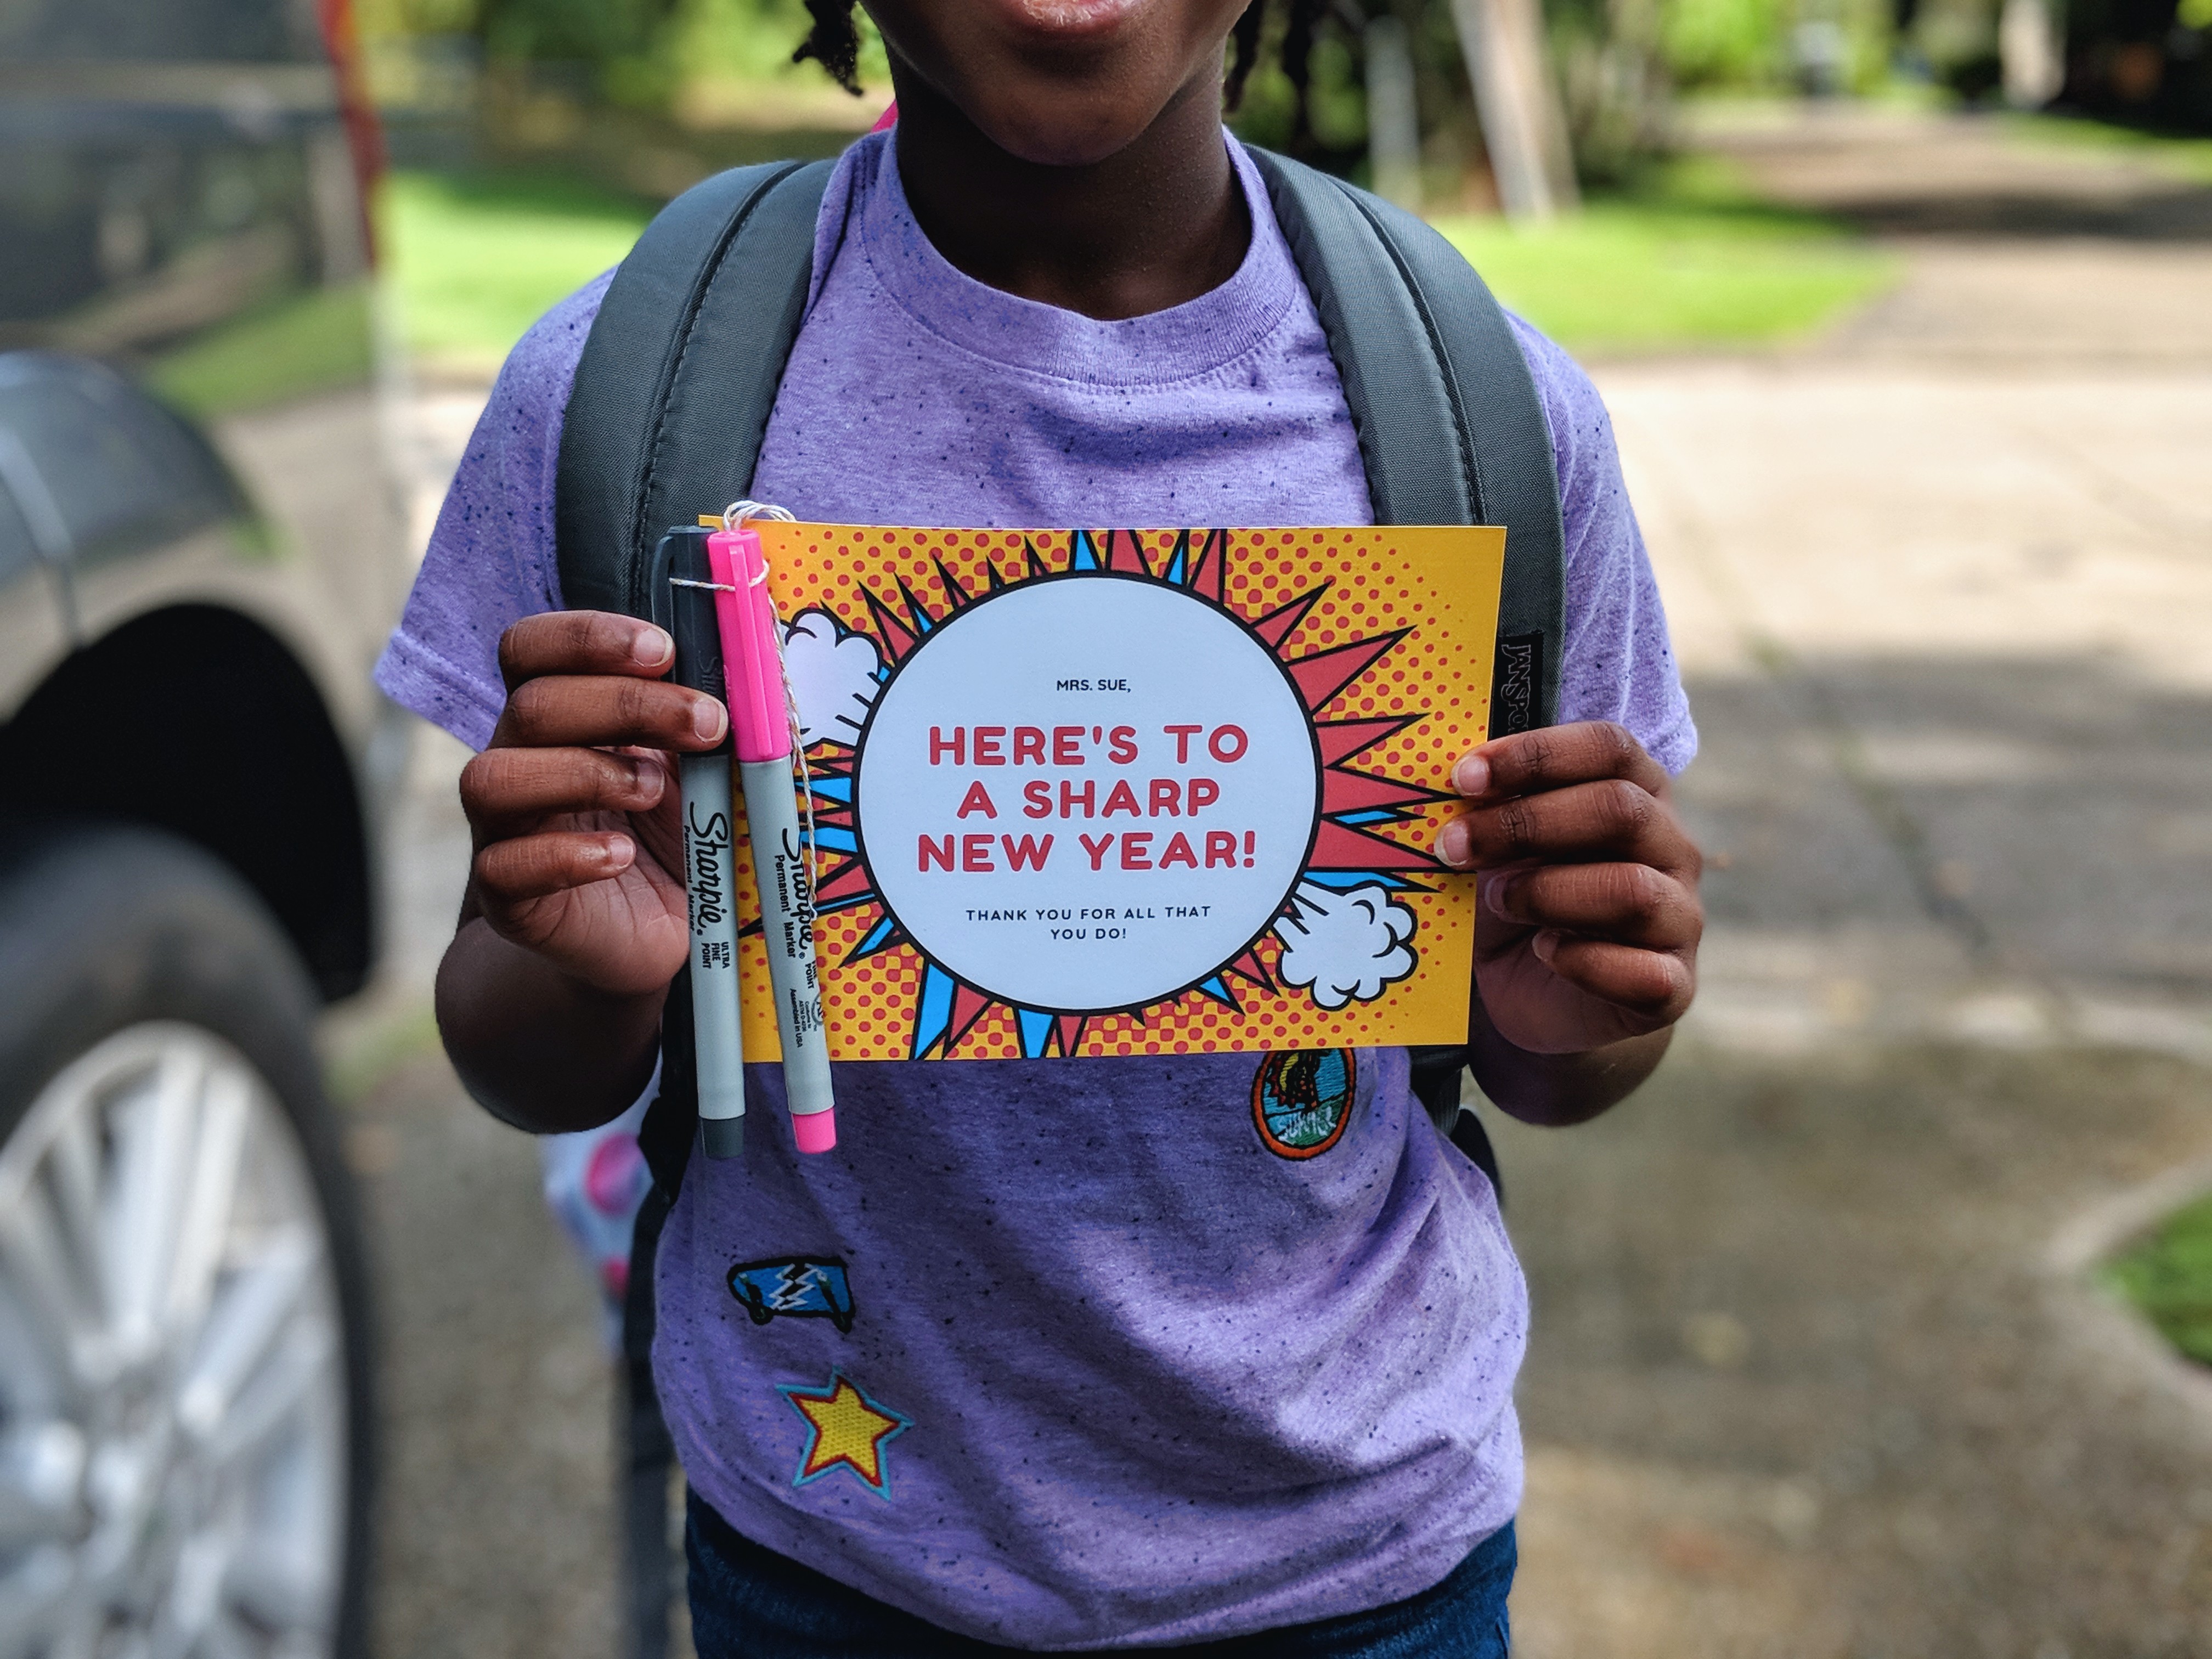
Both kid’s teachers really appreciated their gifts. Teachers work so hard on behalf of our children. When they get simple gifts of appreciation, I’m sure it makes their day. Gifts don’t have to be expensive to impress the person who receives it. Most of the time the thought is all that counts. Yay, to all of the teacher’s around the world! You are amazing!!!
-Crystal
PIN THIS FOR LATER


2 Comments