
Slowly but surely, the master bathroom started to take shape. After demo day, it was time to finalize some details. As I mentioned, I had to coordinate all the additional professionals we needed and ensure what I wanted was logistically possible. Also, it was important to know the cost of services and products. When the plumber arrived, they informed me that it was fine to order the freestanding tub and tub filler I had picked. They took a brief look at the current plumbing setup and advised that we could finalize placement once I had the new plumbing products. They also installed the new toilet, vanity, and the shower pan.
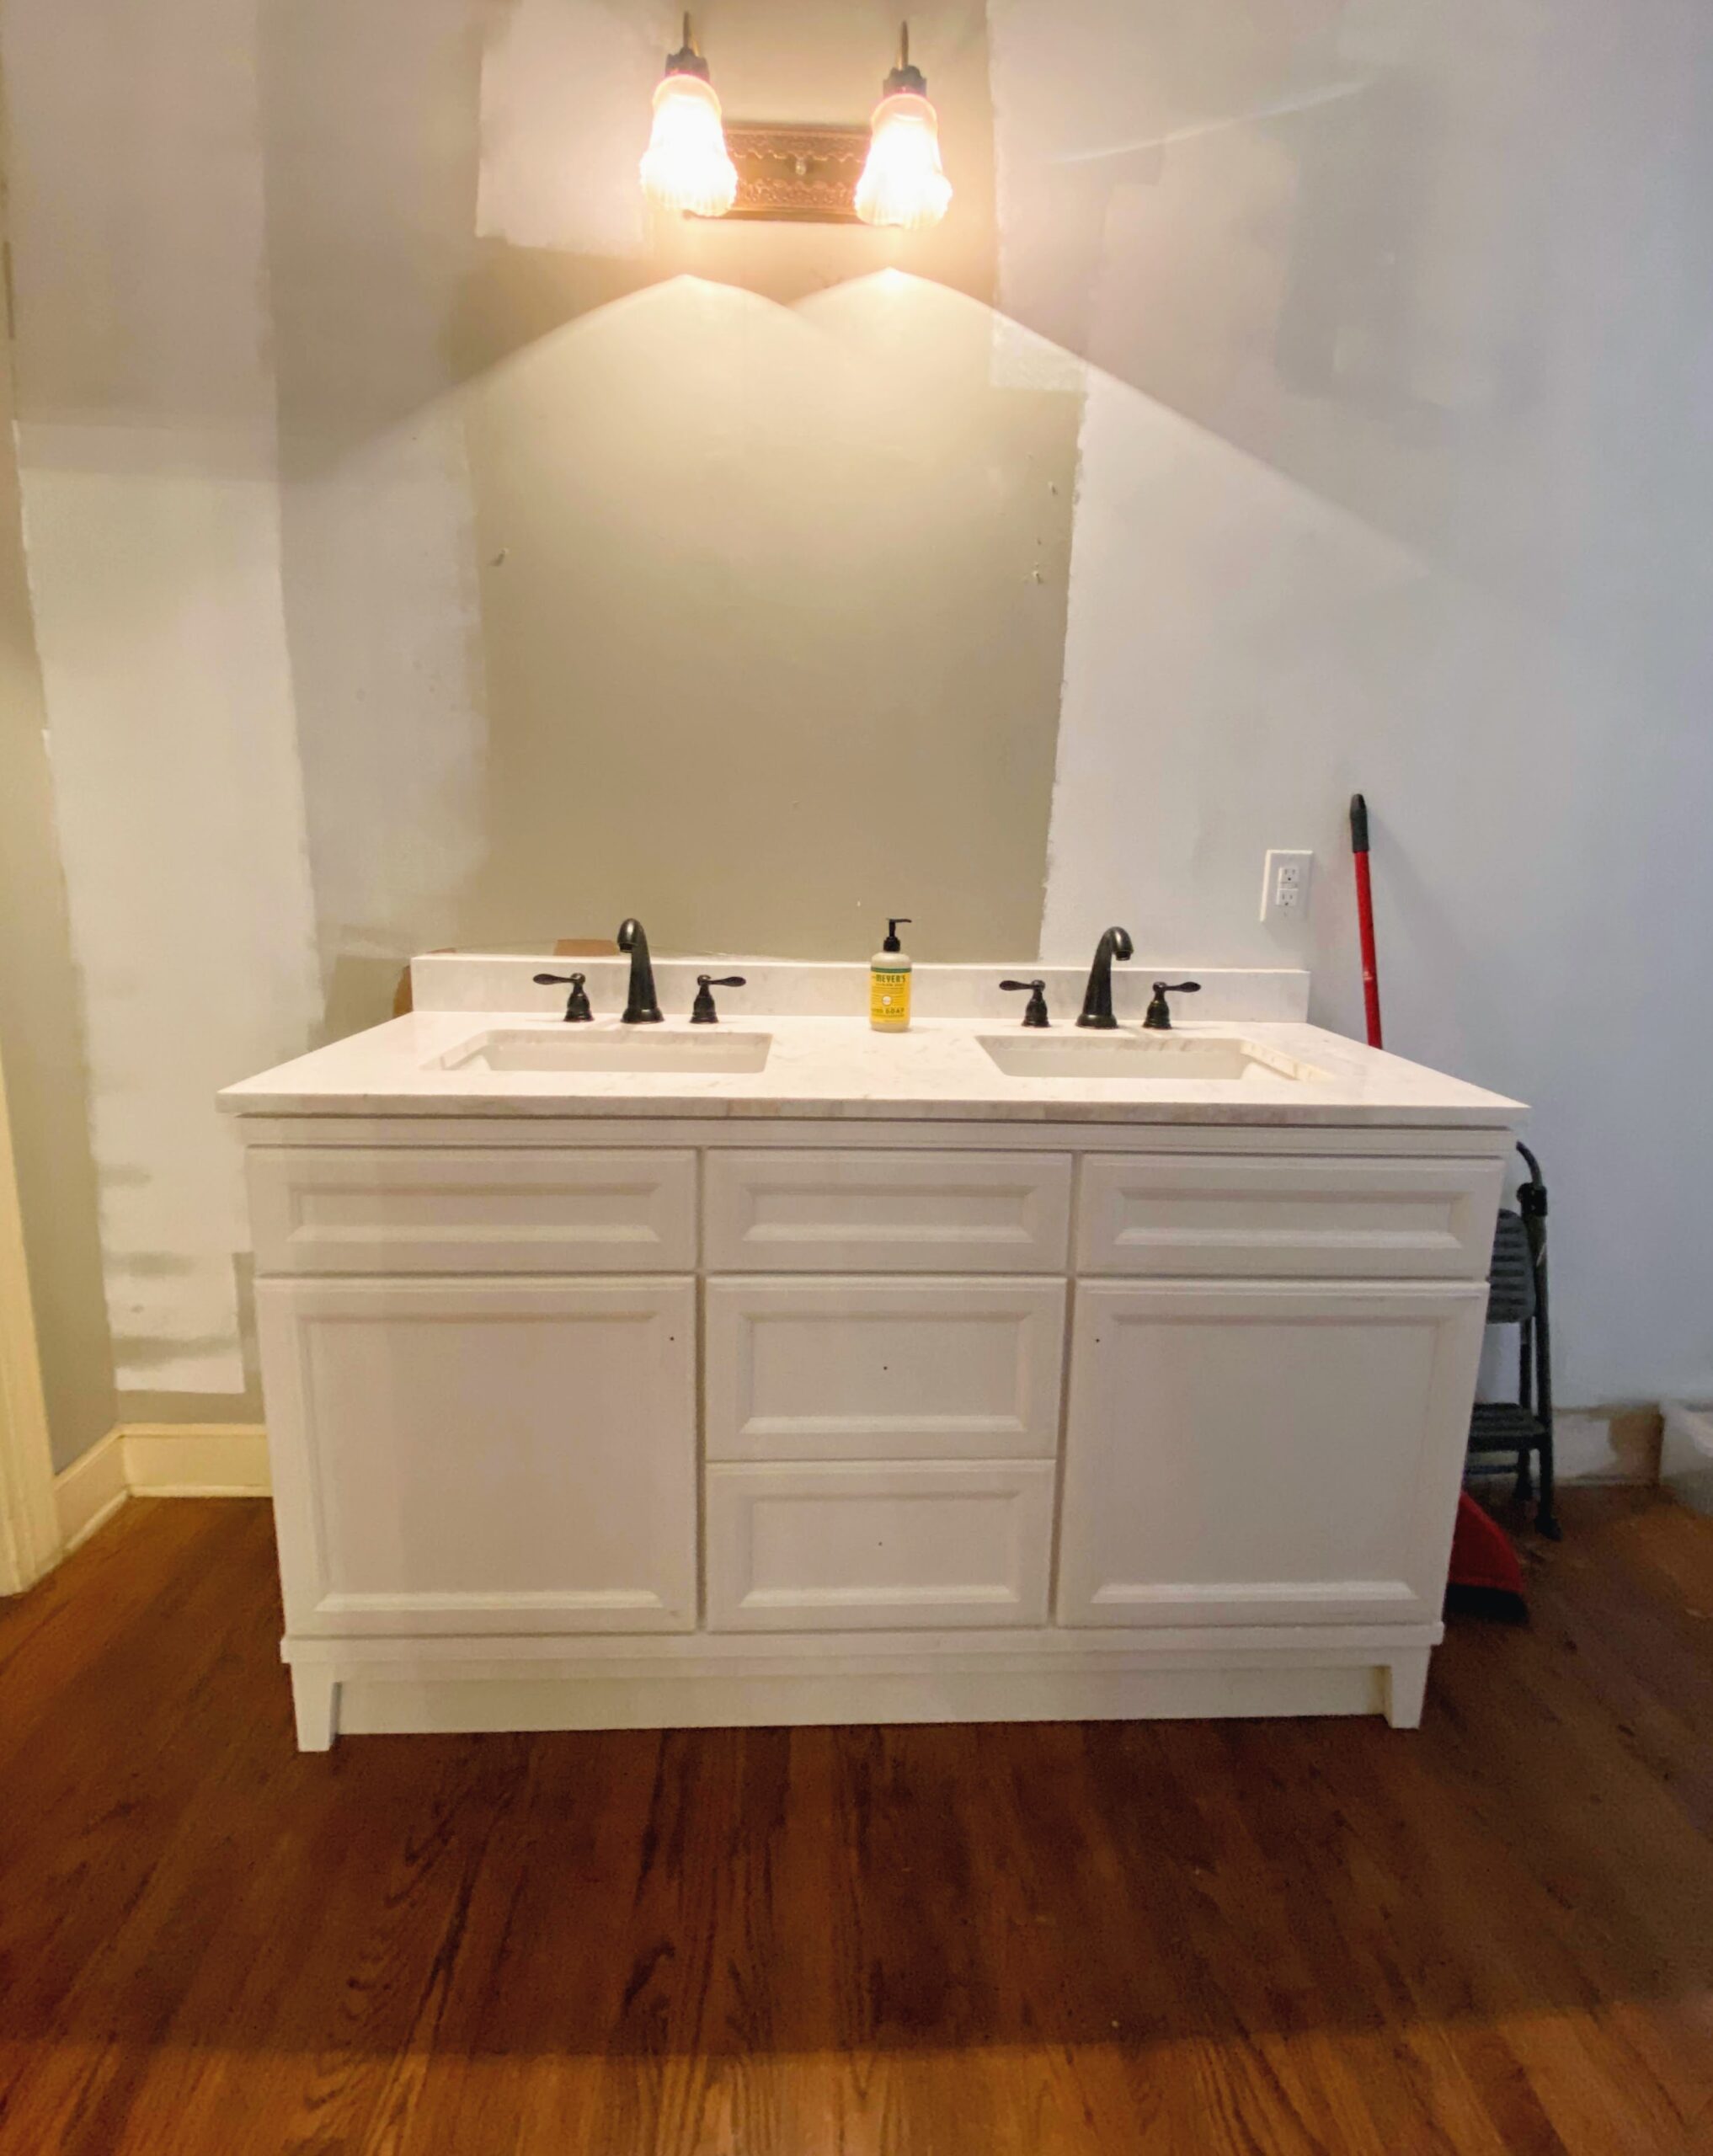
One small regret is the vanity color. Originally, I was going to either have a new vanity built or buy one a vanity. To save money, we decided to buy a vanity. The gray vanity I wanted was damaged so I would have had to order it. The plumber was ready to work and could help me get the vanity home. So I ended up getting what was available, the same vanity but in white. Looking back, I had plenty of time and should have ordered the gray option. We wanted the bathroom complete rather quickly and I thought I was making the best decision that day. The great thing about the vanity is that has two sinks! It works perfectly too and I introduced another design element to offset the white vanity color. No more sharing sinks, except, we still share one sink most days. HA HA!
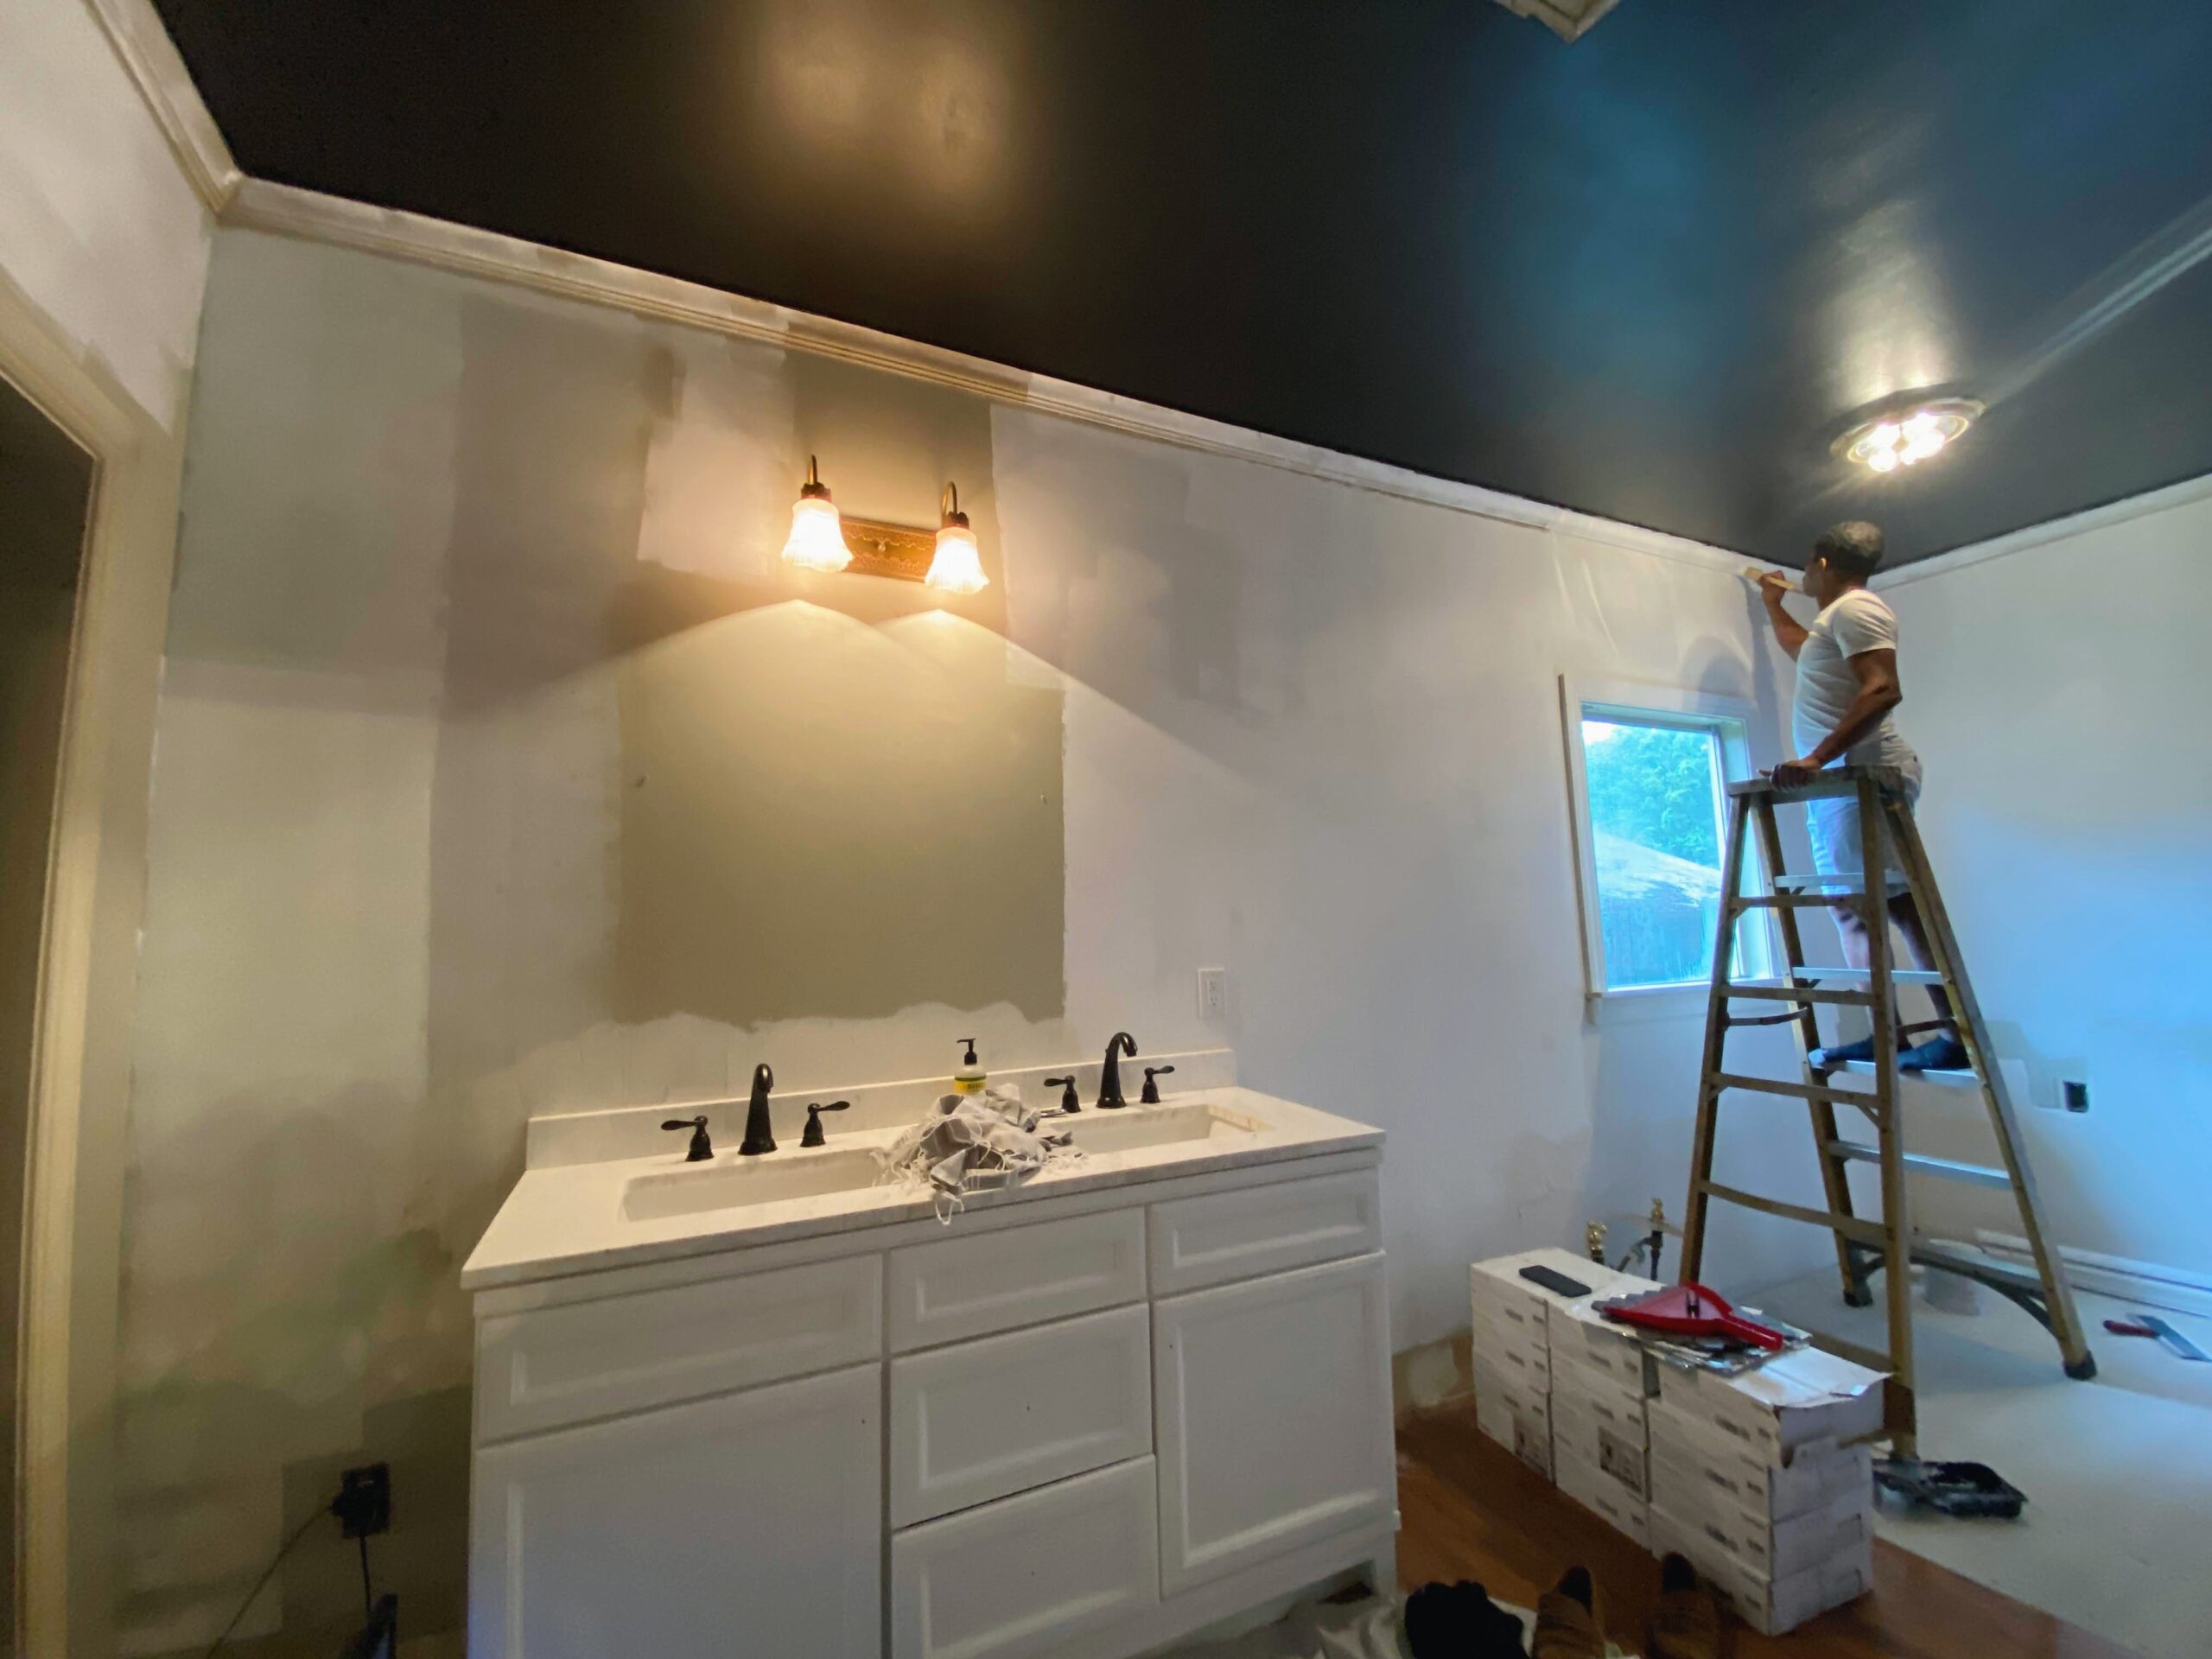
One thing I did not plan that I really love about the master bathroom design is the ceiling. I could not be happier about the fact that Brandon was okay with the ceiling being painted BLACK. Since we were using a lot of white in the space, I felt like the ceiling being black would be a great unexpected feature. It adds drama and a cozy feeling just by using paint. We painted our bedroom closet a different color and I’ve always liked the idea of non-white ceilings. It didn’t take long to knock out most of the ceiling painting but we knew we’d have some touch-ups after the electrical work.
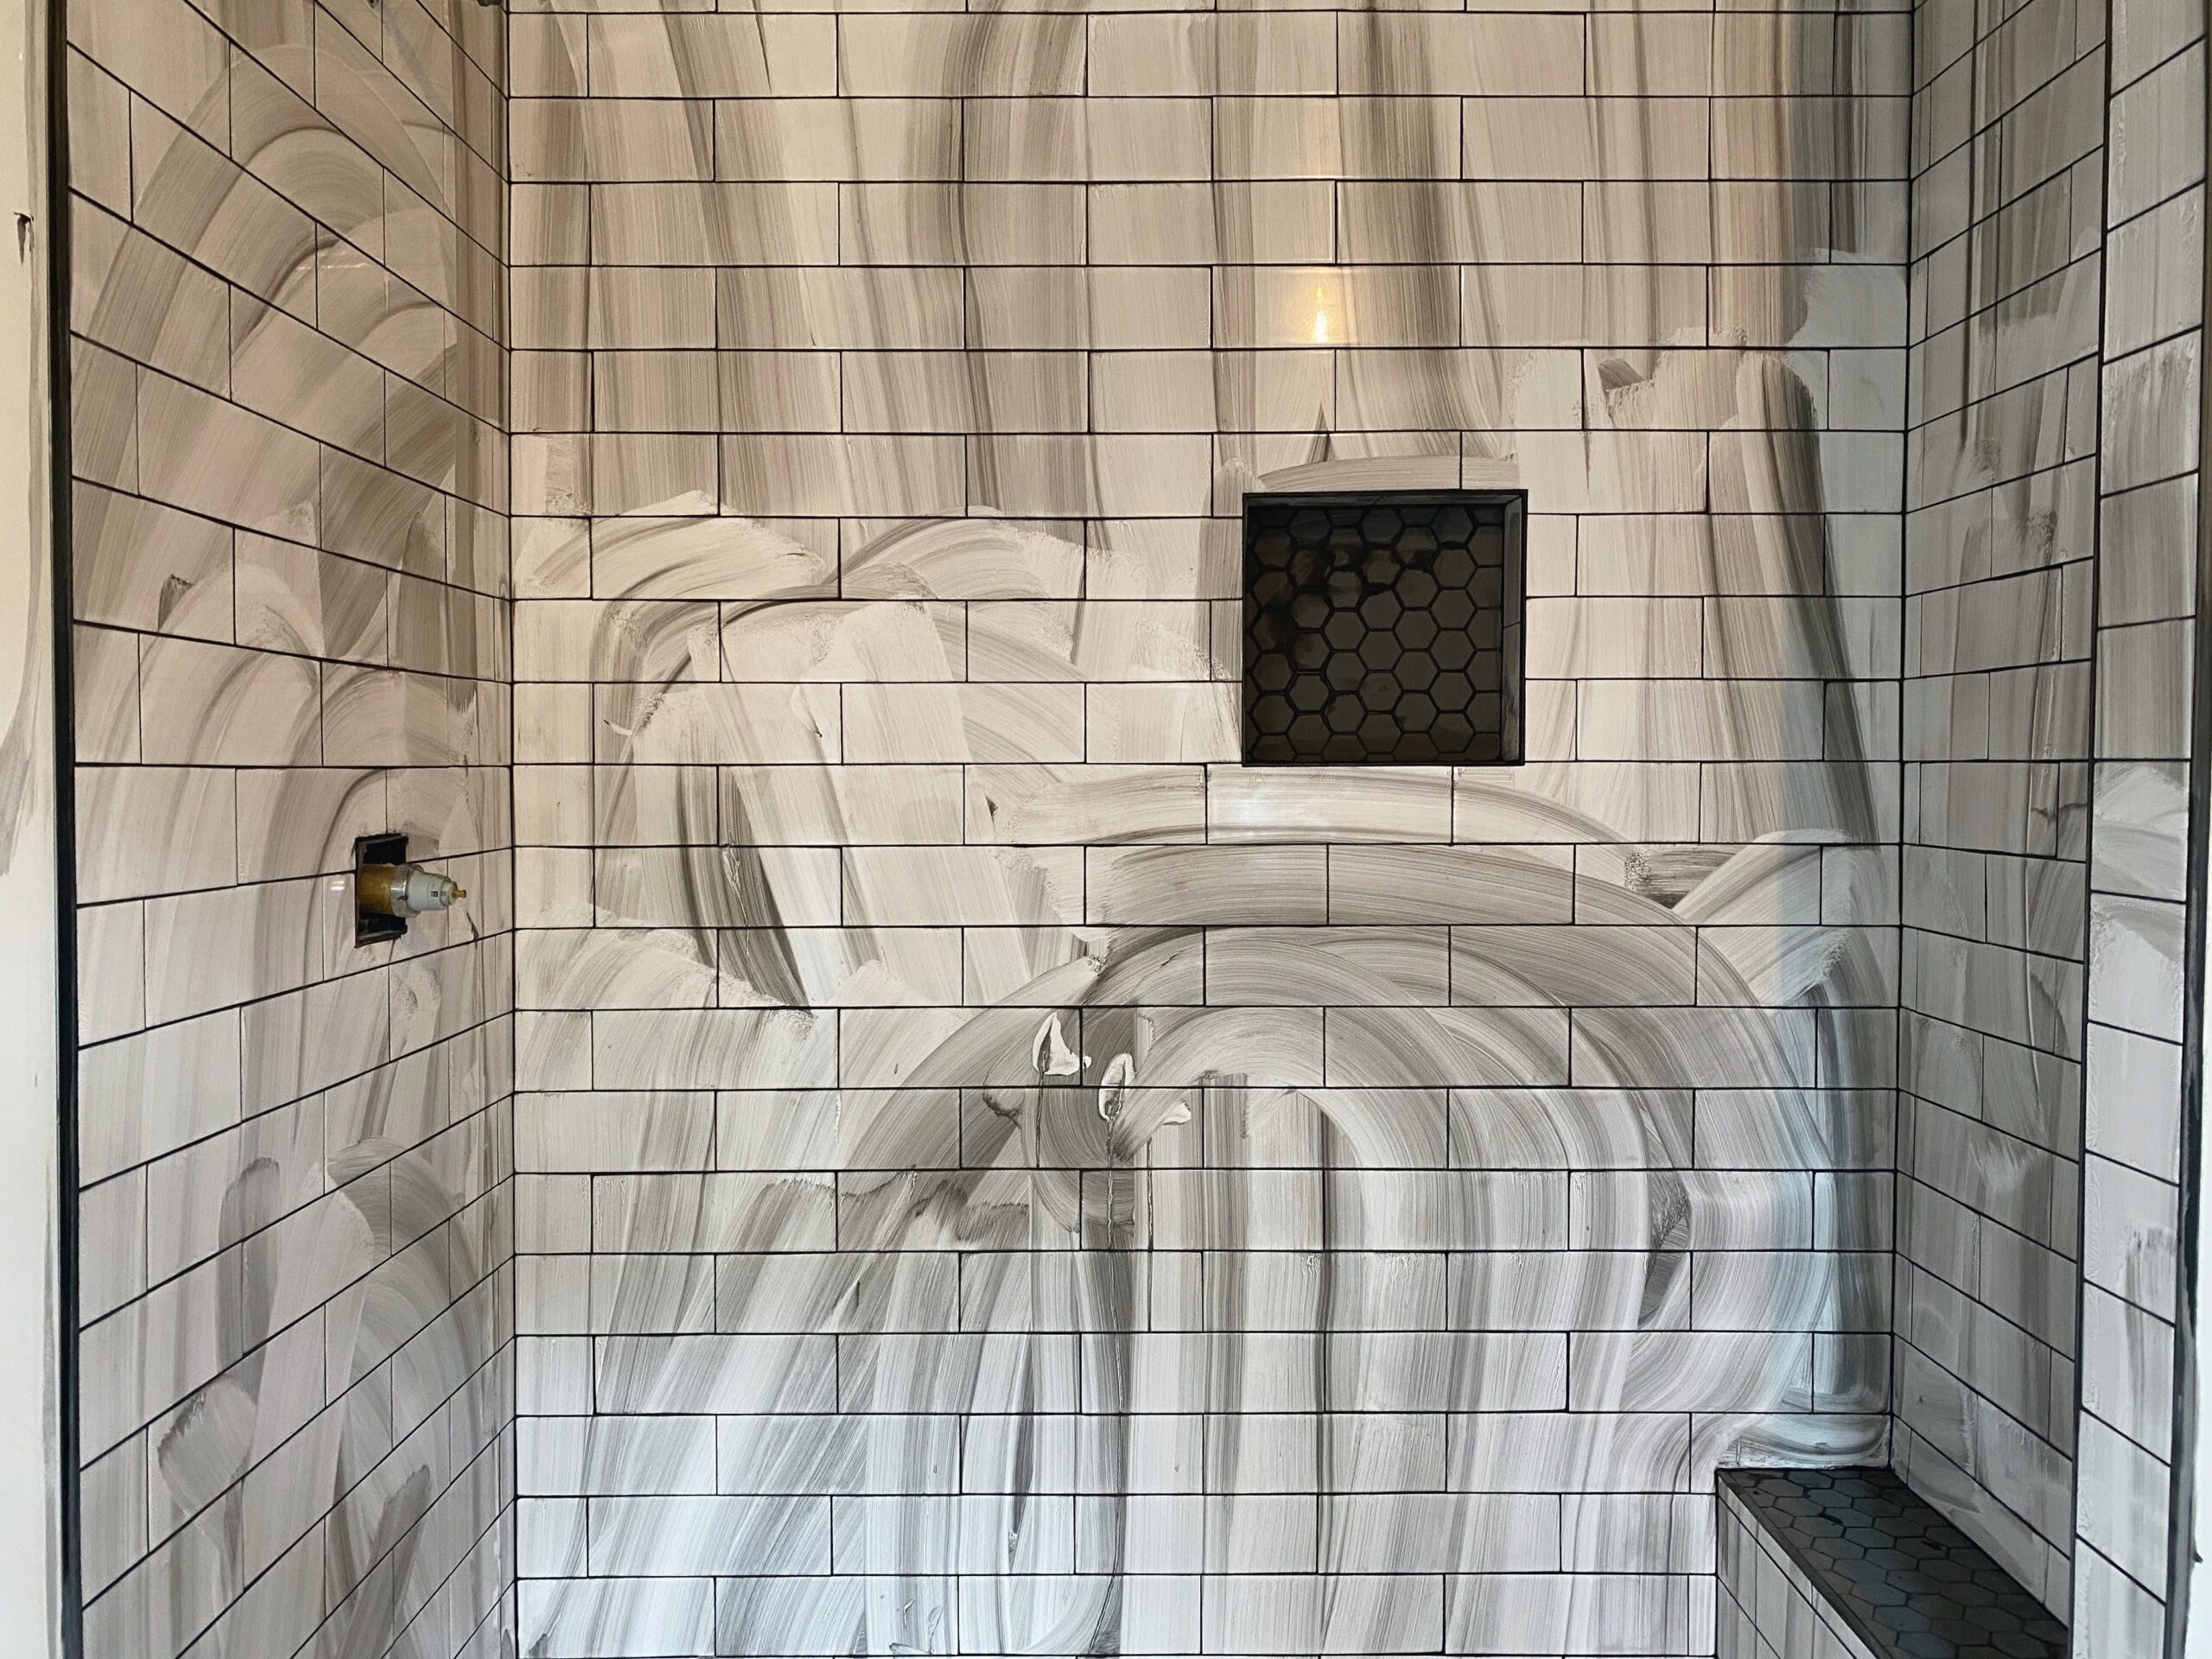
We kept the original layout of the shower, except for the new shower pan was not as wide. We would have had to order a custom shower pan to fit the shower floor and with product delays I didn’t want to risk it. So we were able to find this one locally and got it installed by the plumber.
Since we decided on white subway tile (similar to our upstairs bathroom) it was rather easy to pickup what we needed for the tile job. Our carpenter got started on tiling right away. Just like our upstairs bathroom, he installed a waterproofing/crack prevention membrane, RedGard. The red you see in the picture is Redgard. It creates a waterproof barrier and reduces crack transmission in tile. It’s a whole process that you have to complete before you install tile. The plumber had already installed the shower pan so we were able to prep and install the tile.

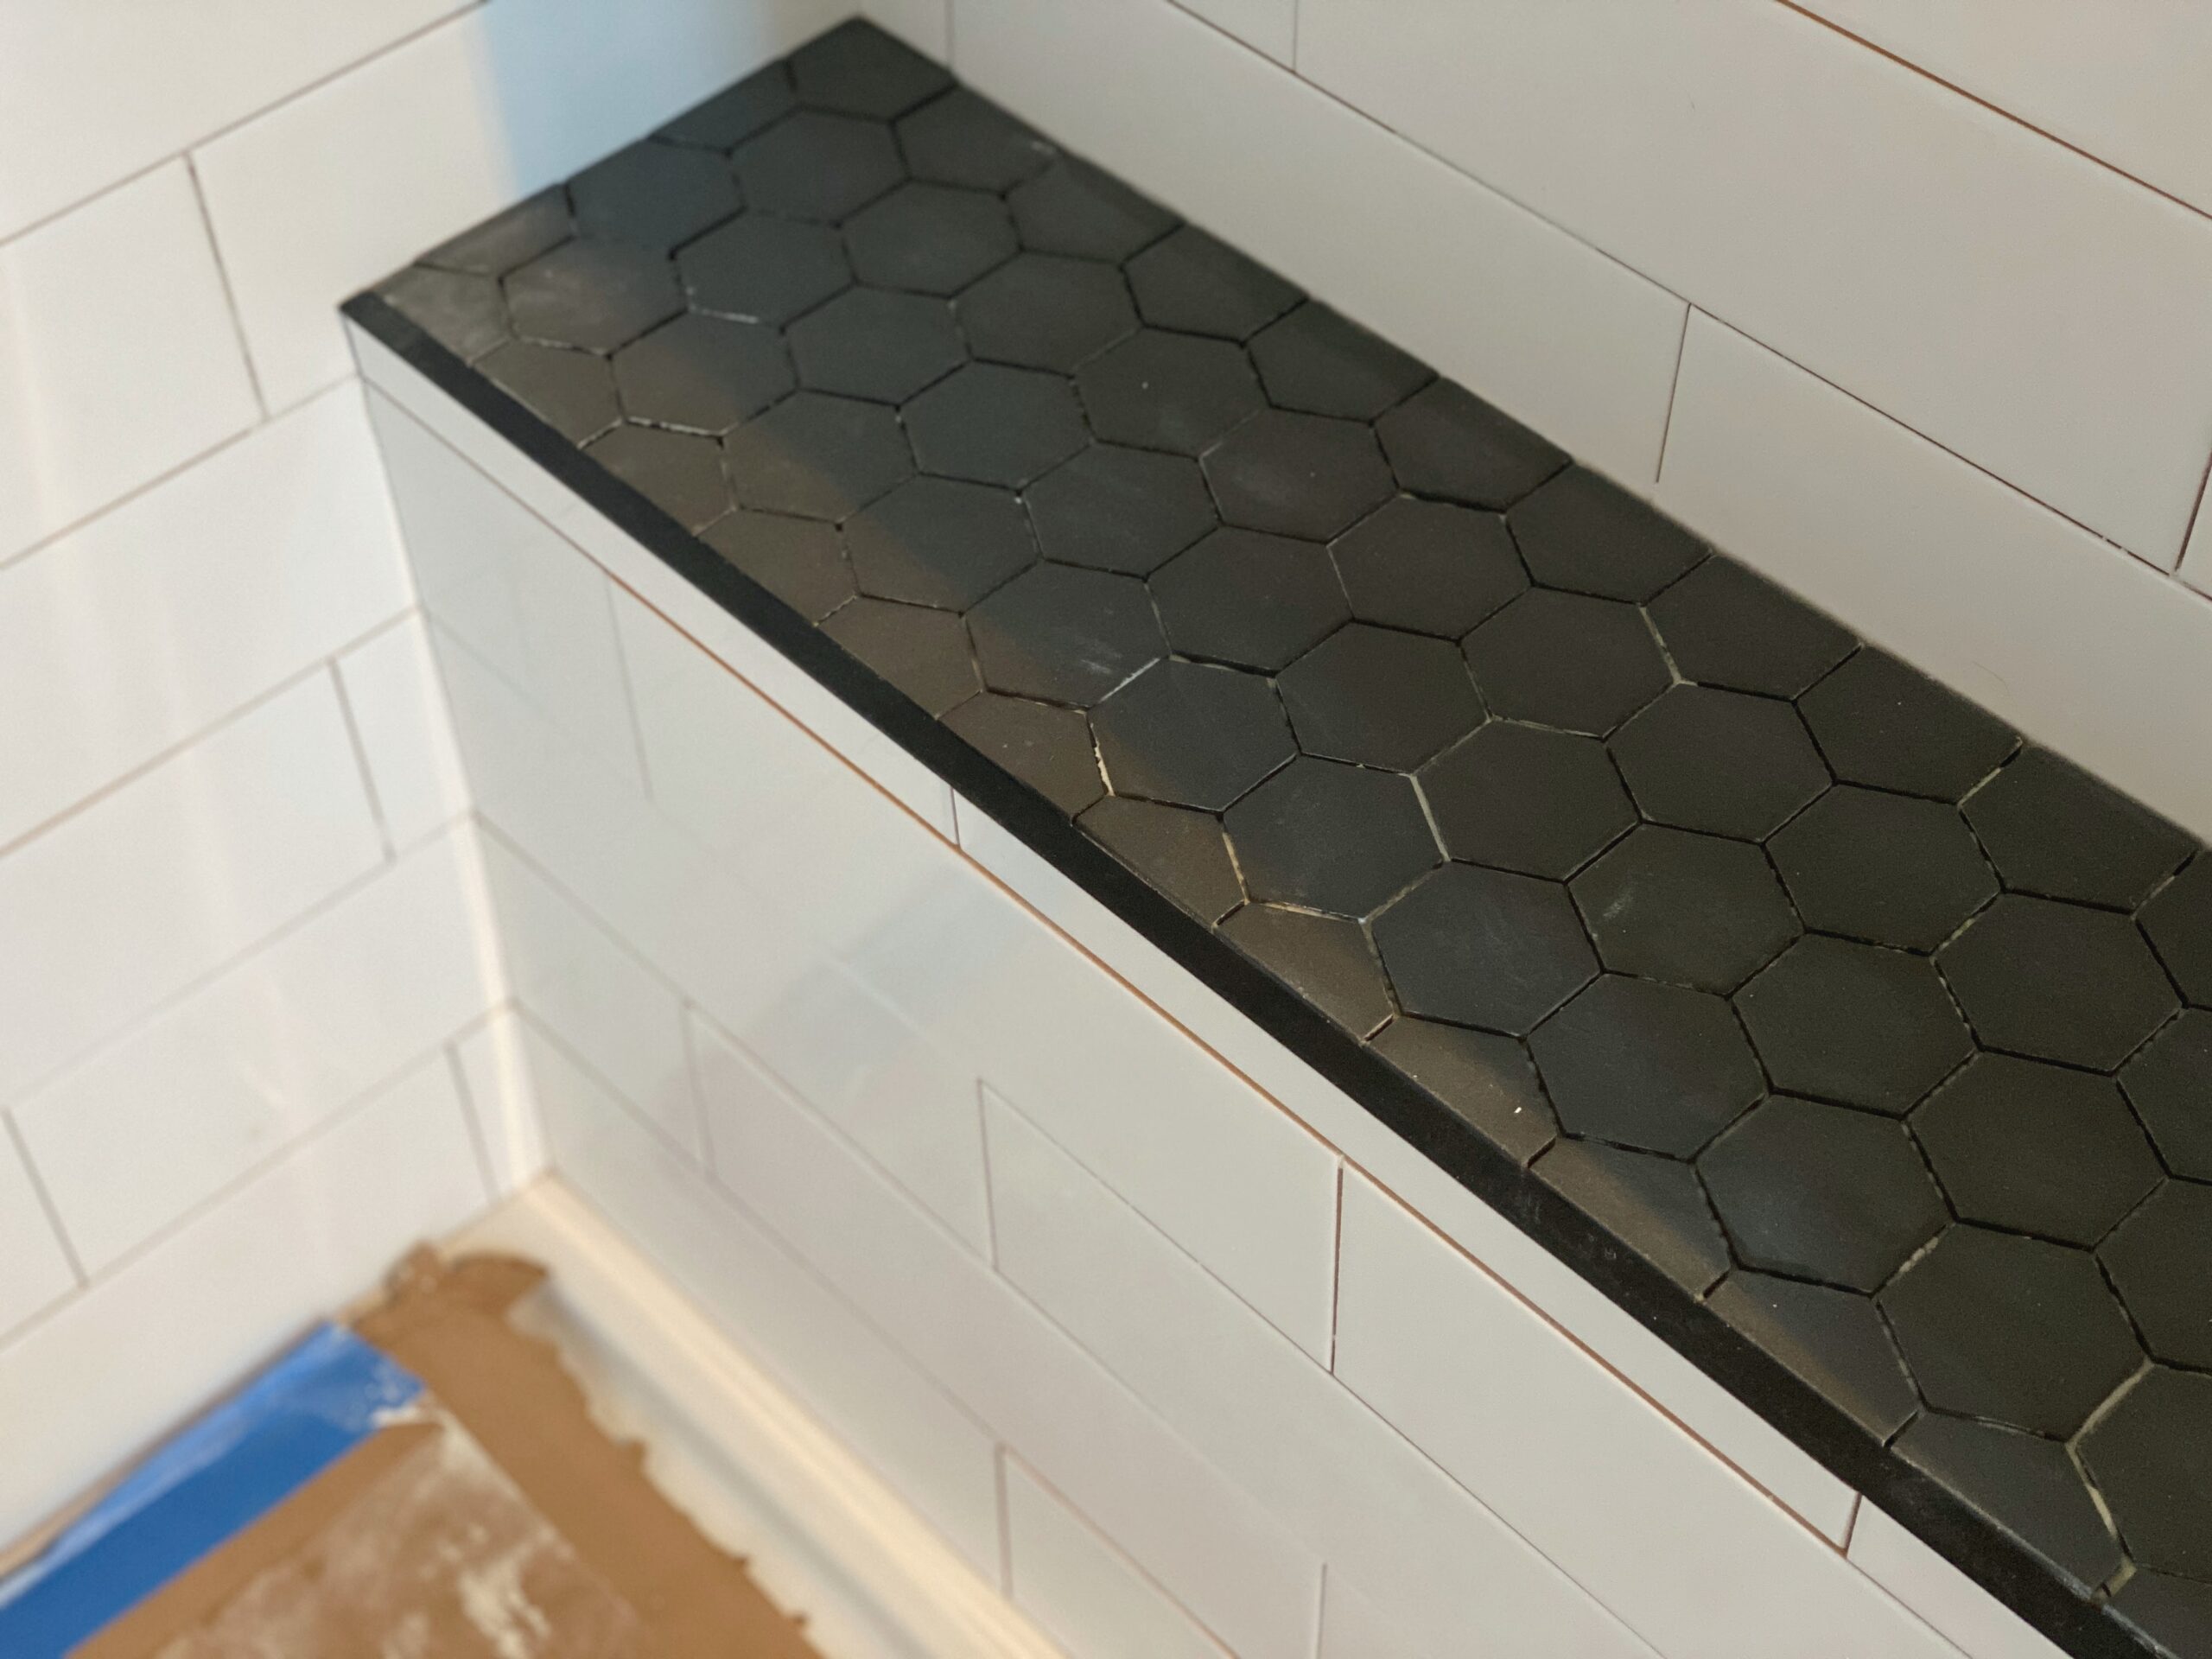
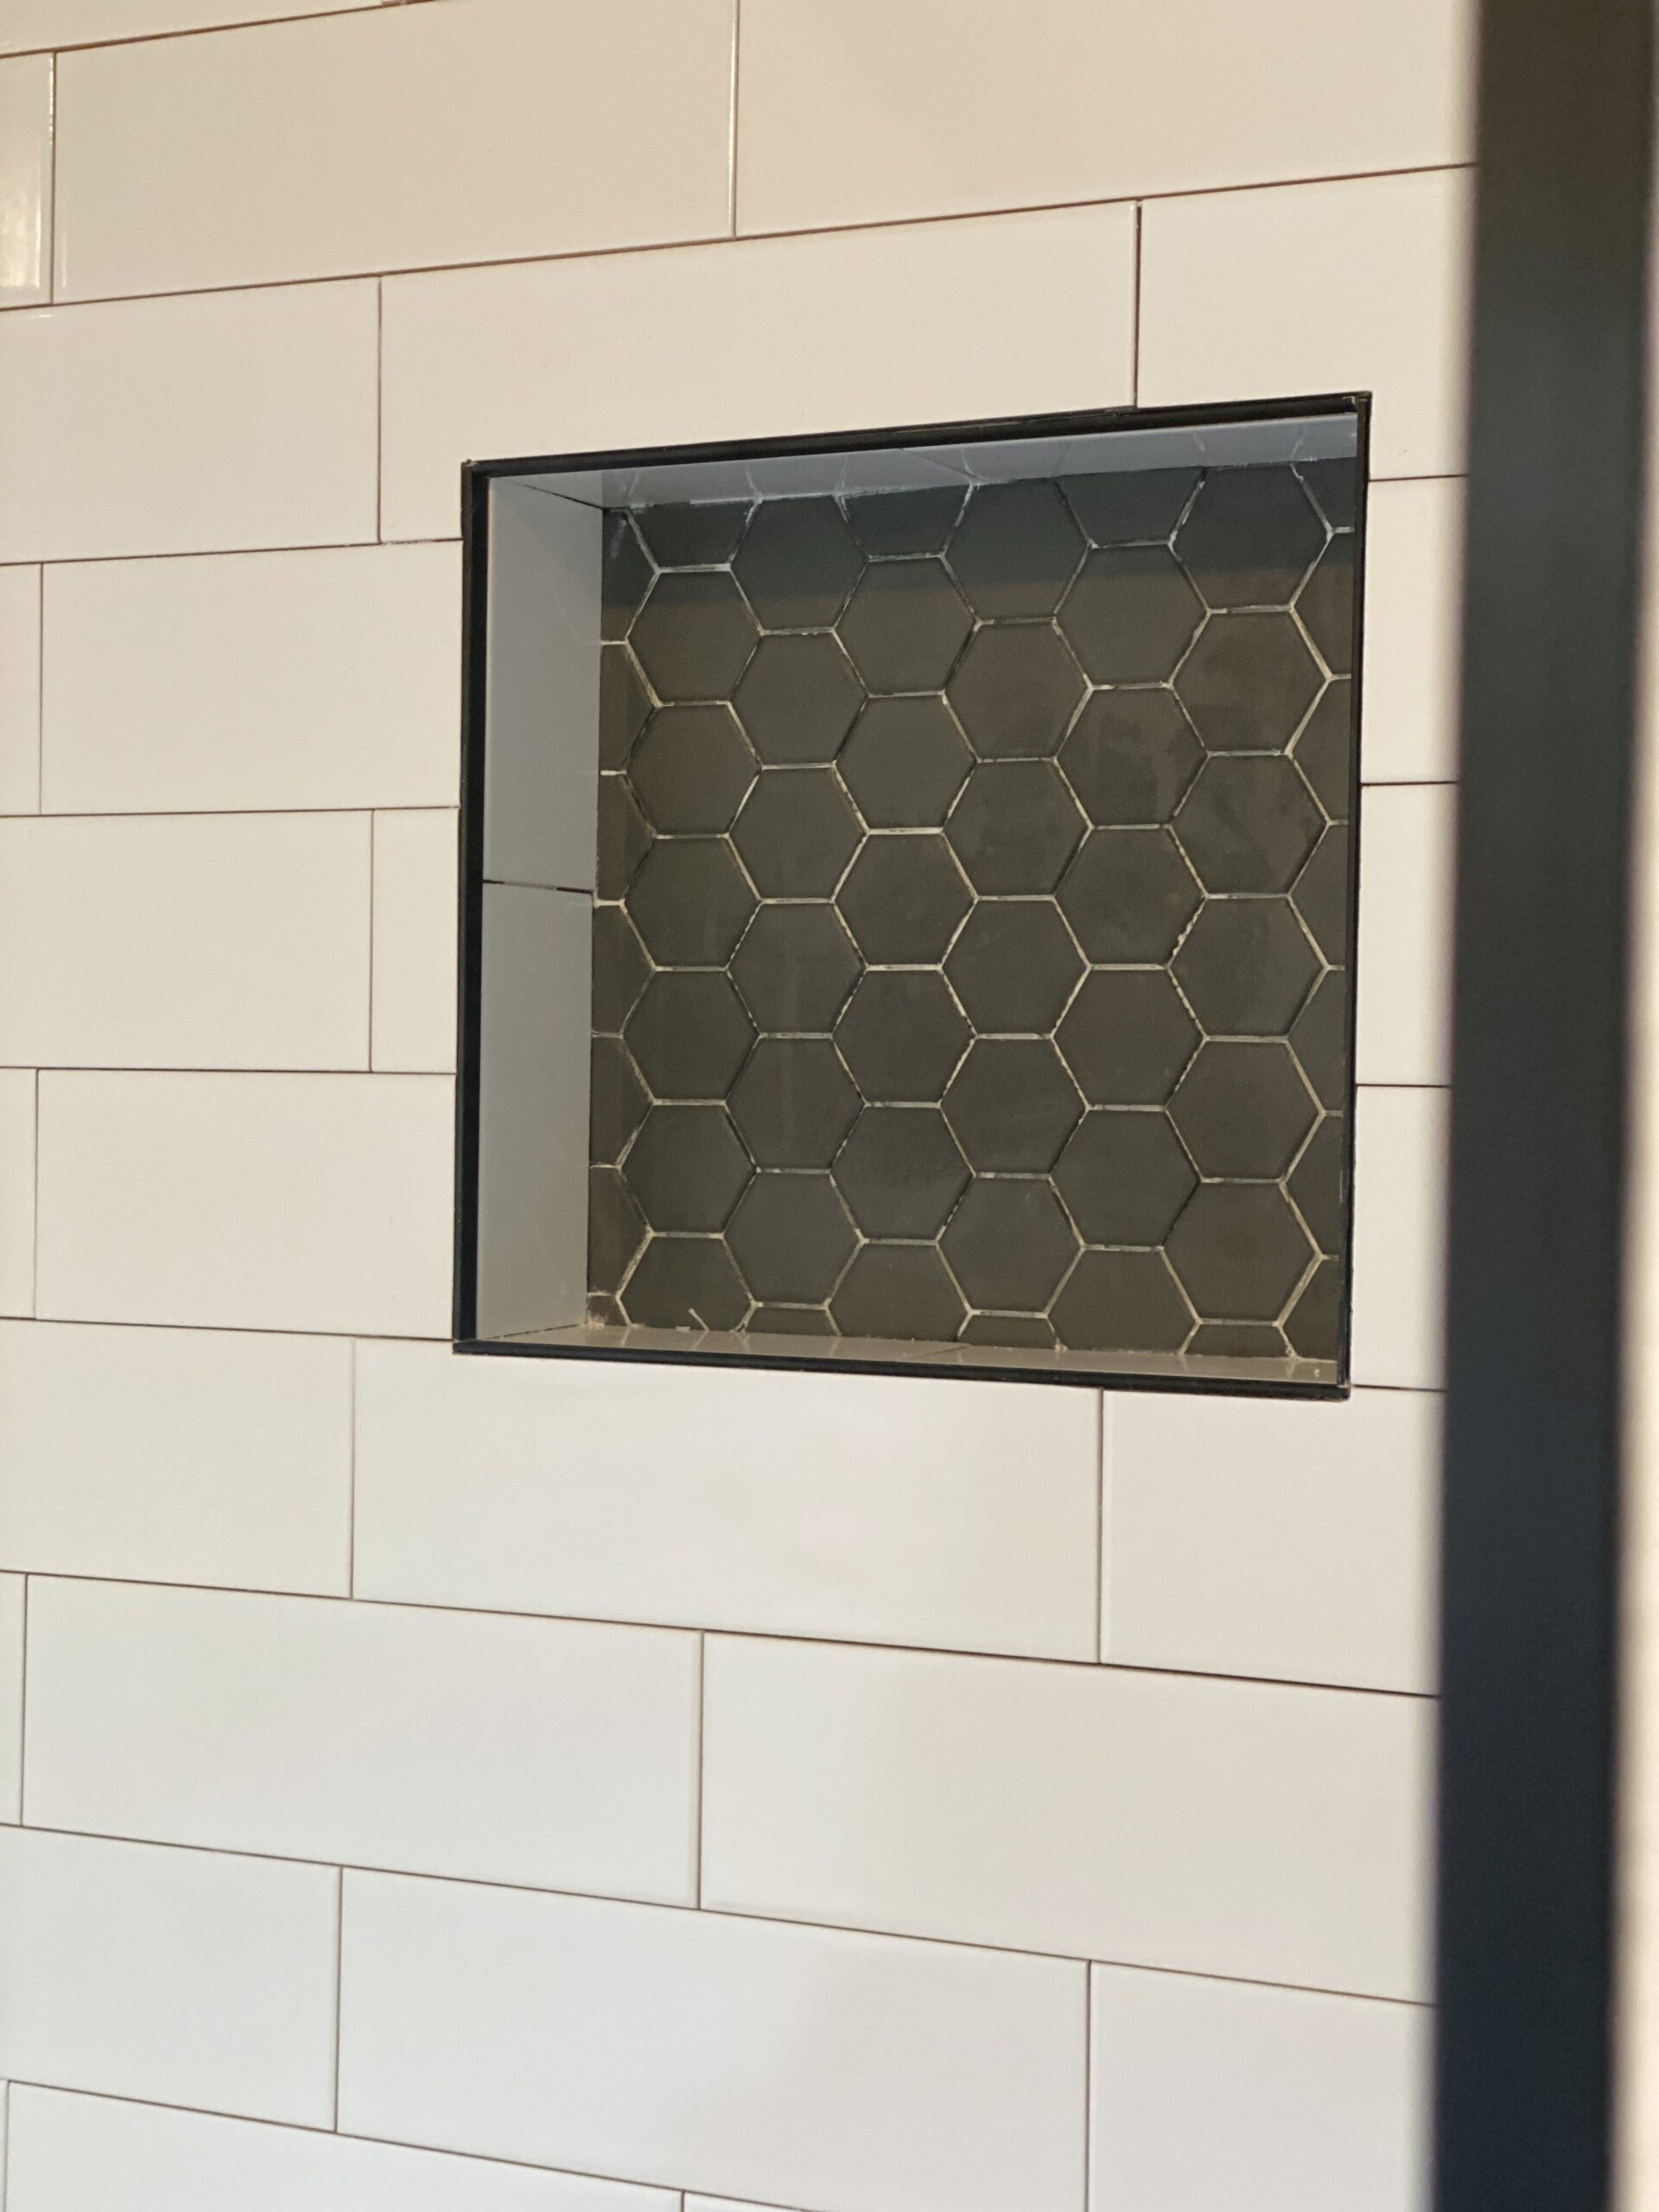
I was so happy to find black hexagon mosaic tile for the shower niche and seat. It matched the floor tile I had picked so I knew it was meant to be. Remember, the color scheme for the master bathroom was black, white, and wood undertones. So incorporating that scheme into the shower was easy to do and it’s now one of my favorite parts of our bathroom remodel. All the materials were readily available to purchase so the shower tile installation was complete rather quickly.
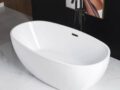
Next up, it was time to order a few more items. Since I got the green light from the plumber, I went ahead and ordered the freestanding tub and tub filler. It would take a few weeks to arrive and we also had multiple trips planned. So once those items were on order, the project stalled for a few weeks or so we thought. I can’t wait to show you what happened while we were away on vacation. You’ll have to wait until the next update to see.
What do you think of the master bathroom so far? Let me know in the comments below.

Pingback:
Master Bedroom Design (Renter-Friendly) + Moodboard - Crystal Holliday with The Holliday Collective
Pingback:
Master Bathroom: Part 3 - Crystal Holliday with The Holliday Collective