
In organizing the master bedroom closet, there were several DIY projects that we took on. We made a barn door and installed it on sliding door hardware. We painted the off-white ceiling a dark gray. We changed our first light fixture in our home too!
When it came to lighting, I was overwhelmed. Light fixtures can get very expensive and there are a ton of options. One thing was for sure and that was the current lighting had to go. It was an under-mount, 2-light fixture, with a frosted cover. The frosted cover was chipping and hanging on by a thread.
It was time for a little upgrade. Here are a few options I looked at. Yet, after really reviewing them, they would not provide enough light in the space or were more than I wanted to pay. So, I kept looking.
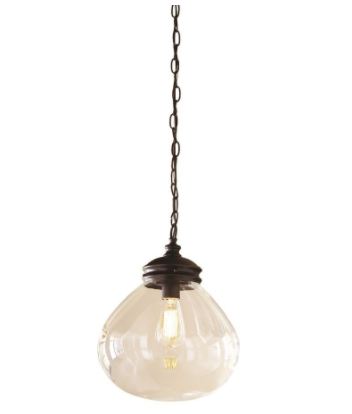
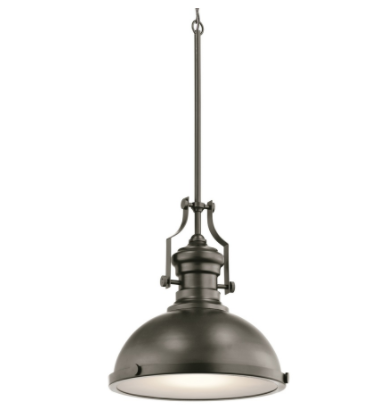
Allen + Roth Glass Pendant / Kichler Bronze Warehouse Pendant
Ultimately, I decided on this metal pendant from Project Source. For $20, I knew I could make it work. Though it was only a 1-light fixture, the maximum bulb wattage was 150. So, I knew I could get a lot of light just by going with a brighter bulb. There was one issue with the fixture and that’s that I painted the ceiling not white, but dark gray. So, I was concerned about the light getting lost when you looked up. (Who’s going to look up in my closet? Simple. Me.)
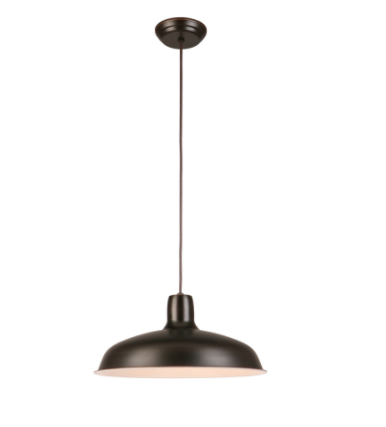
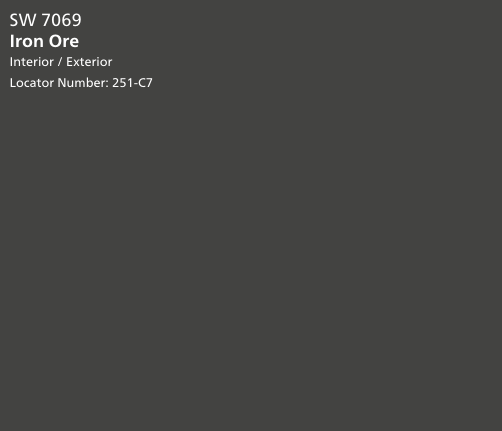
Project Source Metal Bronze Pendant / Sherwin Williams Iron Ore
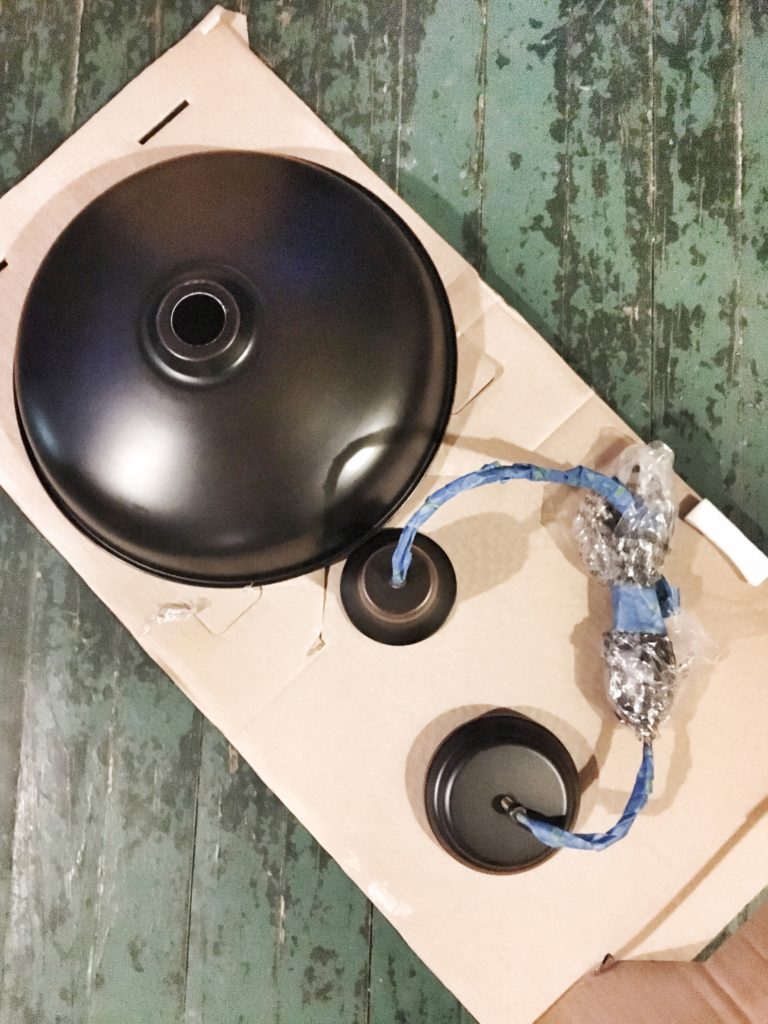
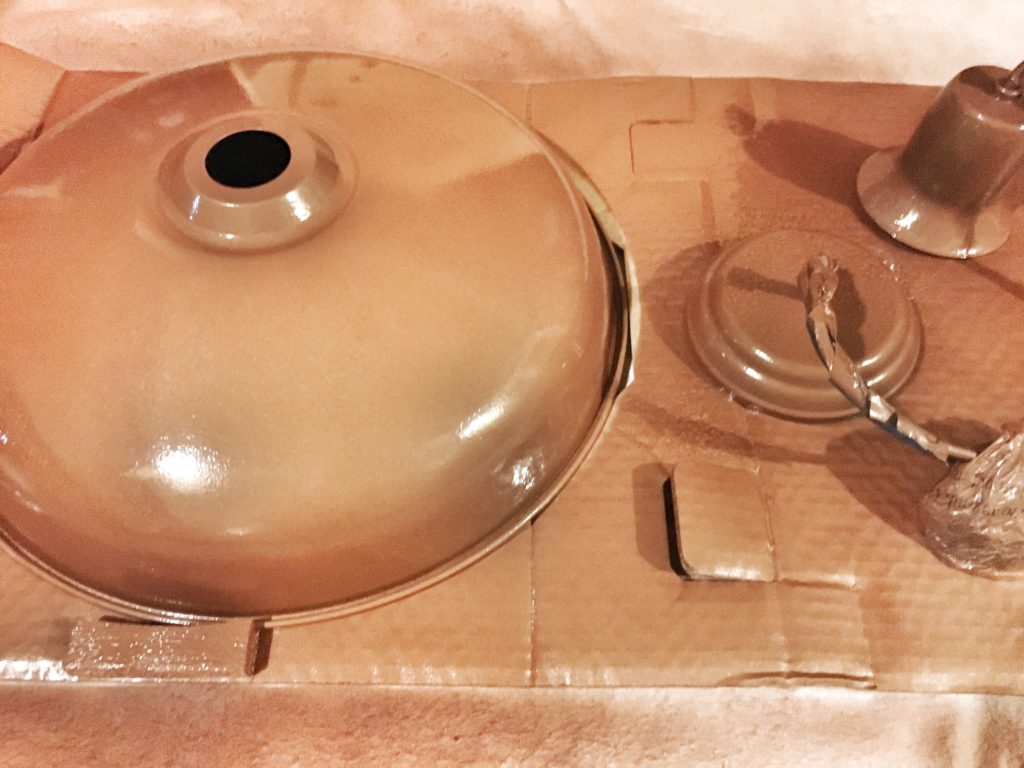
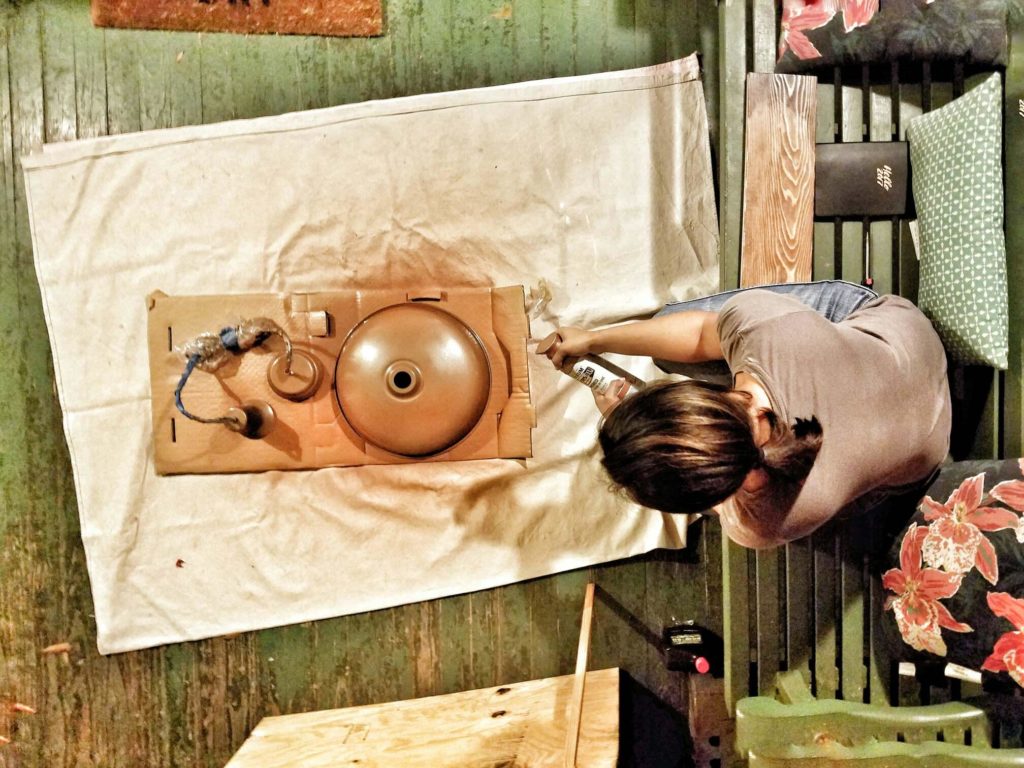
My fix for the dark ceiling and bronze light pendant was to spray paint it. So I took all the pieces out, taped off the cord so it wouldn’t get paint on it, and laid it all out on the back porch. It was raining so I had no other choice than to do it on my porch However, always spray paint as far away as possible so the fumes can air out well.
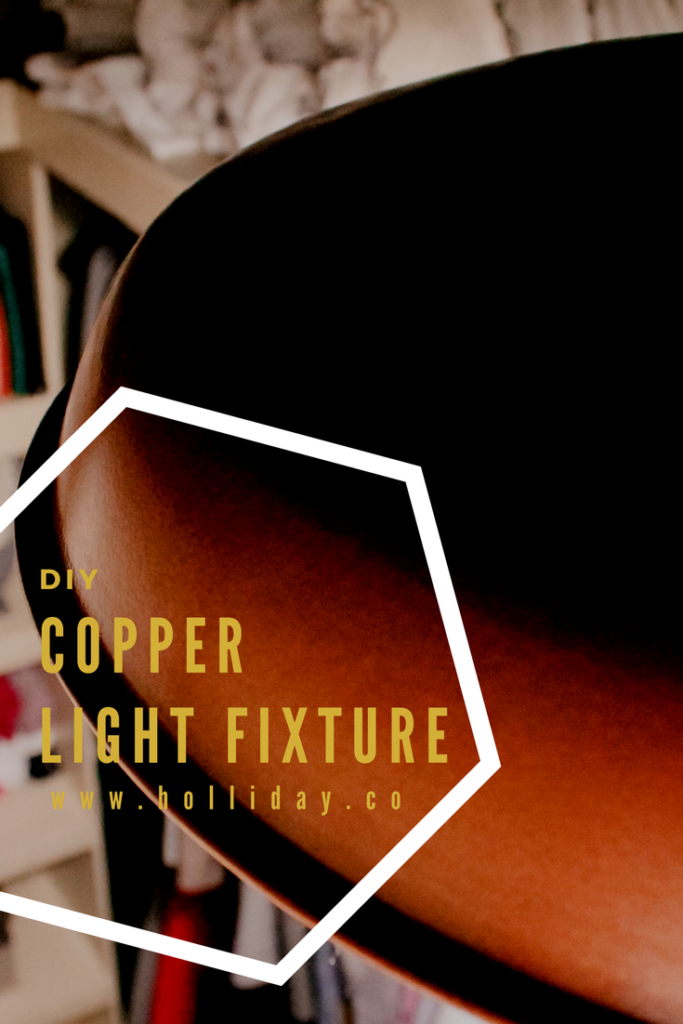
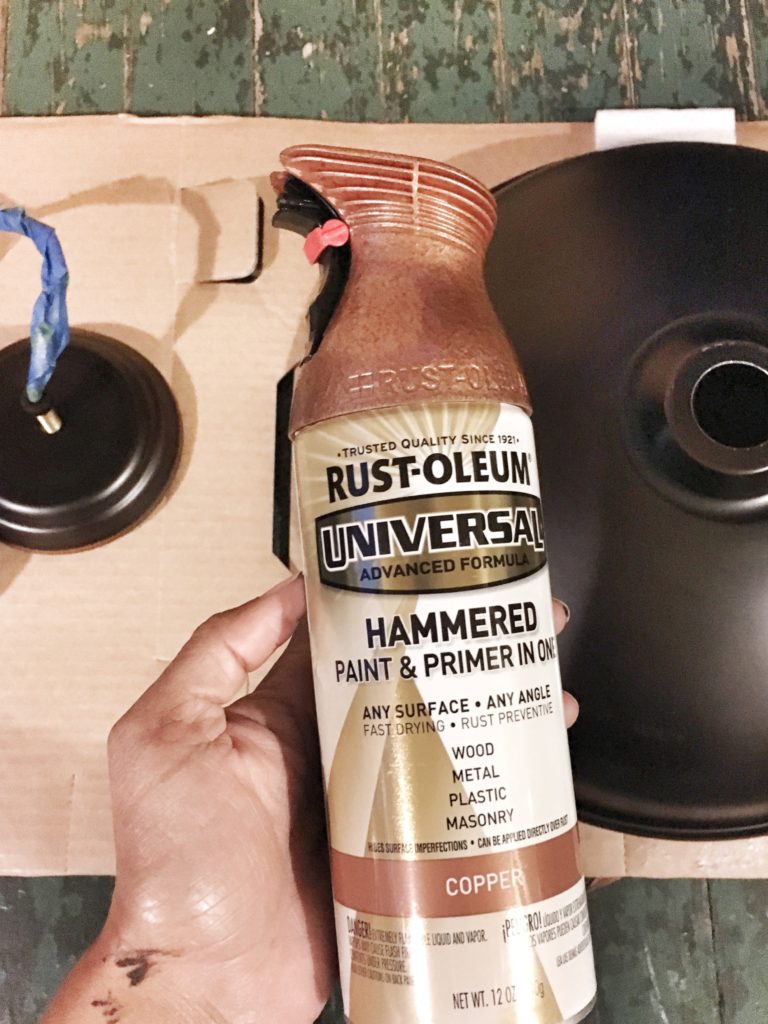
The color I decided on was HAMMERED COPPER. Yep, I decided to spray paint the light fixture copper. At $27, I figured I had nothing to loose. If the project failed, I could just go back and buy the same light fixture for $20. At that point, I still would have only spent $47. That was still cheaper than all the fixtures I liked.
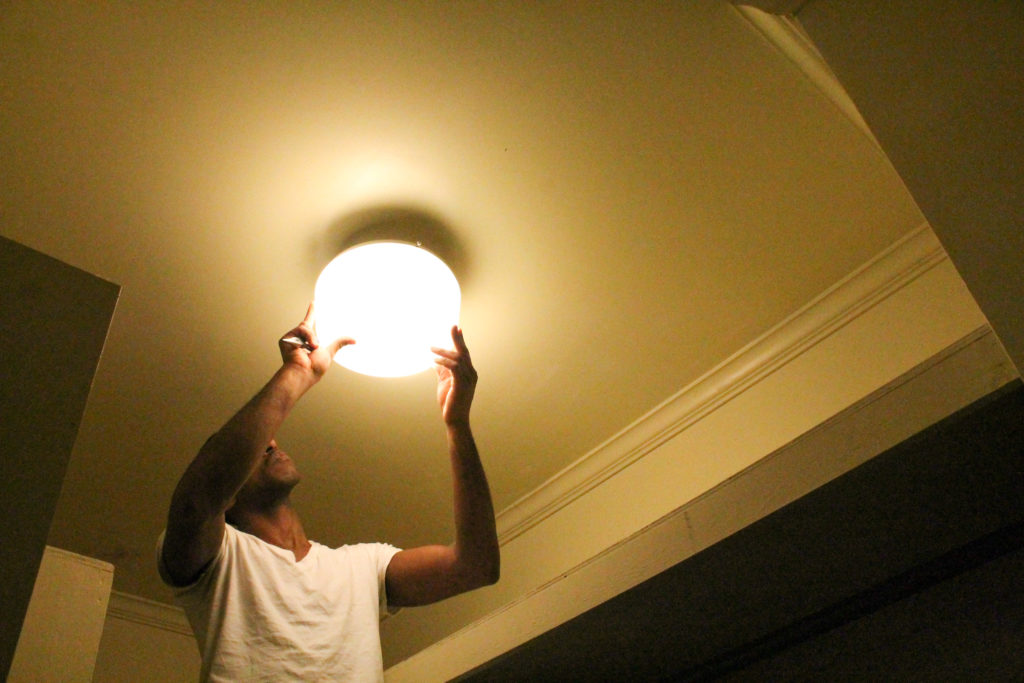
This was the very first light fixture we changed since we’ve been in our home. I didn’t realize my husband really knew how to change light fixtures, BUT HE DID IT. He cut and split the wires, and installed the new fixture. It worked! Now that I know this, I’ll be adding more light fixture-changing tasks to his list. Sorry, “B”.
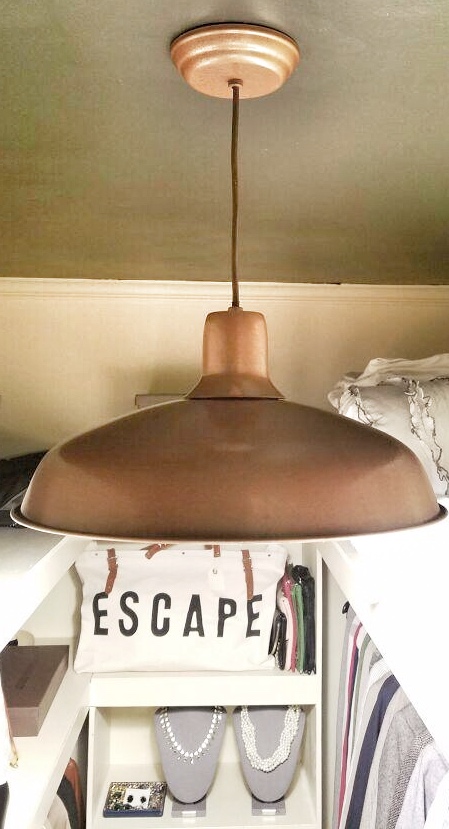
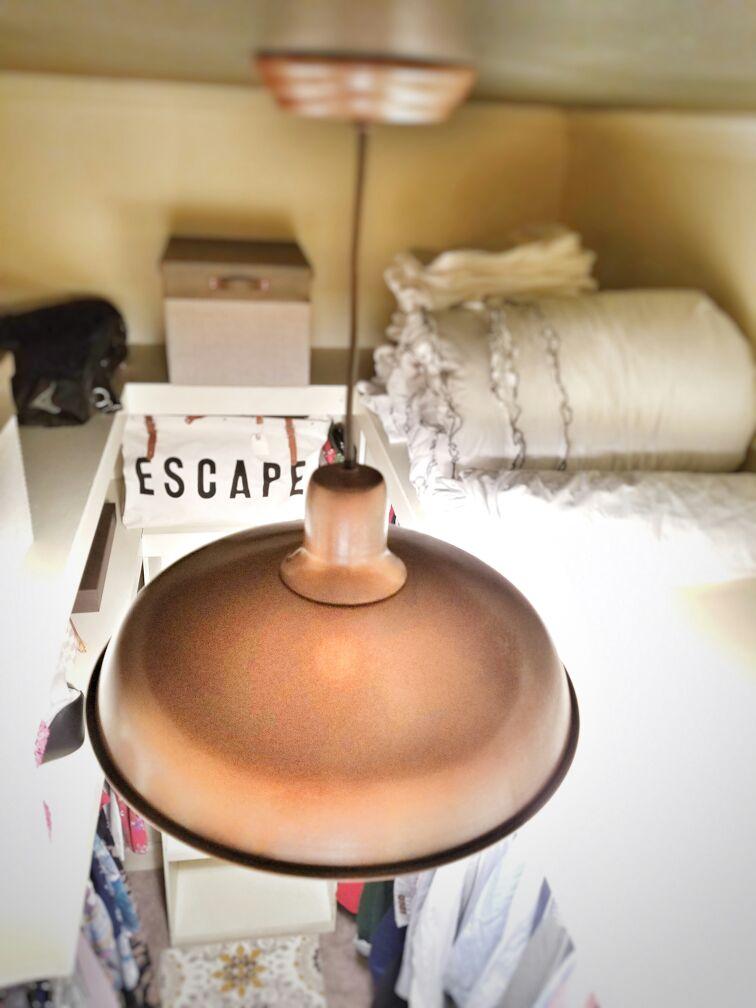
I did not paint the underside of the light fixture but I may go back and do that. If I do, I’ll be sure to let you know. This DIY copper light fixture pairs perfectly with the other copper accents I have in the space. See the full mood board of the closet here. Everything really came together in the master bedroom closet.


2 Comments
2 Pings & Trackbacks
Pingback:
A Look Back on 2017 - The Holliday Collective
Pingback:
Dark Painted Ceiling - The Holliday Collective