

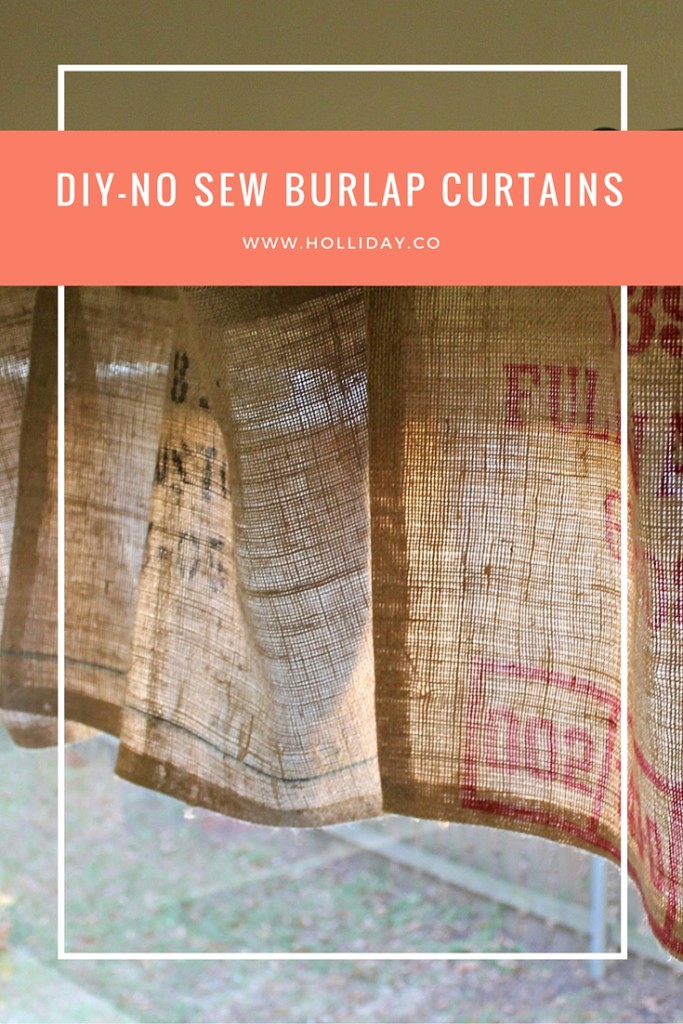
Make your very own DIY – No Sew Burlap Curtains! Yep, you! Here’s how.
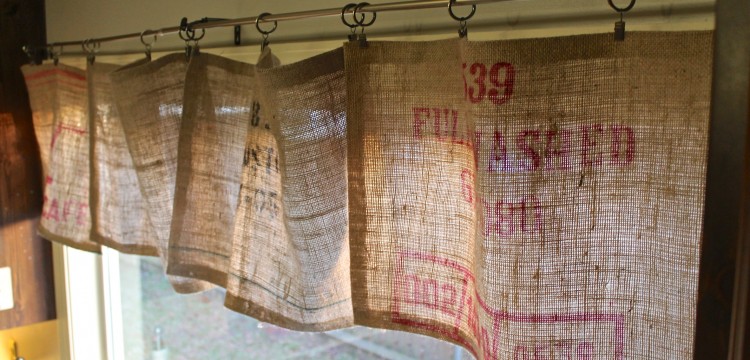
Believe it or not, I’ve been making great use of the burlap sacks I found a few months ago. It seems like my creative juices are flowing and I keep finding very simple, but useful ideas for them. For now, I’m going to share how I made simple, no sew curtains using one burlap sack. You should know by now, that I really like working with burlap. I love the natural fiber and the raw element it brings into a room. We hope to start some work on our kitchen next year, and I’m waiting for that opportunity. Yet, in the meantime, I’m looking for ways to warm up the space. There is a huge window that really frames the wall above the sink area. Though an easy fix, blinds would really hide all that the open window space has to offer. It just didn’t feel right to cover it up. Since, I’m aiming for a farmhouse-cottage style kitchen, burlap panels would be a perfect fit for the window. So, I gathered my supplies and got started. Here is the supplies I used:
Supplies:
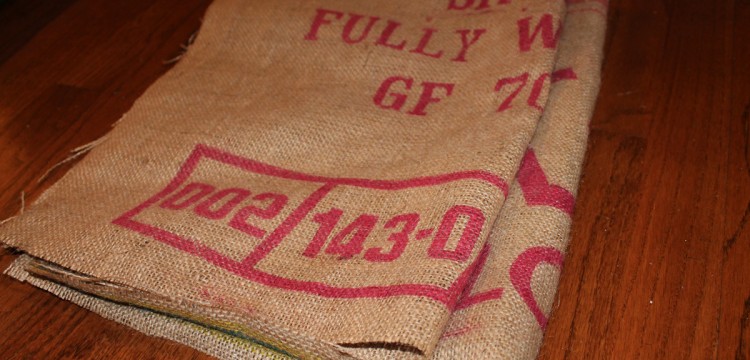
Burlap Coffee Sacks![]() (I used the back of two sacks, so all together I only used 1 sack. If you are using burlap sacks, then you must determine if you need to work with one side for this project or not. If you’re using regular fabric, then you won’t have this issue.)
(I used the back of two sacks, so all together I only used 1 sack. If you are using burlap sacks, then you must determine if you need to work with one side for this project or not. If you’re using regular fabric, then you won’t have this issue.)
Window Curtain Rod, 28 to 48-Inch, Black![]()
Drapery Curtain Clip Rings, 2″ Interior Diameter, Black![]()
This is a no sew-project, so don’t expect any genius ideas here. Follow along as I do my best to describe how this project worked for me. First, I made the appropriate cuts to the sacks. My burlap sacks both had a continuous pattern on one side, so I decided to flip them both over and cut the backs off. Then I made a horizontal cut, which gave me two equal pieces. This provided me with 4 separate pieces of fabric. My specific measurements were 24 inches or so wide and 17 inches long. All together I used one sack, and I saved the patterned sides for future projects.
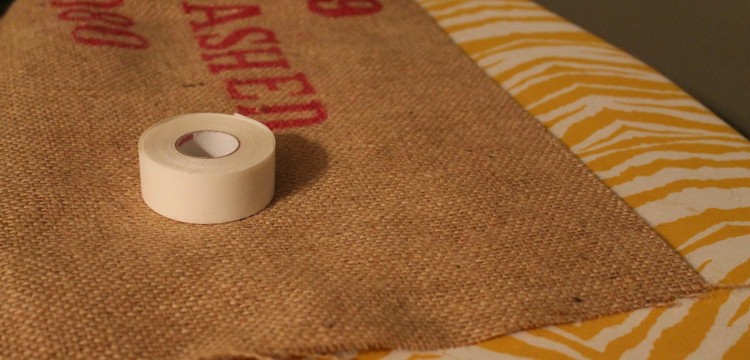
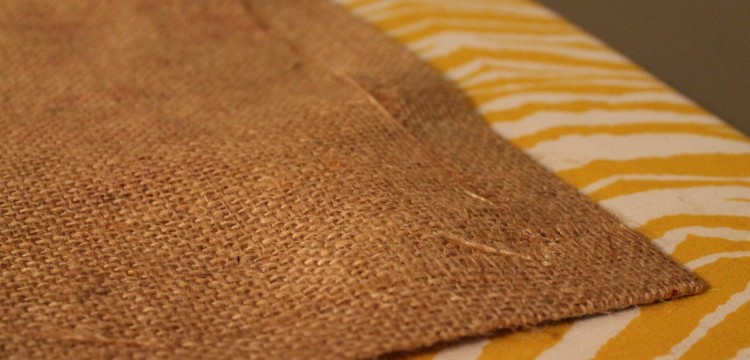
Next, it was time to measure and mark the cut pieces for the appropriate desired length and width. I ended up hemming approximately 1 inch or so on all four ends. I made marks, ironed them all flat, and then added the heat and bond underneath the marked area. Then, I ironed over the hem to let it set. I did that 16 times. That may sound like a lot, but once you start seeing the outcome of one you’ll want to keep going. I promise! Once you’ve hemmed all four panels, it wouldn’t hurt to make sure they are all ironed before you move on. By the way, hot burlap doesn’t smell too great. Now I know. That’s my warning to you as well.
Lastly, I hung them on curtain rings (I used 3 per panel), and then placed onto a cafe curtain rod. Burlap is very light so the cafe rod worked perfectly. Again, these are my instructions on how this project worked best for me. I do hope that this can be of help to you as well. I highly recommend this no-sew method for most fabric types, not just burlap. I decided to cut my cost by using more of what I had on hand. Is that thrifty or what? I’ll let you decide.
Here is my project cost breakdown:
Project Cost:
1 burlap sack: $2.50 (What I originally paid for 1 sack.)
Heat and Bond/Stitch Witchery: FREE (I normally keep this great stuff on hand.)
Cafe Curtain Rod: FREE (I had this on hand.)
Curtain Rings: FREE (I had these on hand.)
TOTAL: $2.50
I’m no sewing genius, in fact I can’t sew at all. Can you tell?! Hopefully, not. However, these no-sew curtains aren’t too shabby for $2.50. They will serve to warm up the space until we can make plans to tackle the kitchen. Now, off to finish the dining table.
Have you attempted to make curtains before? Does anyone love Heat and Bond/Stitch Witchery like I do? We love it when you leave your comments, so please do.![]()
3 Comments
10 Pings & Trackbacks
Pingback:
How to Make No-Sew Curtains: 28 Fun DIYs | Guide Patterns
Pingback:
Interior Design: Burlap Valance: 16 Unique DIY Patterns – CrochetingHearts.org
Pingback:
Interior Design: 25+ Easy No-Sew Valance Tutorials – CrochetingHearts.org
Pingback:
Interior Design: 32+ DIYs to Make Burlap Curtains – CrochetingHearts.org
Pingback:
Fun Things To Do With Burlap - GODIYGO.COM
Pingback:
32+ DIYs to Make Burlap Curtains | Guide Patterns
Pingback:
25+ Easy No Sew Valance Tutorials | Guide Patterns
Pingback:
Easy DIY Crafts You Can Do With Burlap « Club Oferteproprietari.ro
Pingback:
Easy DIY Crafts You Can Do With Burlap - Proverbial31
Pingback:
18 Creative Projects Made With Burlap