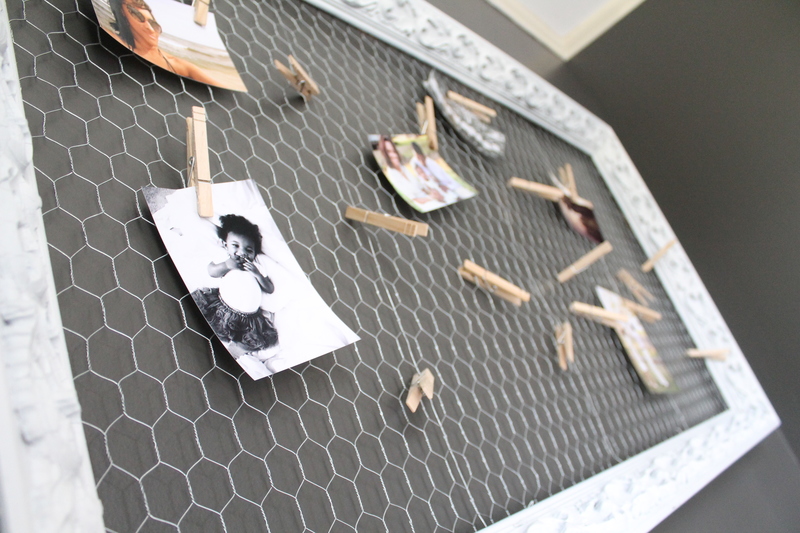
*Since this post was first published in 2013, we’ve updated the post with some pictures of how we use it. It’s holding up very well and we still love it.
Several months ago, I was really inspired by what Carmel at Our Fifth House did to her entry foyer. (See here post here.) She used magnetic primer and chalkboard paint to create this really cool space. Love the painted chair too!
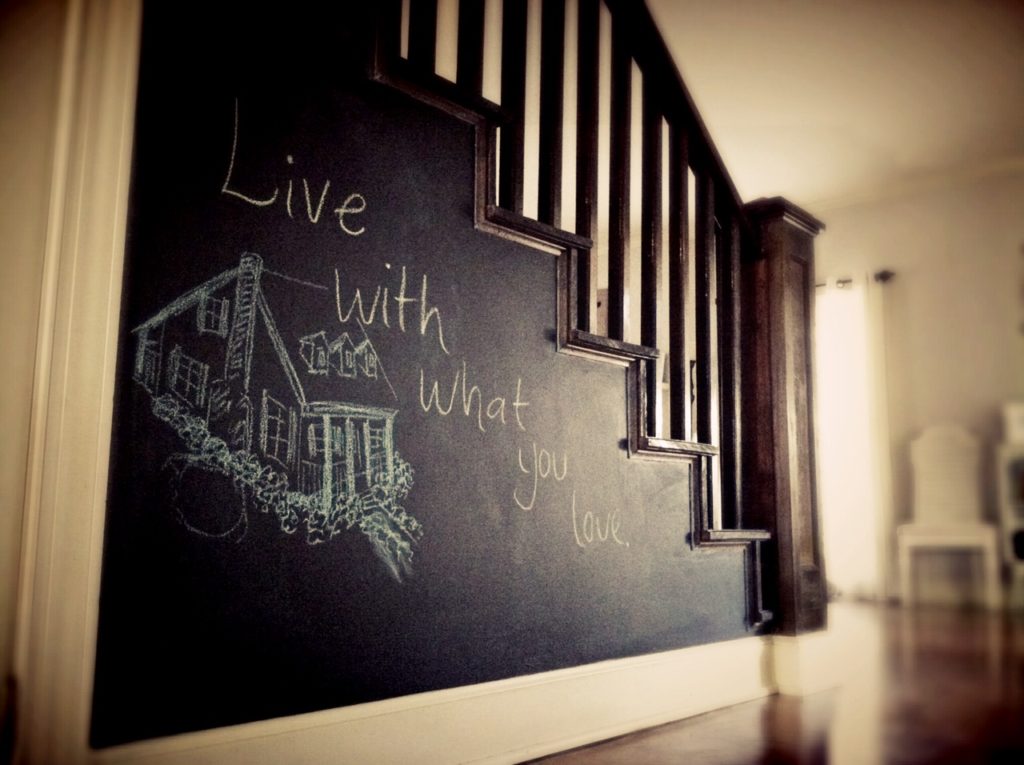
The writing is now on our wall. Yes, we have our own chalkboard wall to write own. We are really enjoying the area.
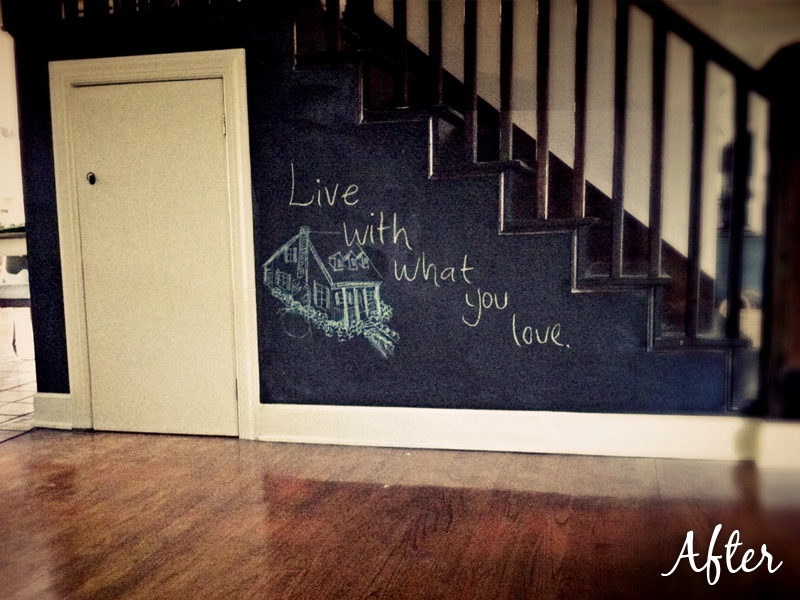
We found the perfect spot for the chalkboard paint underneath our stairway. So how did we do it? This post is to share a simple tutorial, tips, and price breakdown for this inspiring project.
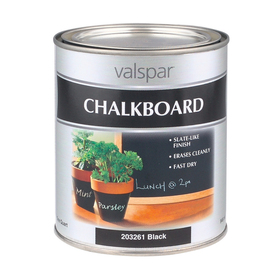
First we gathered our supplies, which involved a quick trip to our local Lowe’s. We needed to purchase the paint, a new foam roller, and Frog tape. Though I really like Lowe’s and know my way around pretty well, it took us a little while to find the paint. However, we ended up asking a very helpful associate, who lead us right to it. Out of the two paint options, we decided on the Valspar Black Chalkboard paint. Easy enough!
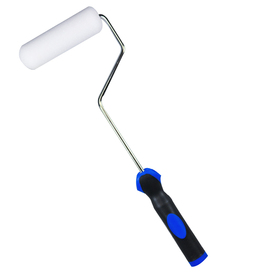
Next up, a new roller and the famous Frog Tape. While “B”, headed to grab the painter’s tape, I lingered over the roller options. Not sure why I was stressed about the proper roller to use…it’s paint people! Whenever you are doing something you’ve never tried before you tend to outthink the project. Why was I so obsessed with getting a new roller? The verdict is still out on that one. Either way, I ended up with this 4 inch foam roller.
As for the painter’s tape, I mentioned that I’ve been wanting to try Frog Tape for some time, but hadn’t because we still had our regular painter’s tape leftover. Later I’ll discuss why I was so curious to try it out. “B” found the tape with no problem and and we checked out.
Of course, not without first making a pass on the power tools aisle, and making sure we didn’t need any other supplies for the other 20 or so projects we have going around here. Pretty sure we have a slight obsession with Lowe’s.
So once you’ve gathered all your supplies (see below for a complete list of supplies), you can officially get started.
Simple Tutorial:
- Prepare your surface. Wipe your surface (for me it was my wall) down with a damp rag to remove any debris. This step is important for any painting project. Make sure that the wall is dry before you move on.
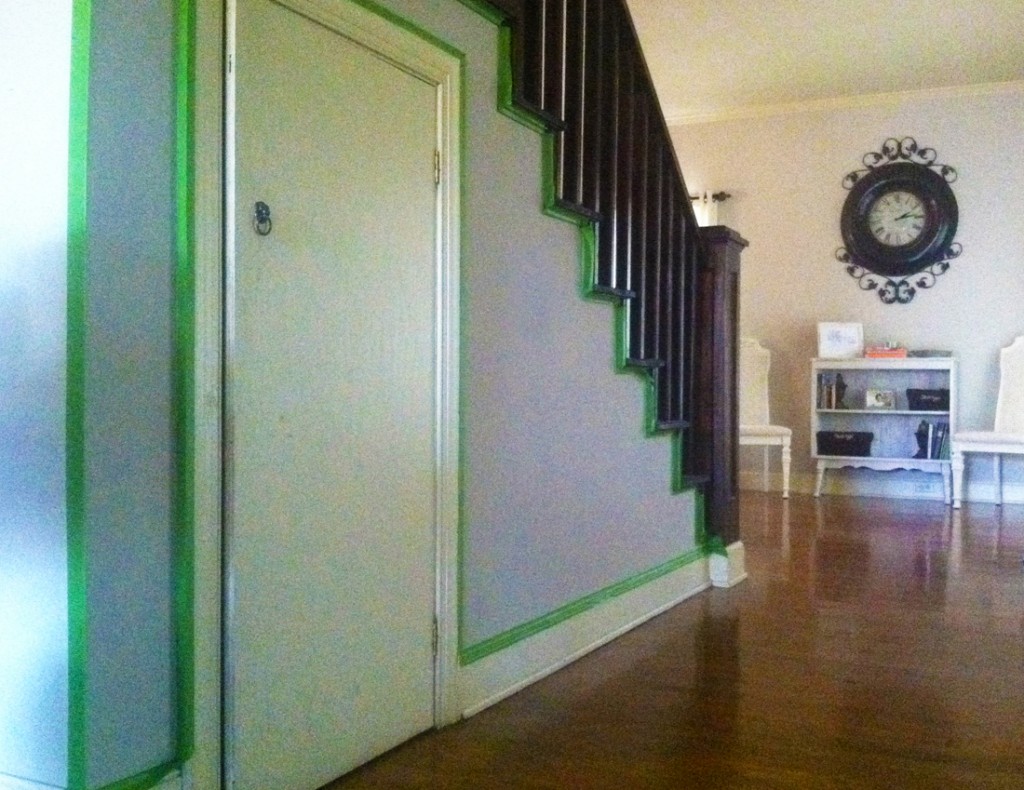
- Apply painter’s tape to the surrounding areas. It’s important to seal off the other parts of your wall that you don’t want to paint. Sometimes I will just edge, but for this project it was quicker to use the tape. This saved me a lot of time. We used Frog Tape’s patented painter’s tape, and were happy with the results. Frog Tape is the only painter’s tape treated with PaintBlock® Technology. There patented technology helps to seal the edges of the tape, which in turn prevents paint bleed. I’ve heard a lot about this products and glad that we now have some. We were happy with the results!
 Start painting! We used 3 solid coats of paint to cover our wall. I used so many to make sure that the wall was properly covered. It took about 15-20 minutes for the paint to dry between coats.
- Remove the painter’s tape. To show off your clean paint lines, remove the tape.
- Let paint cure overnight.
- Condition your chalkboard surface with chalk. Prepare your new surface by rubbing chalk over the entire surface. Wipe away to reveal your new chalkboard. Enjoy!

Supplies, Pricing, and Time Breakdown:
- Chalkboard paint- $13
- Paint roller- $5 (I used a new foam roller for this project.)
- Paint Brush for edges- Free (I used a 1 1/2 inch brush we already hand on hand.)
- Frog Tape- $8
- Wet Rag for cleanup- Free
- Project Total: $26
- Total Time: 24 hour to paint and fully dry
Here’s how we’ve been using the chalkboard wall over the years…

First Day of School

First Day of Pre-K
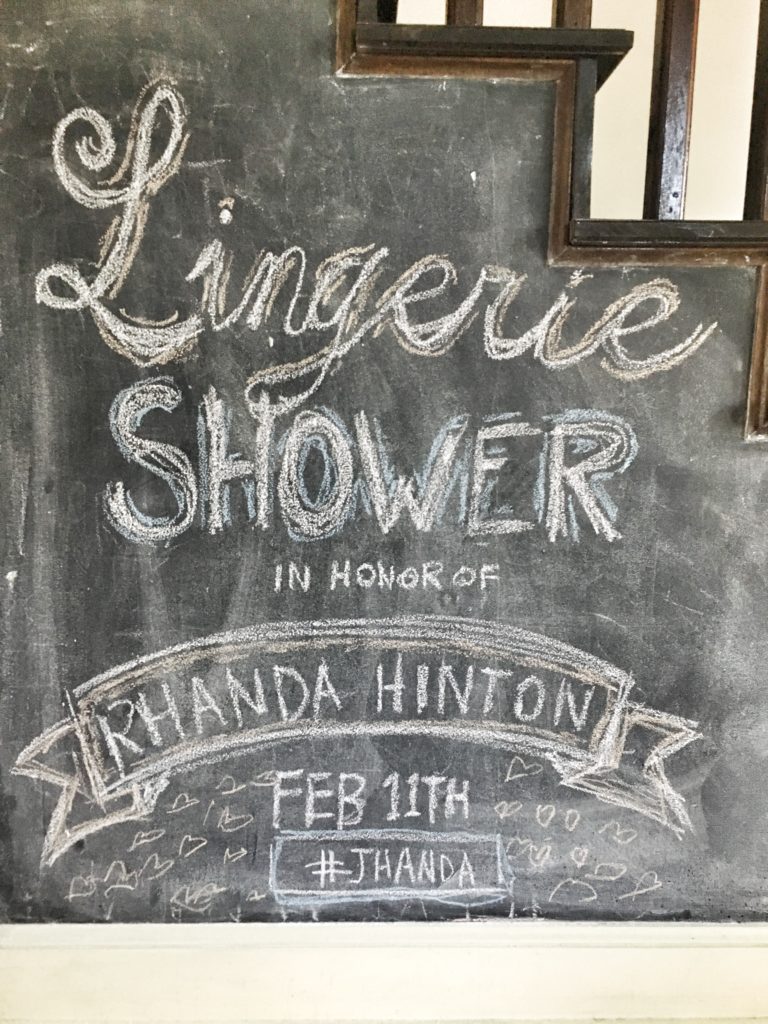
Lingerie Shower

Career Day
It’s very possible that you can do this project for just the cost of your paint. We were experimenting with a few different products on this project, so our costs were a little more. Don’t be intimidated any longer about using chalkboard paint in your home. It’s just paint, so if you don’t like it or you mess up, then paint right over it. Don’t just live in your house. Let it inspire you.
What inspires you in your home? Have you used chalkboard paint in your home? As always, thanks for stopping by. We appreciate your comments.
![]()

