
A year ago, not that long after the kitchen was starting to come together, I took on the next biggest project in our home – our master bathroom. I know right?! Bathrooms and kitchen can be massive undertakings and we did both last year. We also made over the laundry room and the wet bar. Biggest home project year ever! So, like I was saying, the kitchen was starting to look really nice (like 90% done) and then we started on the master bathroom. In the DIY world, 90% is done and it’s time to move on to a new project. HA! On to the bathroom…
Our master bathroom is very spacious with designated areas for everything. There is a vanity area, tub area, toilet nook, and a separate shower. It was built with the original hardwood floors and even has a gas fireplace. I’ve always known this bathroom could be beautiful with some major updates. In its current state, the bathroom was far from what I dreamed of though. Let’s walk through what the space looked like when we started remodeling last year. I can’t even believe I’m saying it’s been a year…
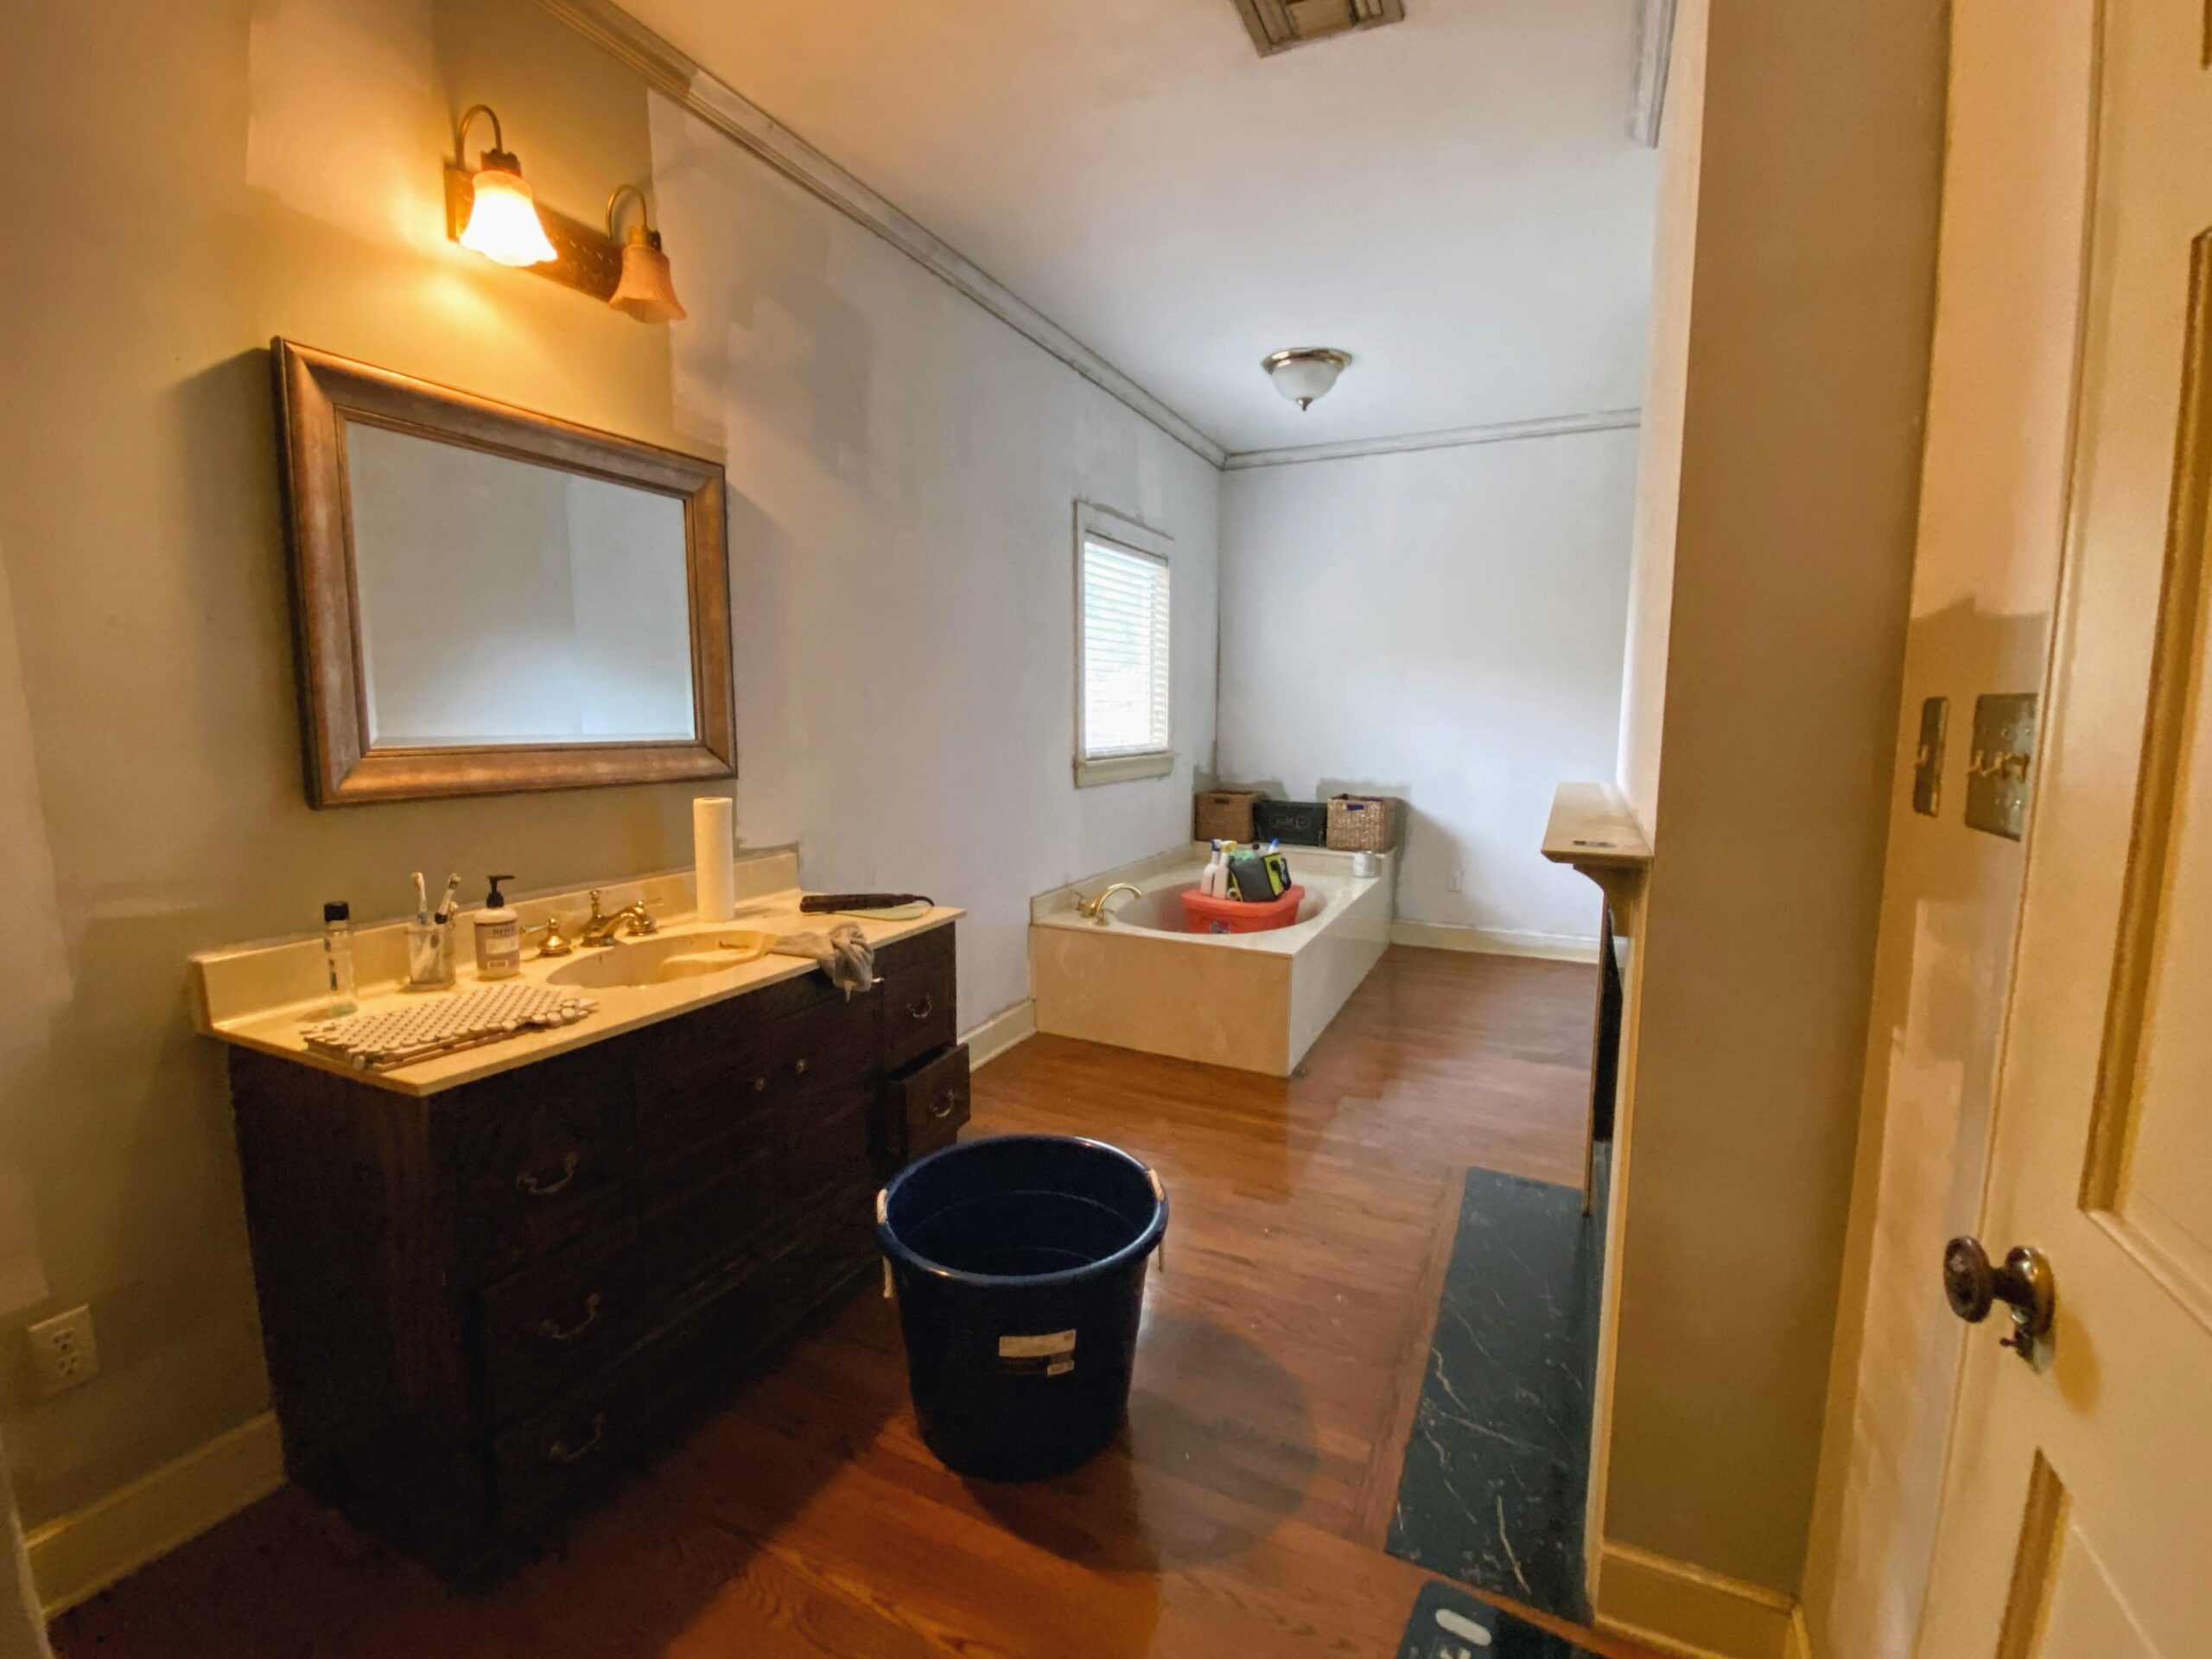
Single Vanity w/ 2 Light Dated Fixture
Our en-suite master bathroom is located at the back of the bedroom. Right as you walked into the bathroom there was a custom wood vanity, with one sink, and outdated lighting. The faucet fixtures were brass but we’ve slowly been updating all fixtures in our home to oil-rubbed bronze. That mirror was one we previously owned and hung over the vanity. Our biggest issue with this vanity area was the one-sink vanity and insufficient lighting. Two people equals two sinks unless space won’t allow it. I’m not sure how we did it but we’ve made due with one sink for 10 years.
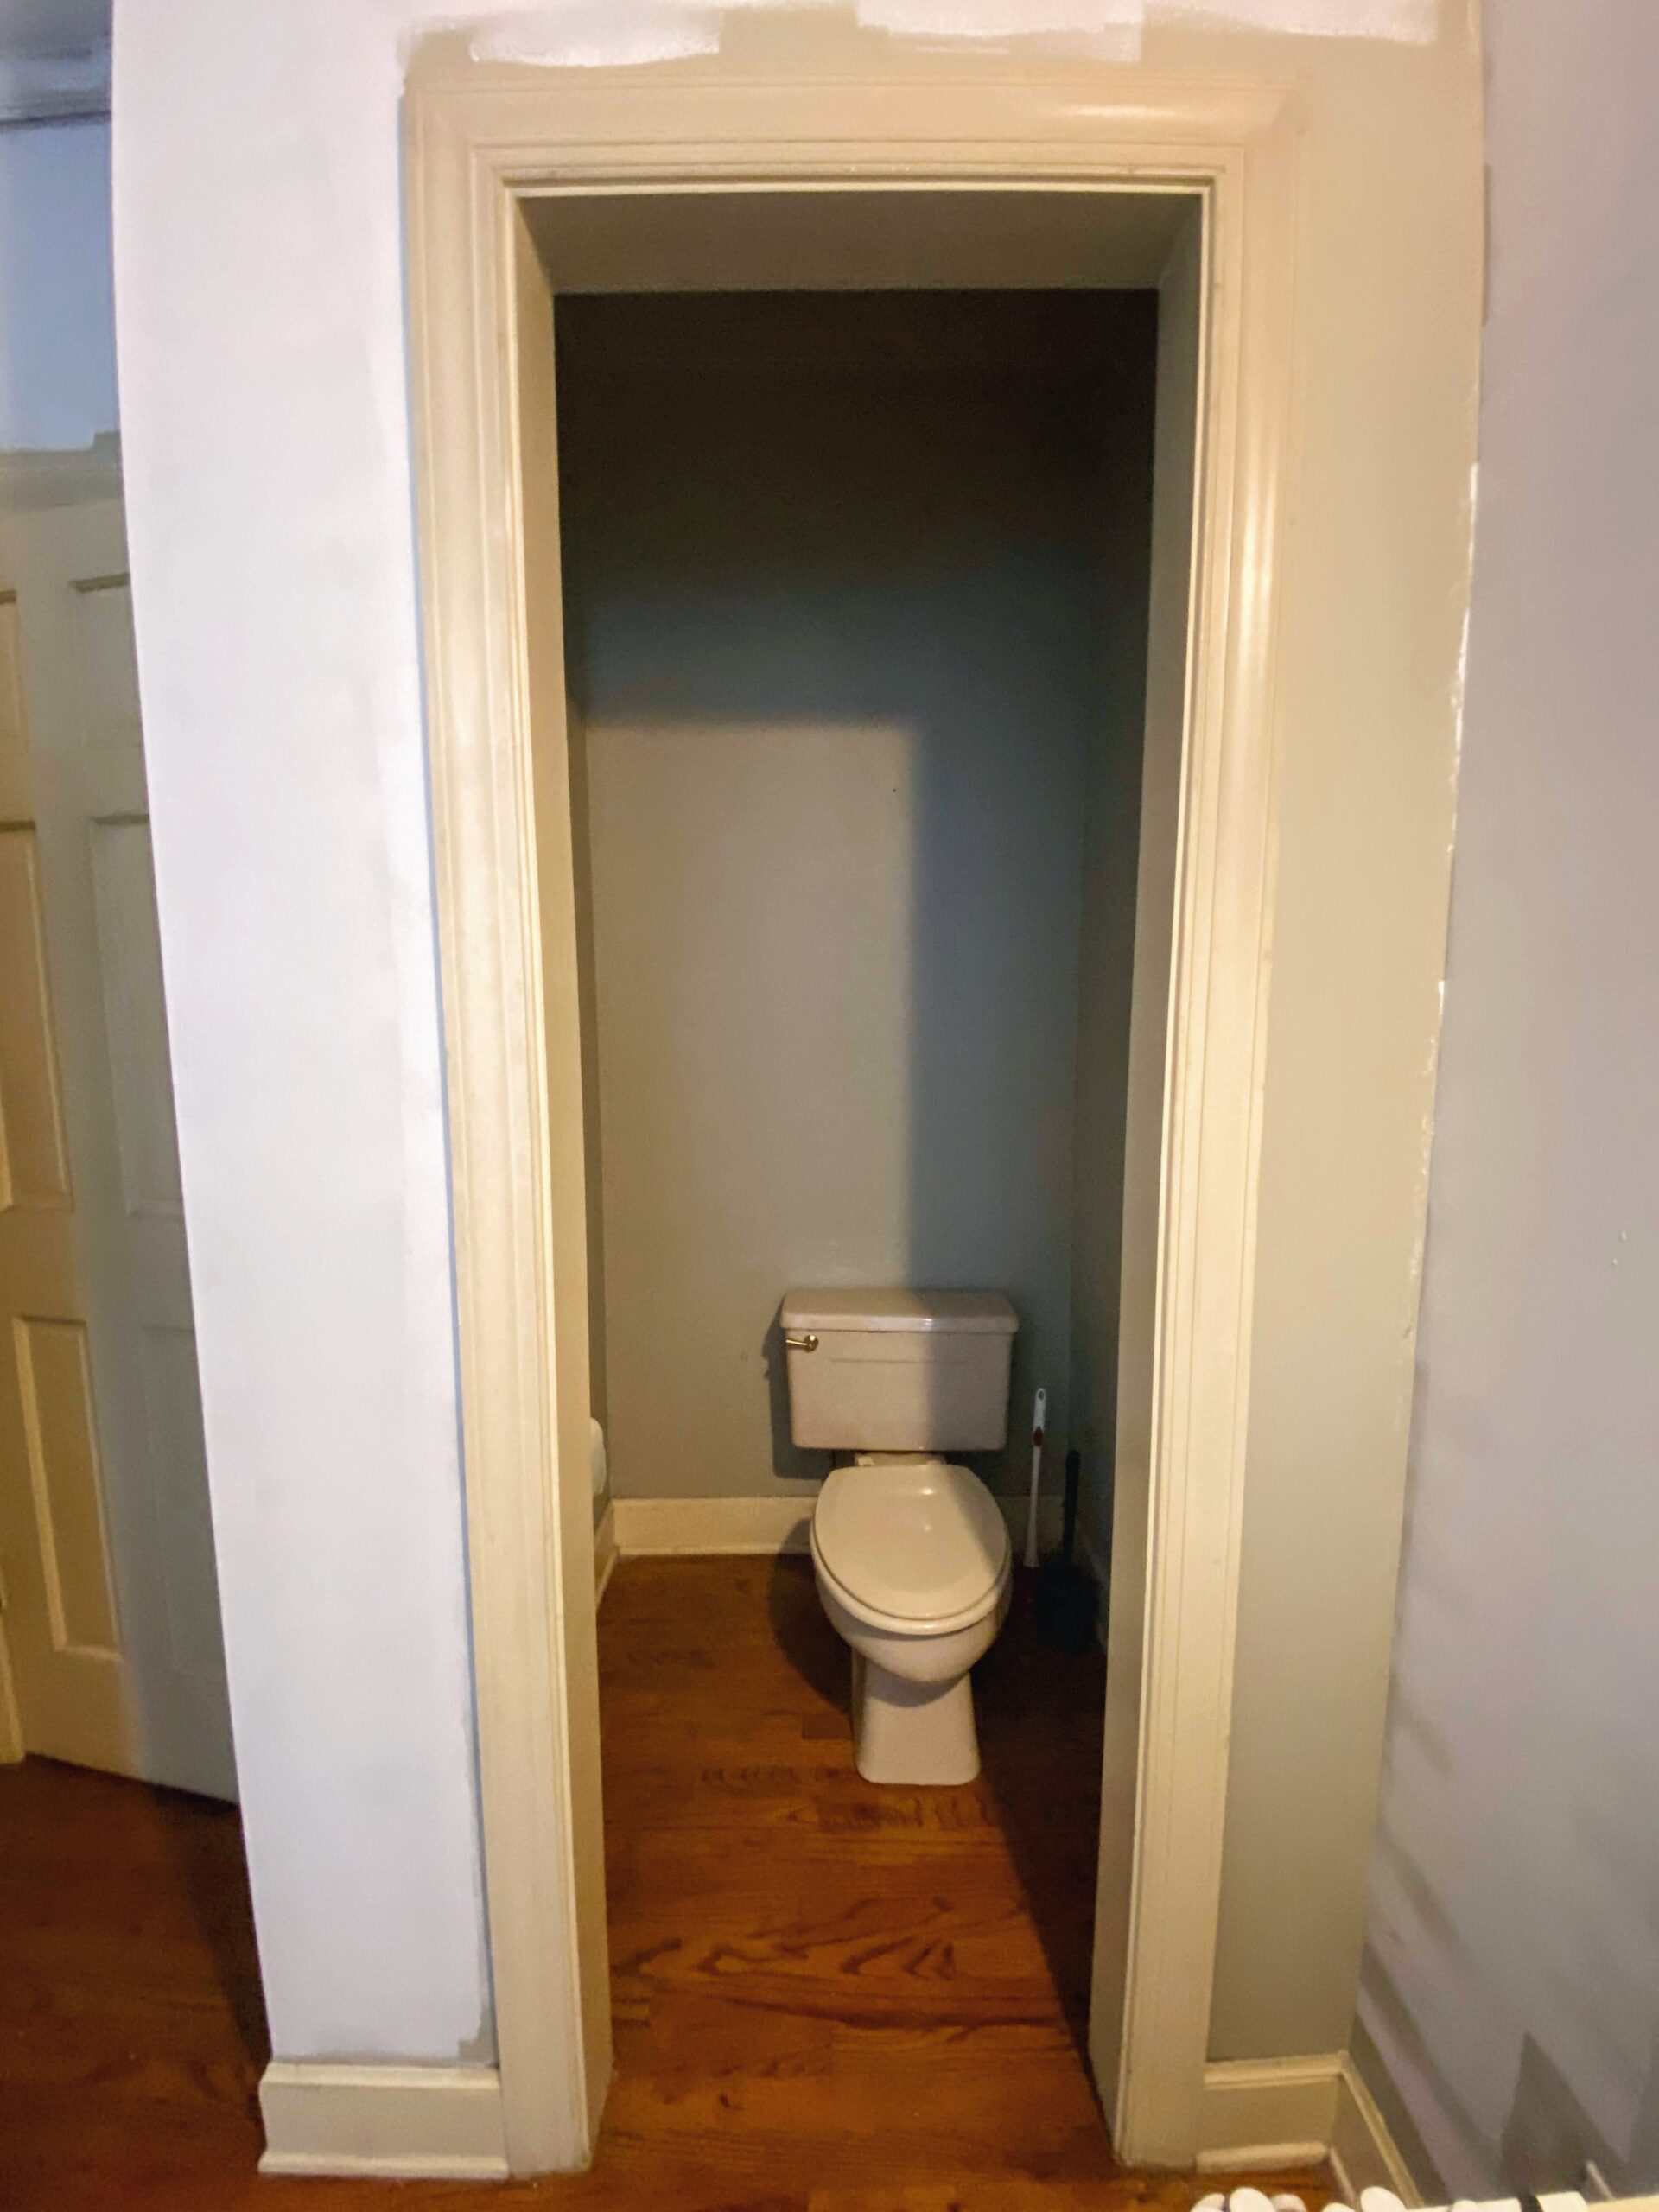
Toilet Closet
To the left of the vanity is this toilet closet. I think our house was ahead of the game by having a separate toilet area. But there are two issues that I always wished I could change. One, it would be nice if this area of the bathroom had a door. Nowadays, toilet closets have doors. Second, this nook only had a fan – NO LIGHT. That’s right, the insufficient lighting issue continues into this dark toilet area. How it looks in the picture is about how much light it received on any given day. There doesn’t seem to be enough space to add a door, so my goal was to always at least add good lighting. There should be light when you use the toilet. The end.
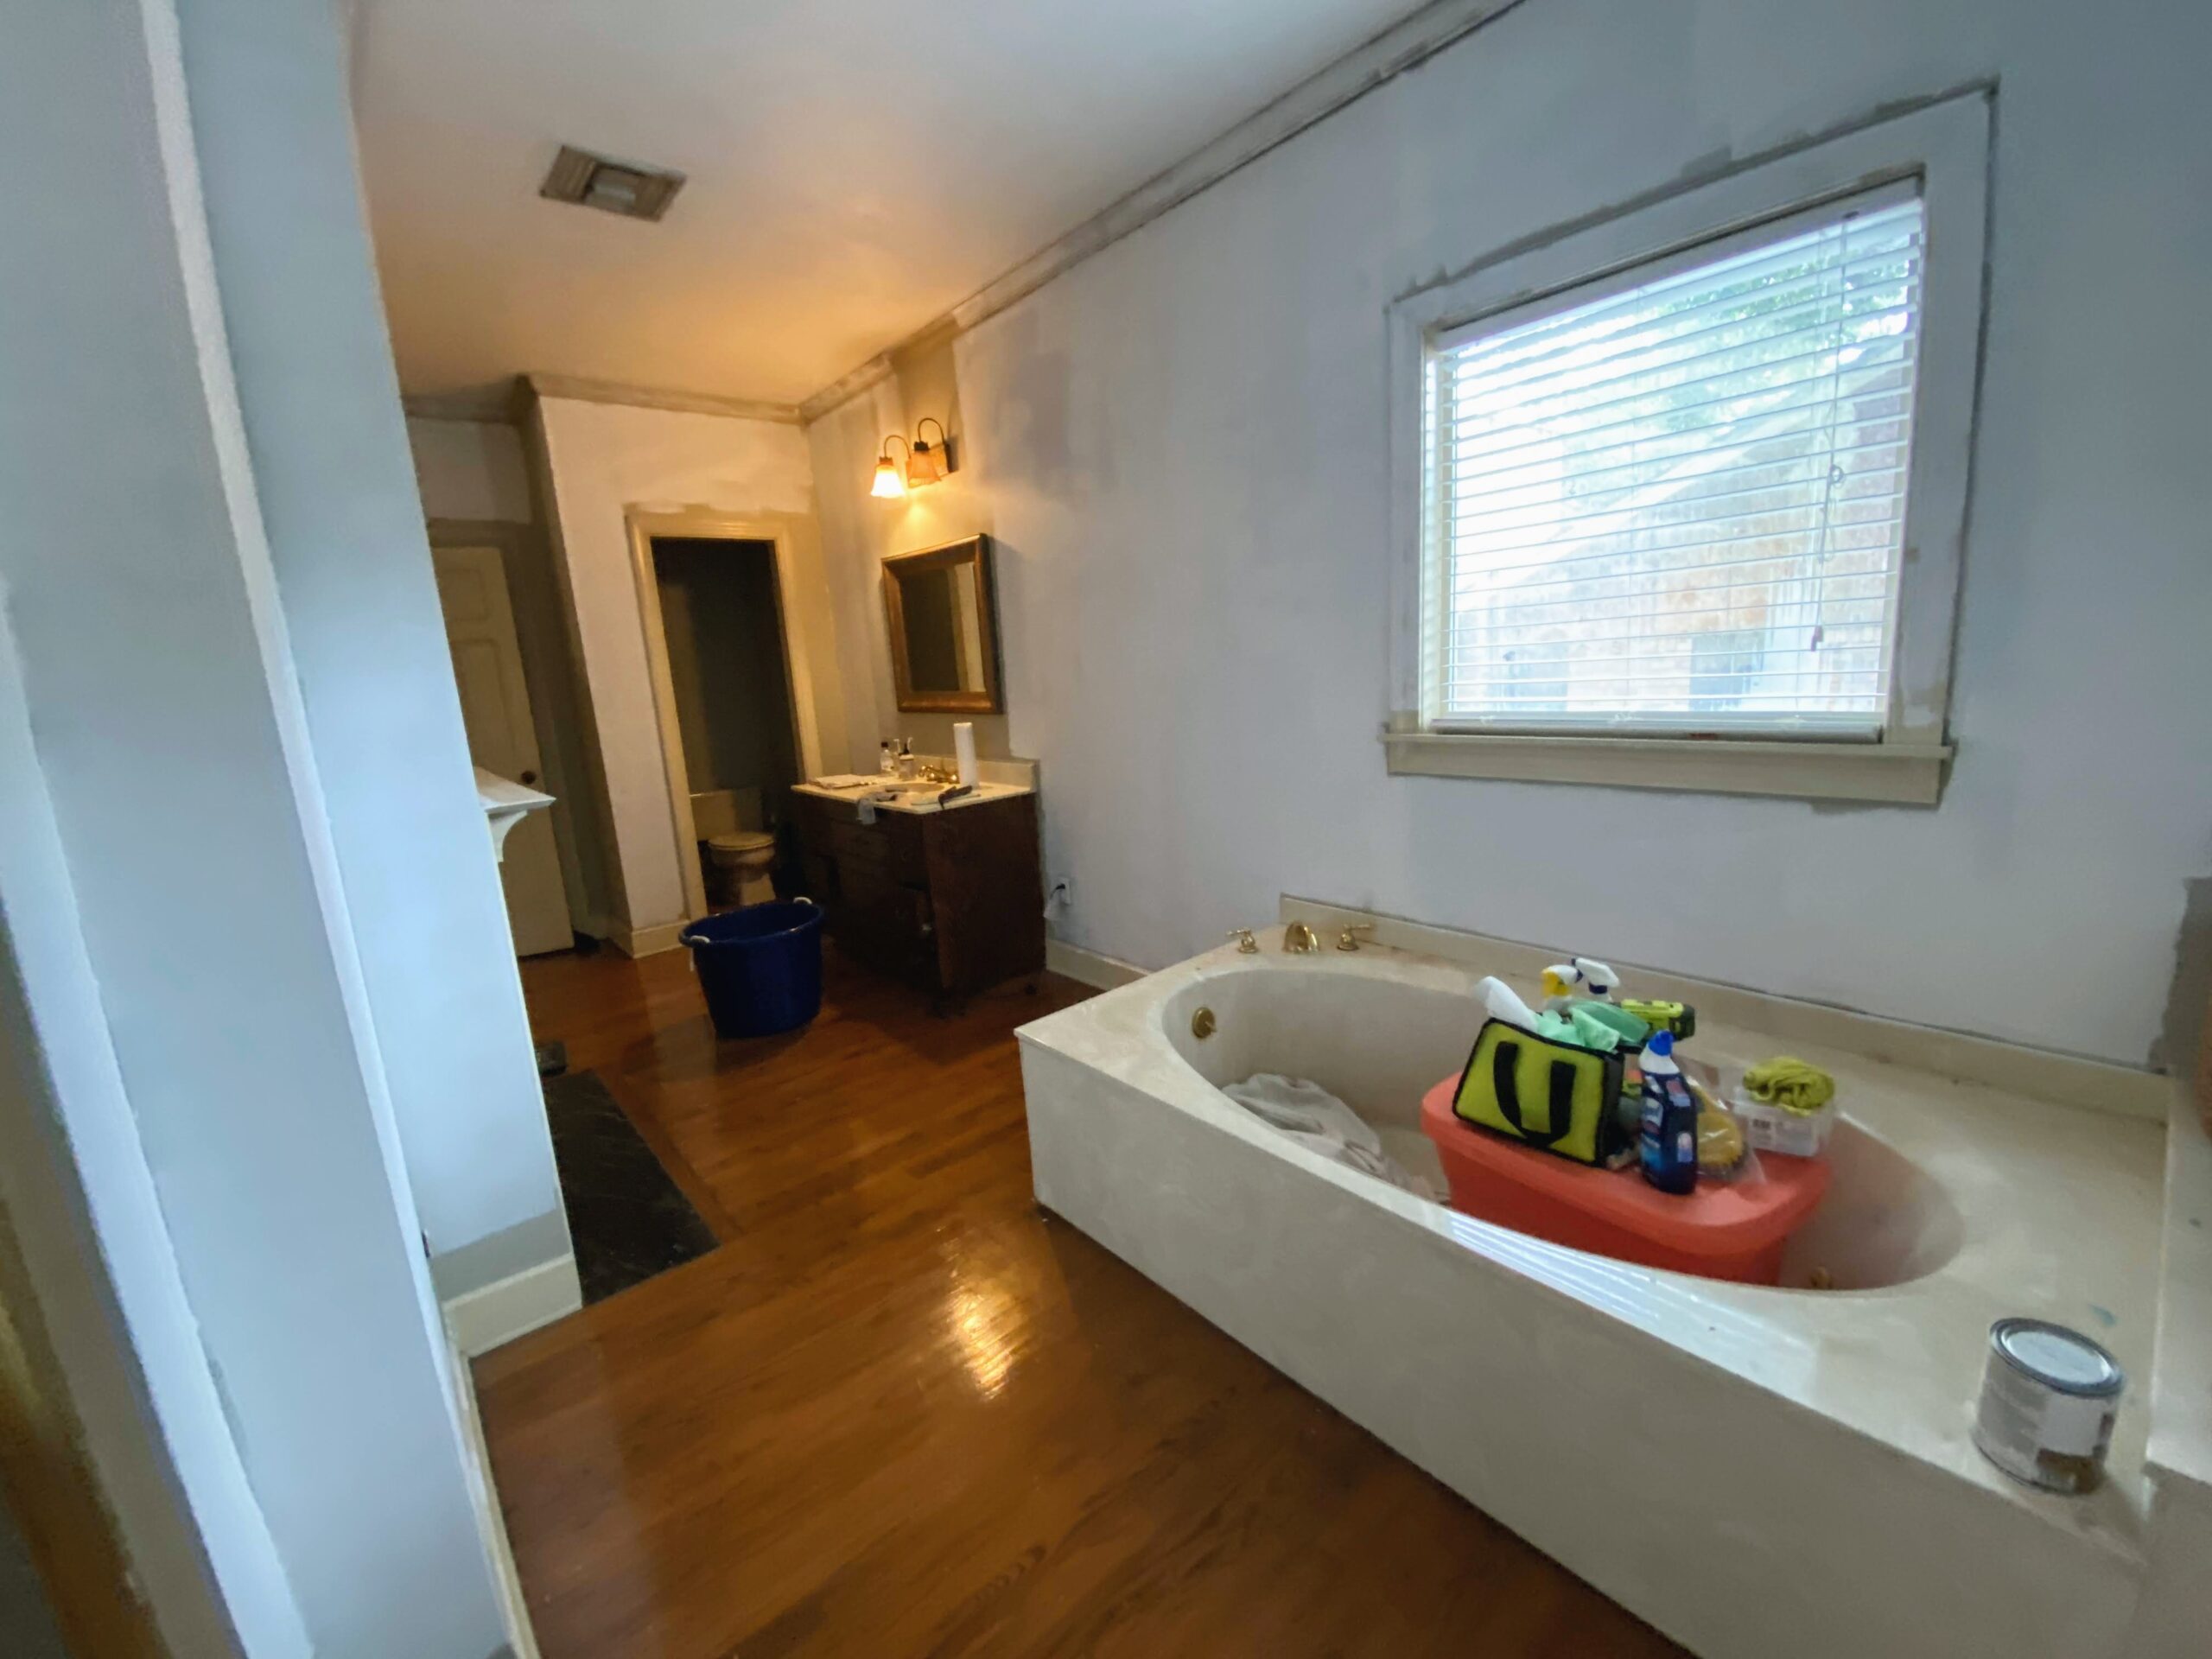
Jacuzzi Tub with Cultured Marble Surround
As you walk past the vanity, you will pass the fireplace and run into the cultured marble tub. The fireplace was to remain the same. The. Tub. Was. Huge! It was a big jacuzzi style tub, motor included (still turned on), surrounded by marble sheets. I went back and forth with building in a tub again or having a freestanding tub installed. I quickly fell in love with the aesthetics of a freestanding tub. Since the whole area was being demoed there would be a blank canvas. It really came down to budget and design. If you follow me on Instagram, you already now what I decided to do with the tub area. You’ll also get a sneak peel with the design board below.
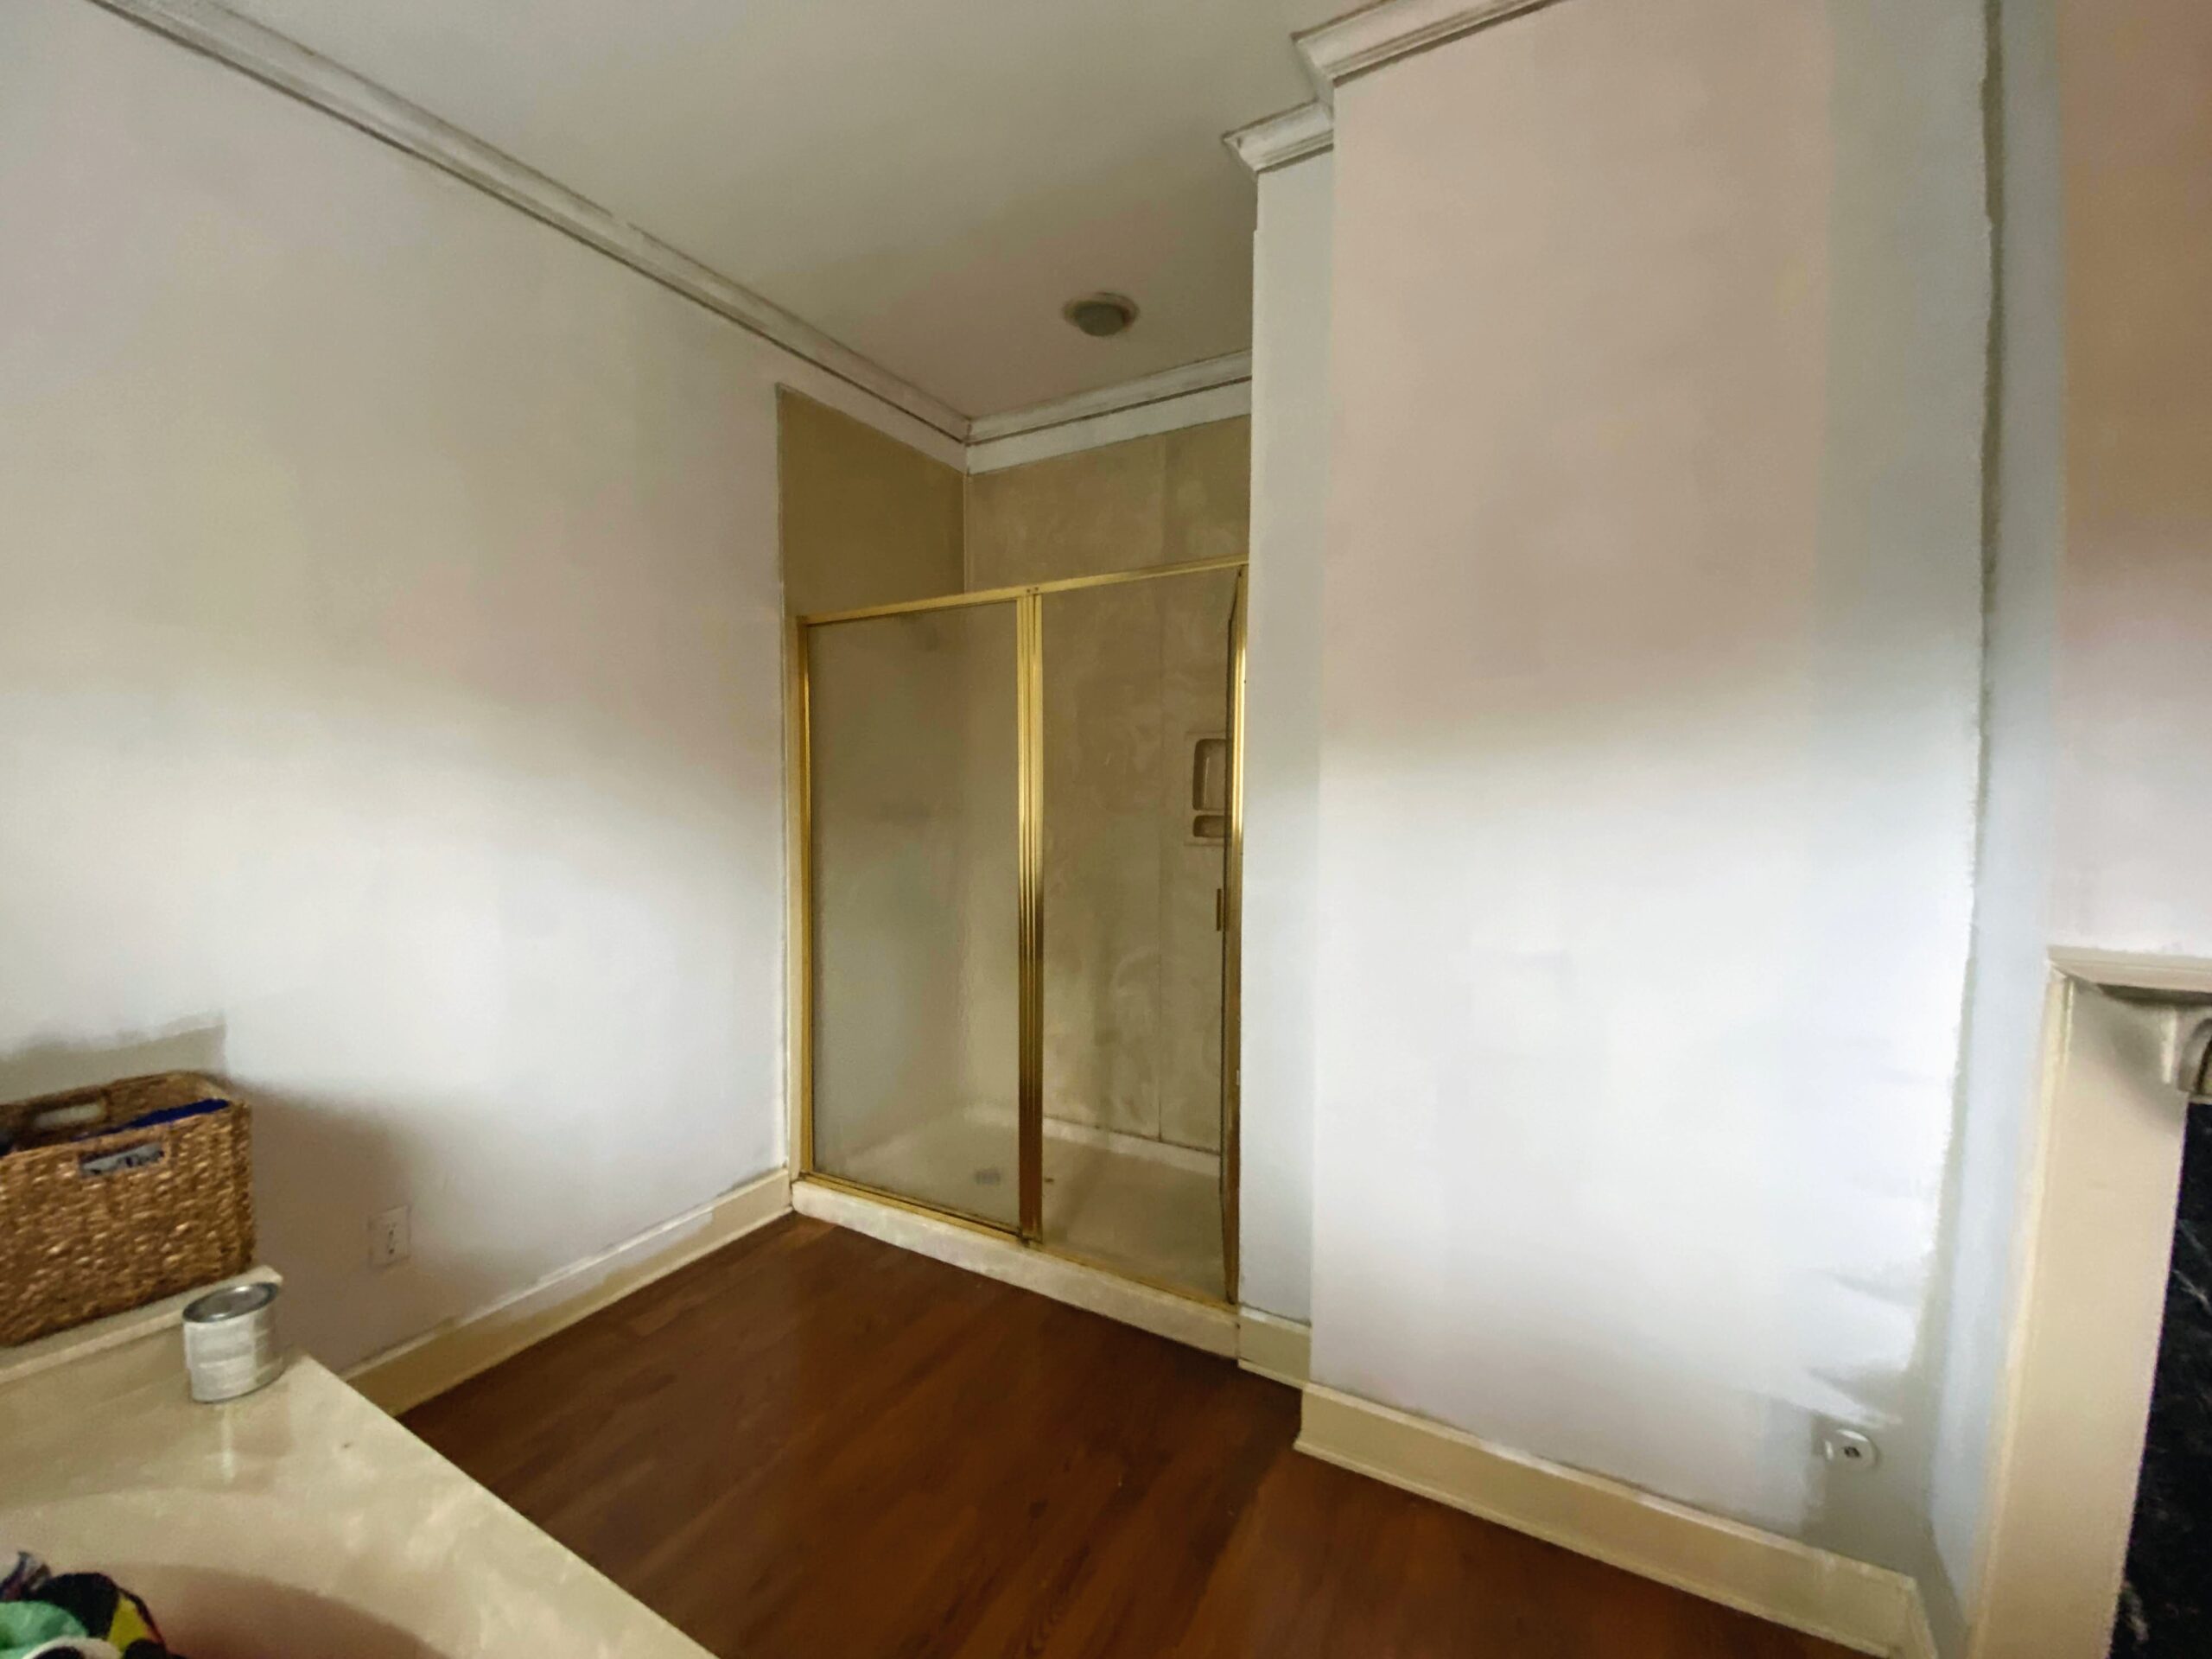
Brass Closure with Cultured Marble Shower
The shower runs parallel to the tub. It was also cultured marble with brass fixtures. This space would require a complete demo as well. However, I’d keep the same blueprint and have the shower tiled in, instead of big sheets of stone. The shower area also was in need of ventilation since the only fan in the whole bathroom was in the toilet nook. So I knew I needed to hunt down a light/fan combination for this area too.
That’s the overall walkthrough (in written format) of our master bathroom. So, how would we get it done? What could we hire out and what could we DIY? What was the overall design plan for the space? Good questions. For this bathroom, we were hopeful we could hire out a lot of the work (electrical, plumbing, tile work, etc.), and do some DIY projects to bridge what work was left. The overall design plan is detailed in the following moodboard.

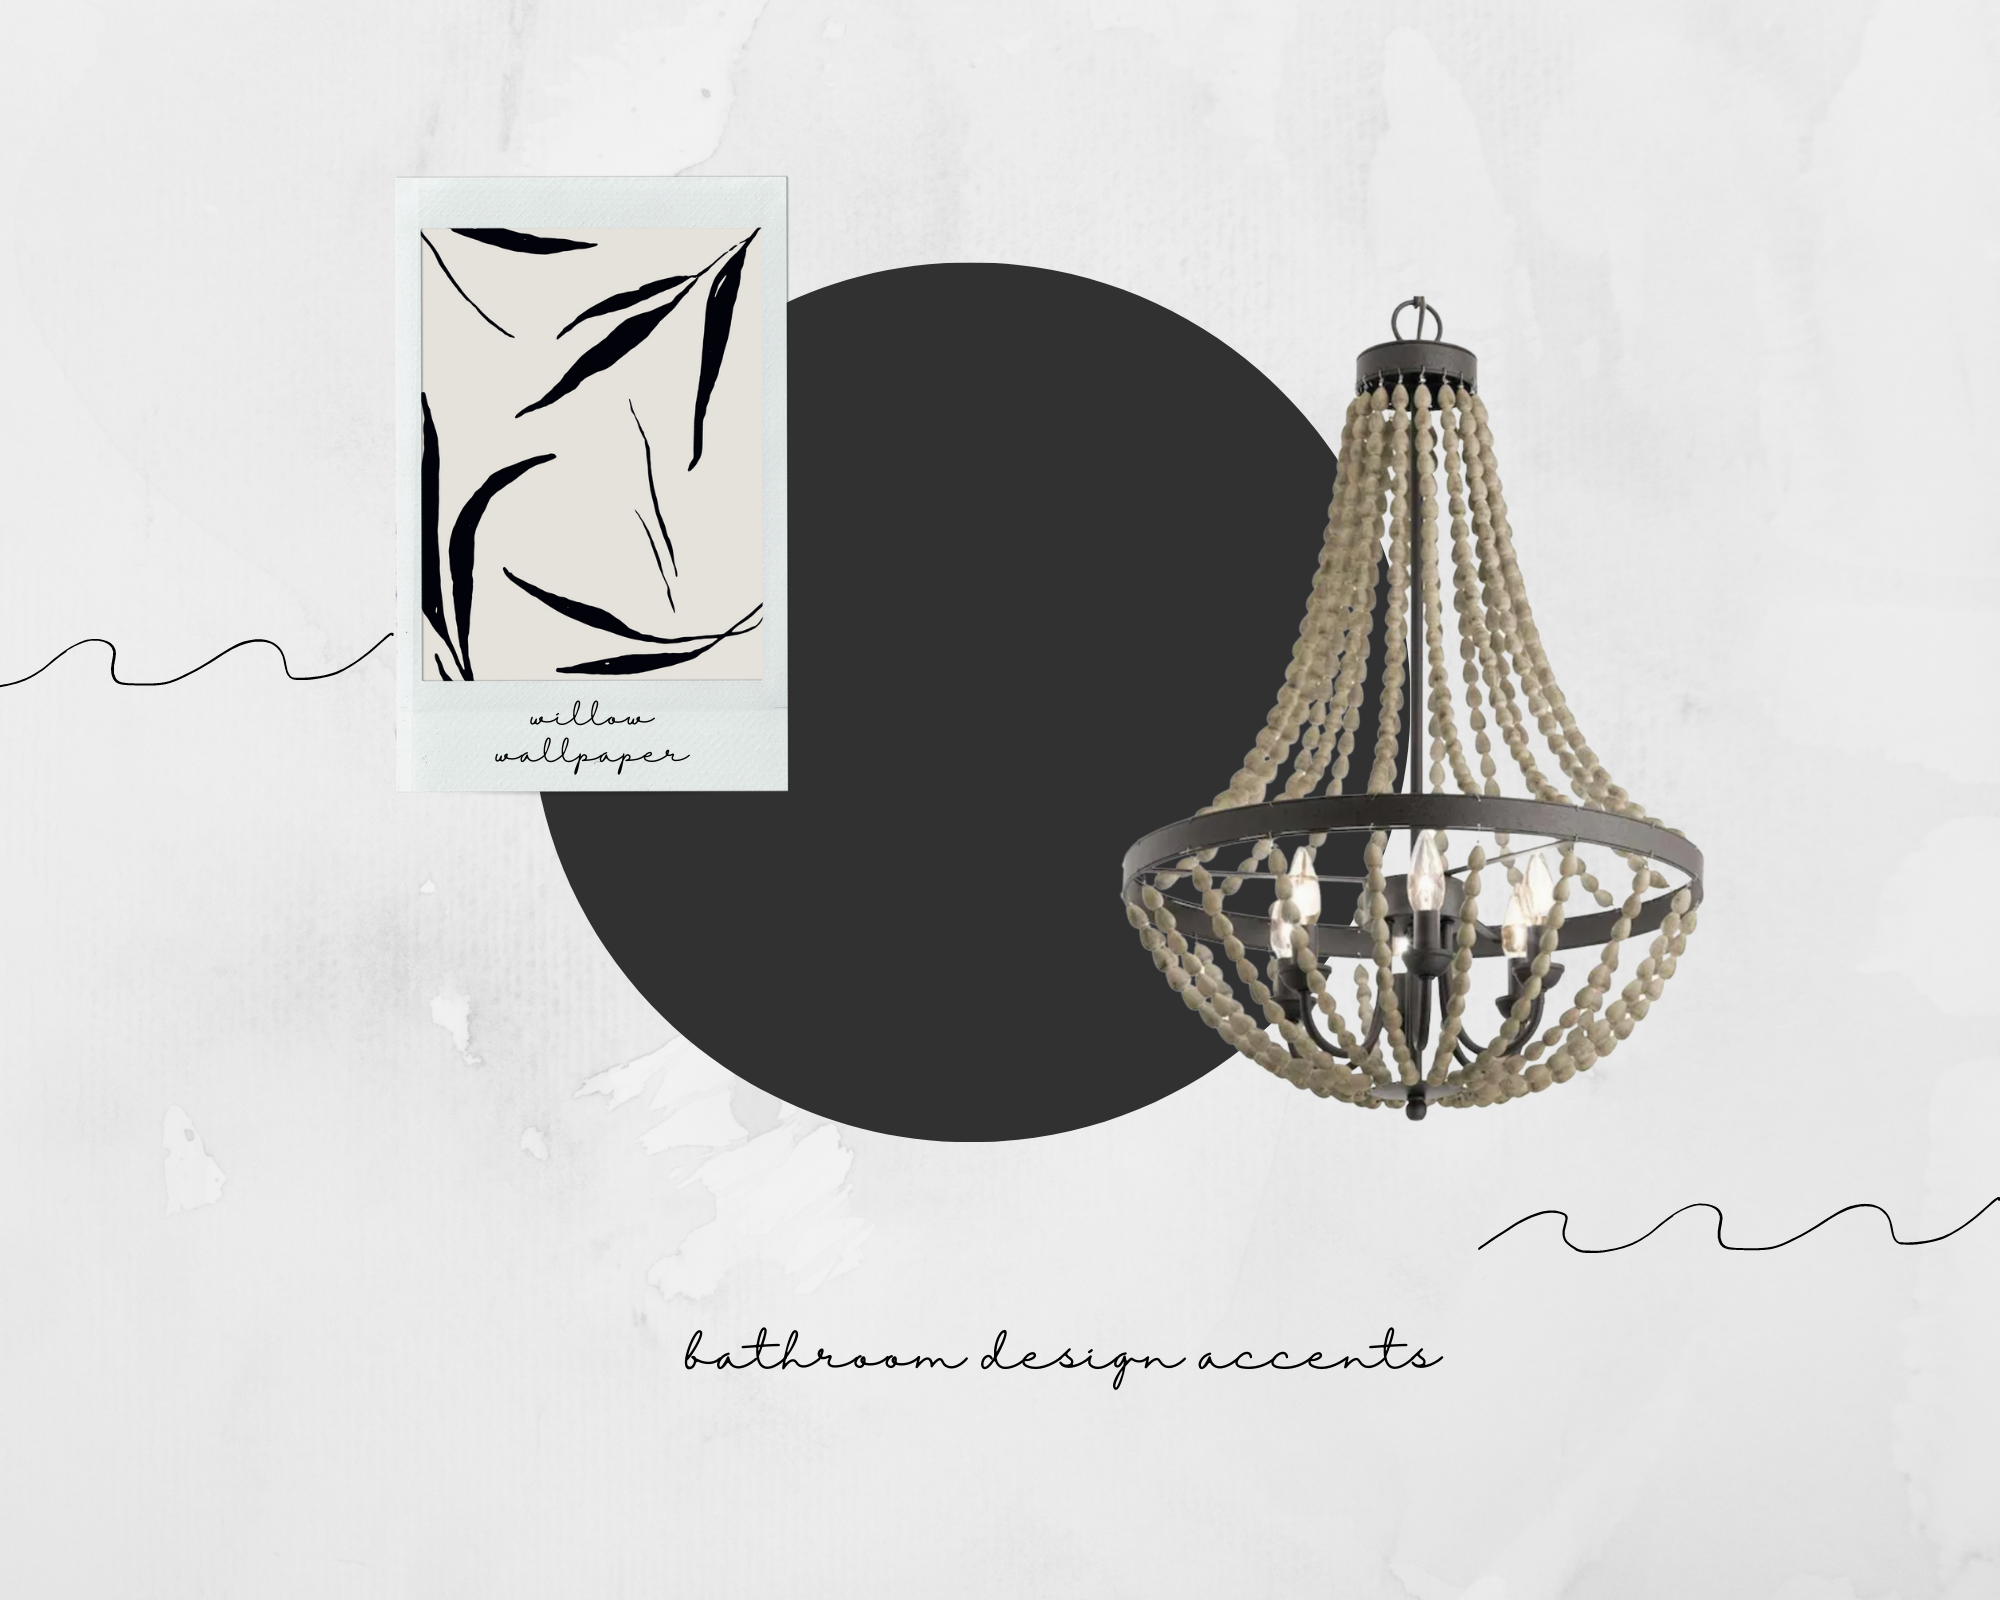
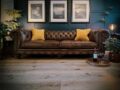
Waffle Bath Towels | Botanical Canvas Prints | Beaded Chandelier | Tub Filler | Freestanding Tub |Textured Willow Wallpaper | Hexagon Flooring
The design plan for the master bathroom consisted of a mainly black and white color scheme, a new vanity, wood details in a beaded chandelier, mirrors, and other accents. Additionally, we planned for a freestanding tub, a new toilet, all new lighting, and hexagon flooring. The shower would be tiled with subway tile and hexagon tiles to flow with the flooring. If the budget allowed, wallpaper would be used as an accent on the walls as I saw fit. The updates would need to keep the original blueprint of the space, so as not to incur additional expenses and permits. I really loved the design plan and it’s been fun to see everything come to life. I can’t wait to share more about this project in the next bathroom update. Until then…

Pingback:
Master Bathroom Part 1 - Demo - Crystal Holliday with The Holliday Collective