It’s so nice that spring is finally here. I almost died this winter. Okay, maybe not really but it was the longest winter here. It even snowed here in Louisiana. That’s a rare sight! Now that spring is here I’ve been having fun in the kitchen and even, with the help of my handy husband, did a makeover in our powder room.
Along with 13 other bloggers, I joined the “Spring into Action” blogger collaboration, in which we all worked to complete a project around our home. So, if you’re visiting from Carli at Made by Carli…welcome! I’m so glad you’re here. I was torn on what space to work on but with the votes of my Instagram community decided to work in our powder room. Here’s what it looked like before and some of the projects we completed to transform the space.
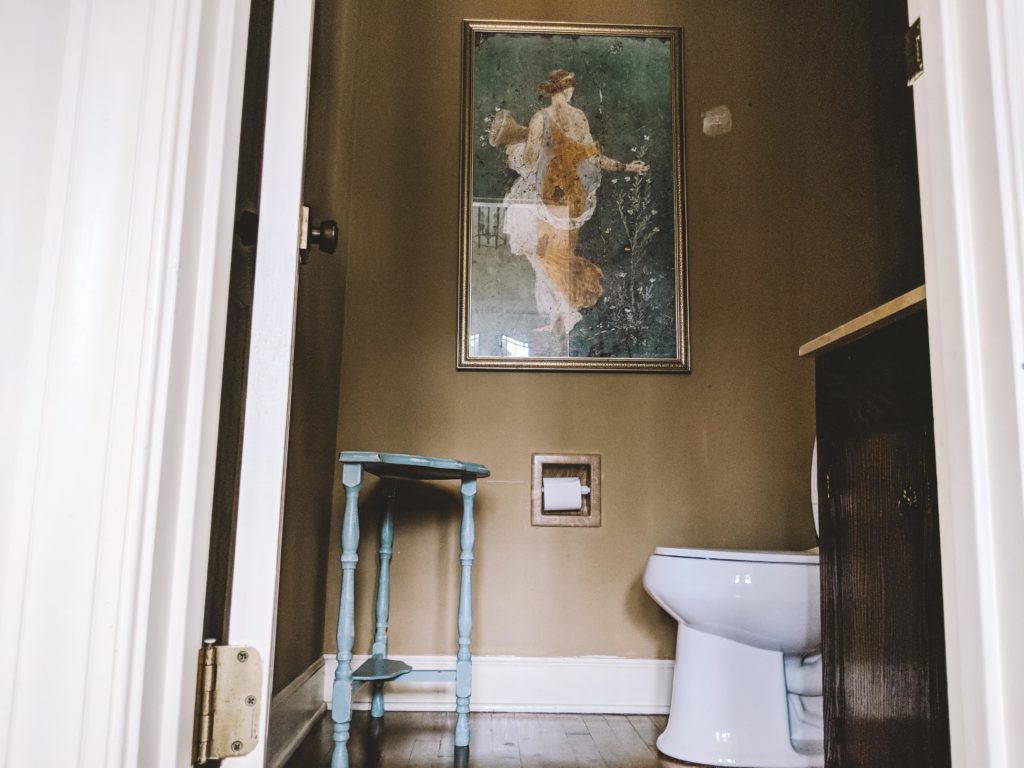
It was very important that I complete this makeover on a budget. I had limited funds to make a big impact.
The first thing you should do when completing a budget makeover is see what you have on hand.
To start, I had a couple of cans of paint, some plywood strips, scrap wood, and some extra accessories around the home. After polling my Instagram community, though it was close, Sherwin Williams Alabaster won the vote. I was very happy with that choice because the powder room is small. I definitely didn’t want it to appear too dark or drab. Since I wasn’t updating the dark wood floors I determined that the white was really the best choice. Even better, I had enough paint on hand to complete the entire space. Yeah, for money saved!
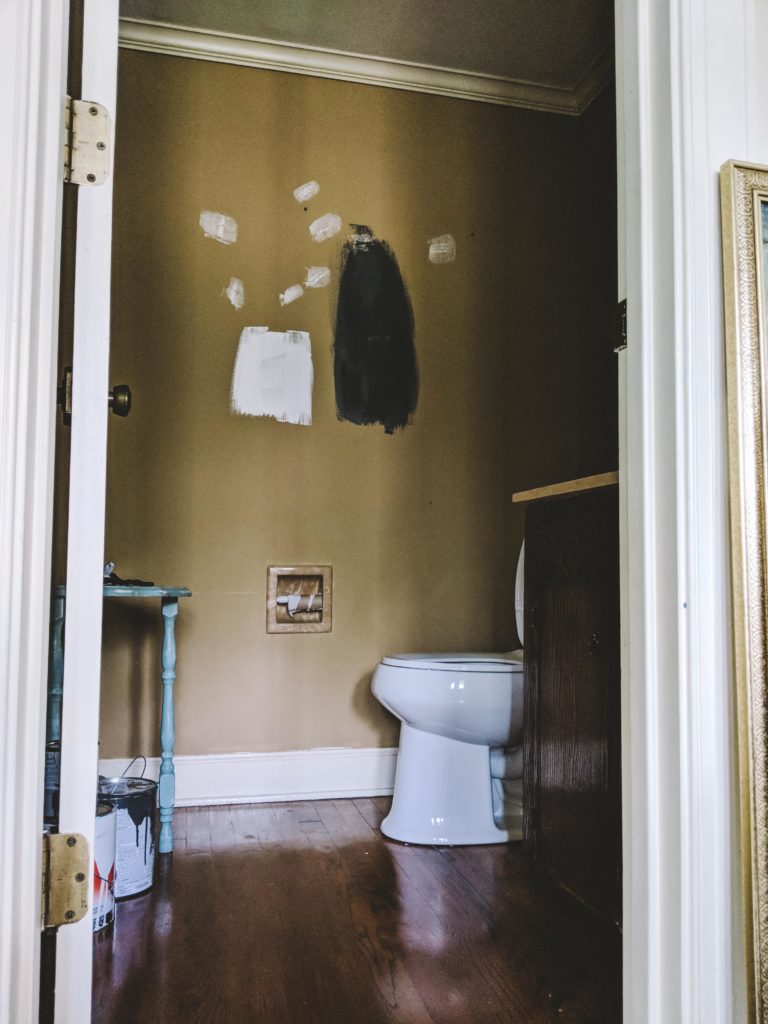
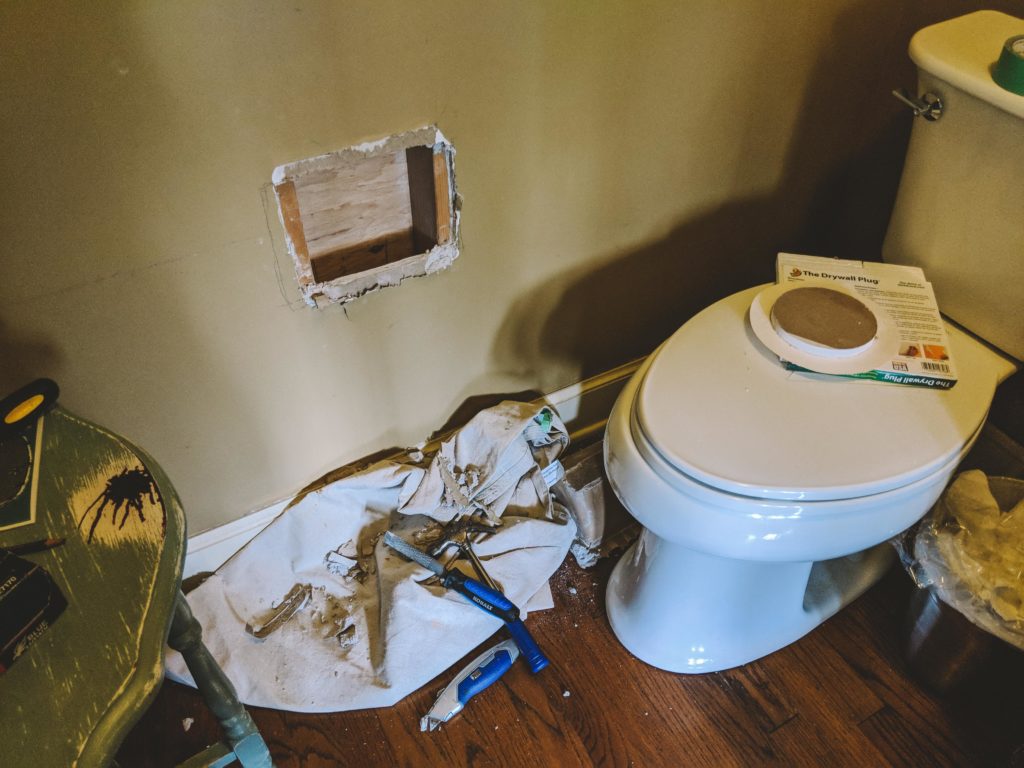
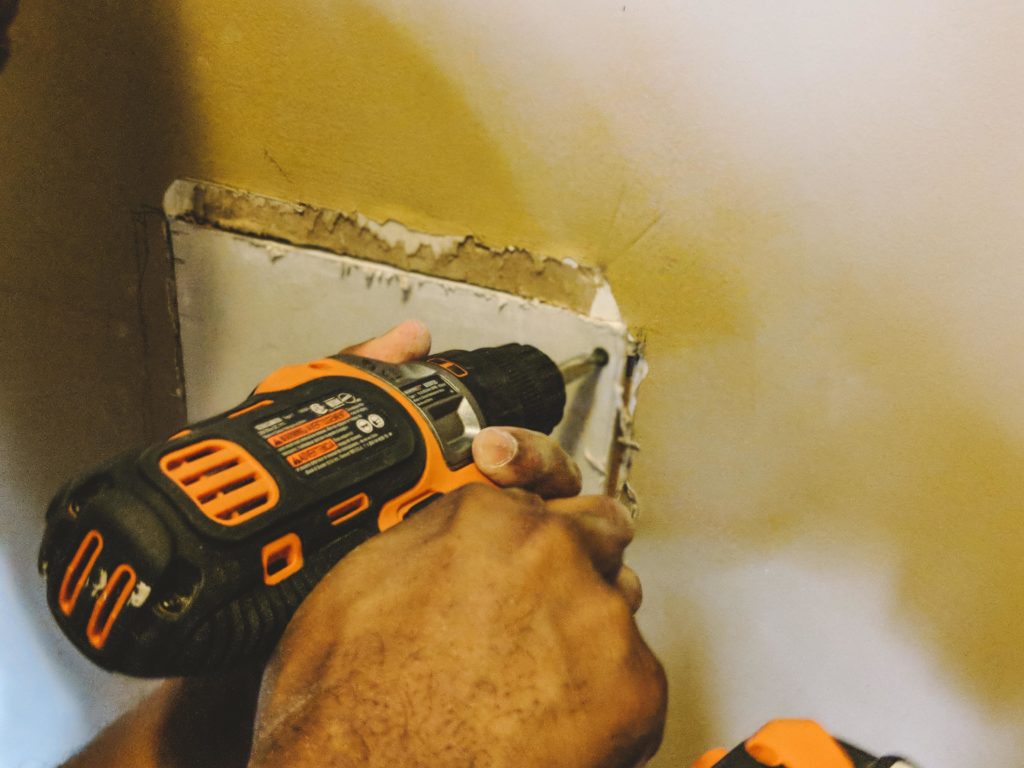
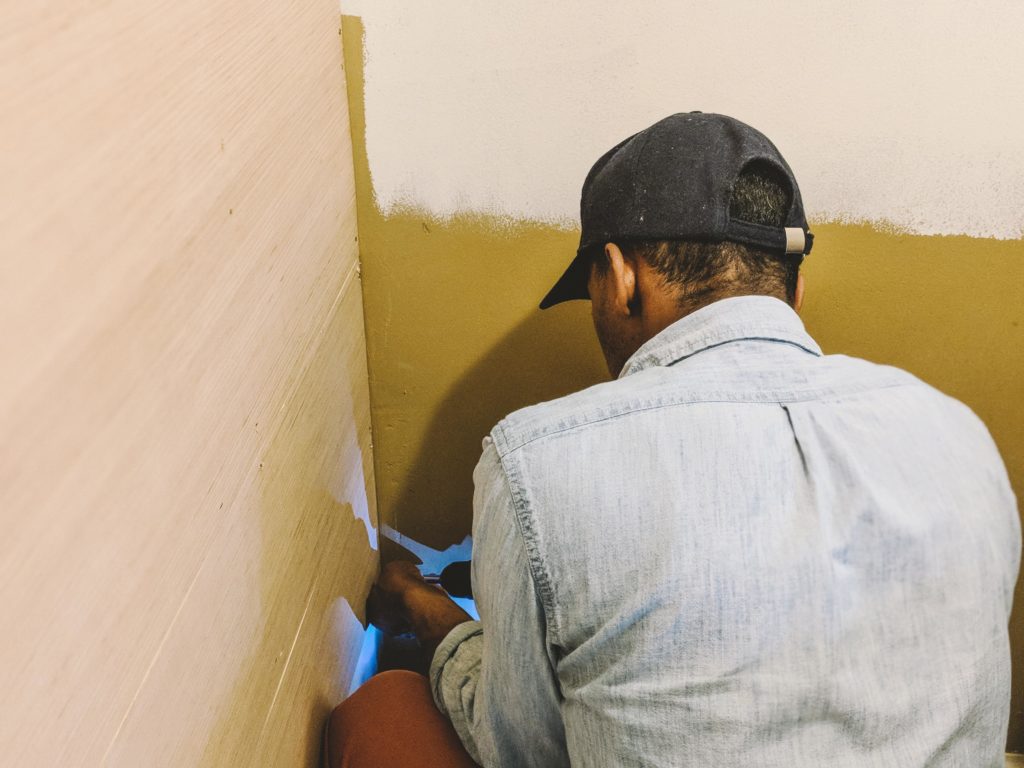
Next, I pulled, yanked, and removed the marble toilet paper tissue holder from the wall. We had a scrap piece of sheetrock that Brandon cut and installed to replace the hole. Then I patched it up with joint compound, sanded it, and then it was ready for painting. This mini project was very messy. Sheetrock work is messy, dusty, and I have no plans of doing it professionally. However, it was so gratifying to pull the last outdated toilet tissue holder out the wall. There are officially no more of these in our home!
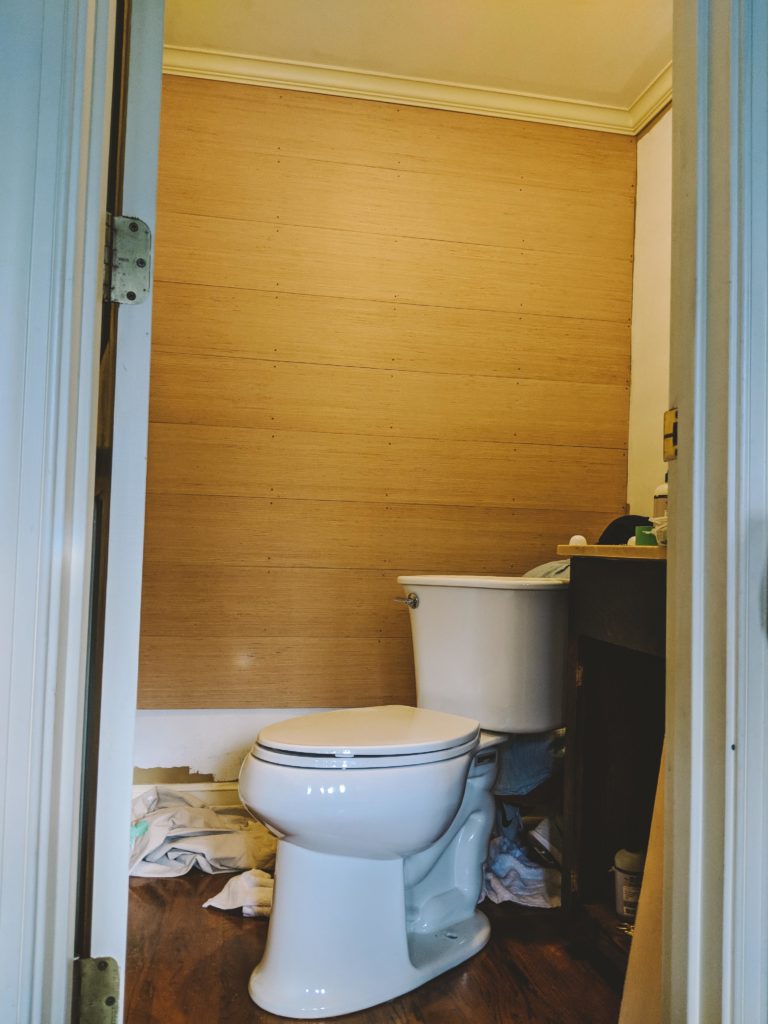
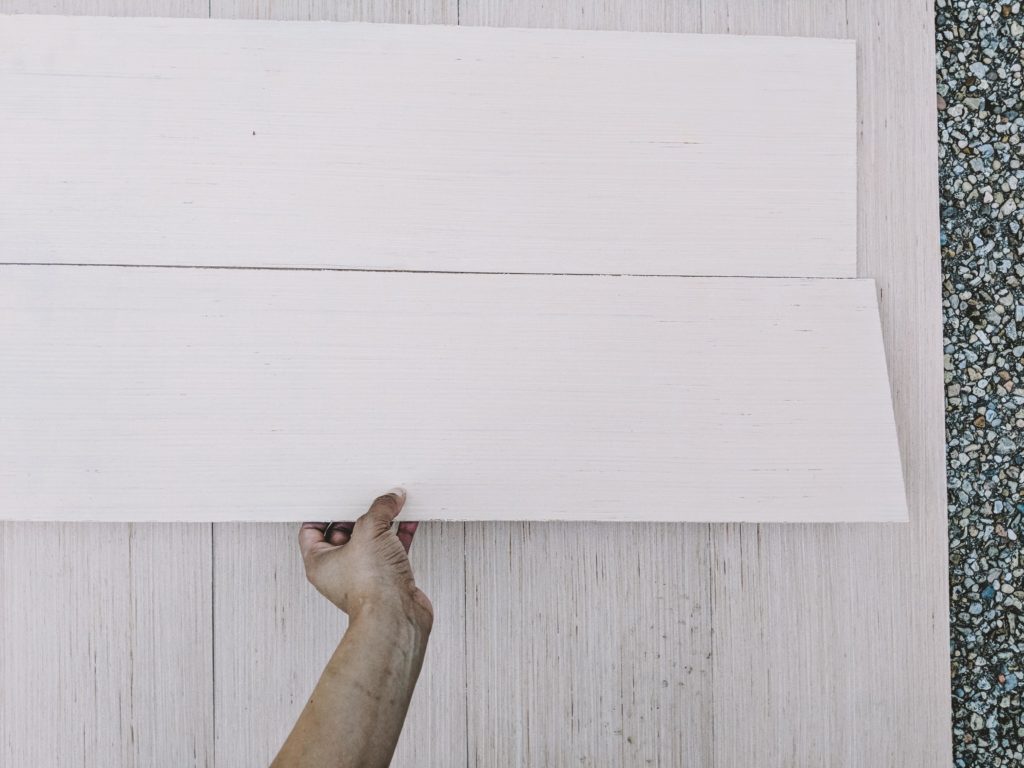
In looking for ways to make an impact in the space, I knew that an accent wall was needed. I had some plywood sheets in case I wanted to do a faux shiplap wall like I did in the laundry room. After measuring the space, we would actually need another 2 sheets of plywood sheets just to plank this one wall. But I really felt it would make an impact in the space and add a ton of texture. So, if you’re completing a budget makeover, know when to spend money.
Know when to spend money and make an impact in the space.
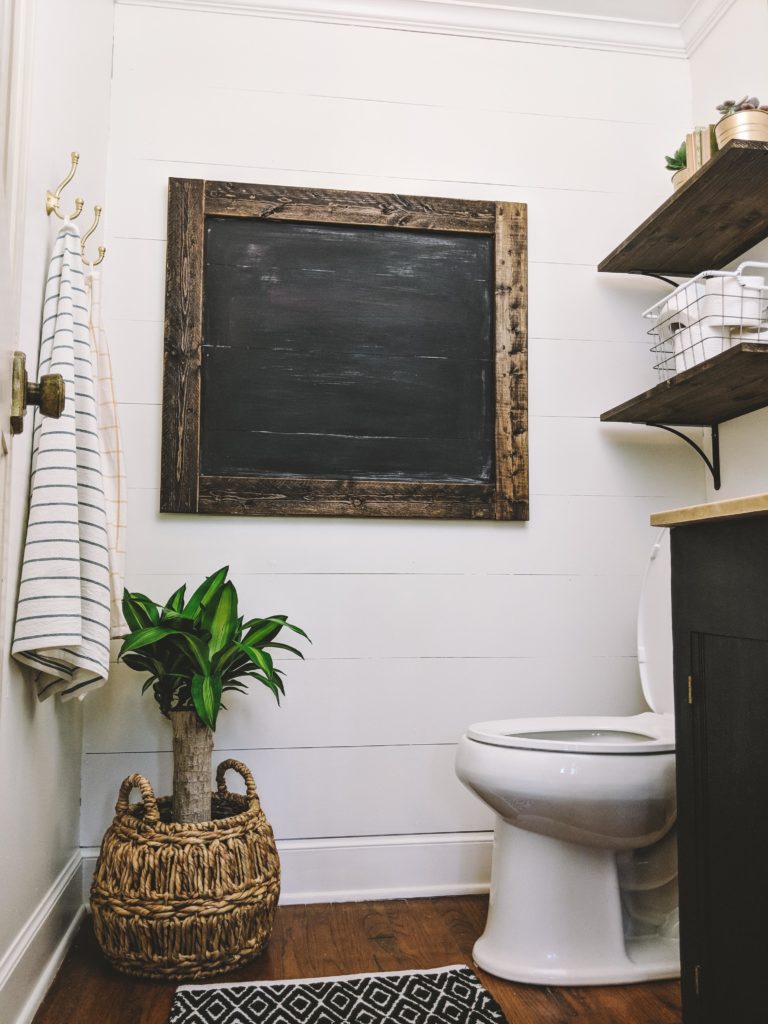
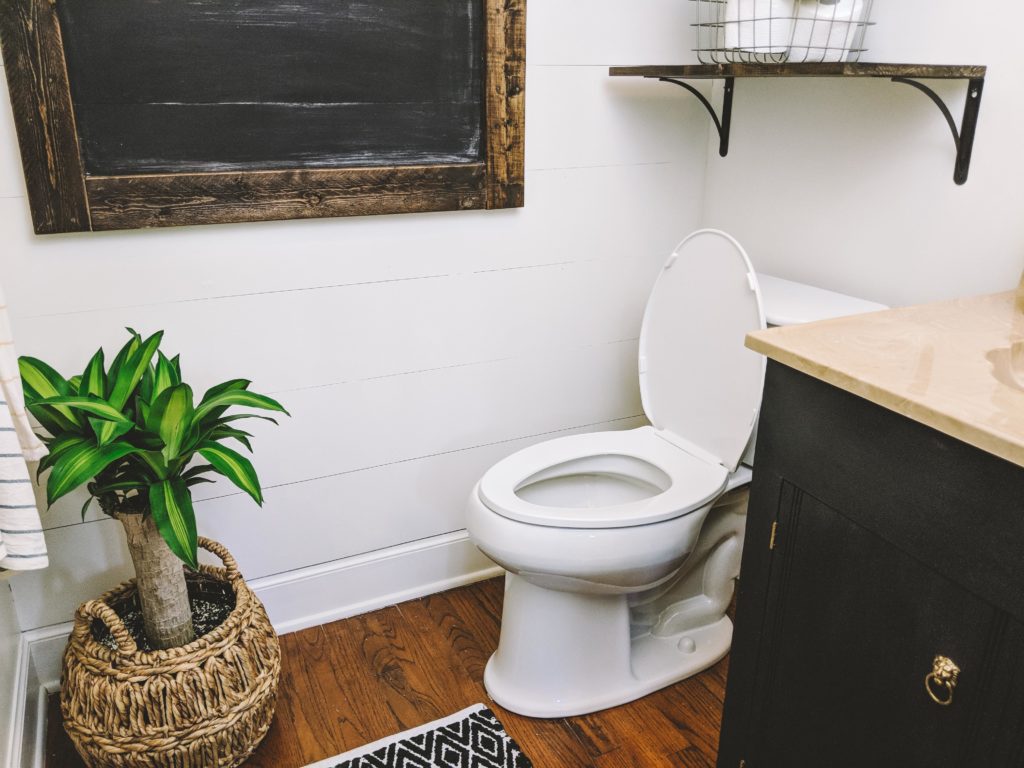
In this budget powder room makeover, the faux shiplap wall was a very affordable way to make this small space attractive. Because I have a small space, I decided to also paint the wood SW Alabaster. But don’t limit yourself with this fun accent wall…black, gray, and blue are all good contenders. It simply depends on the overall look of your space. Don’t be afraid of color!
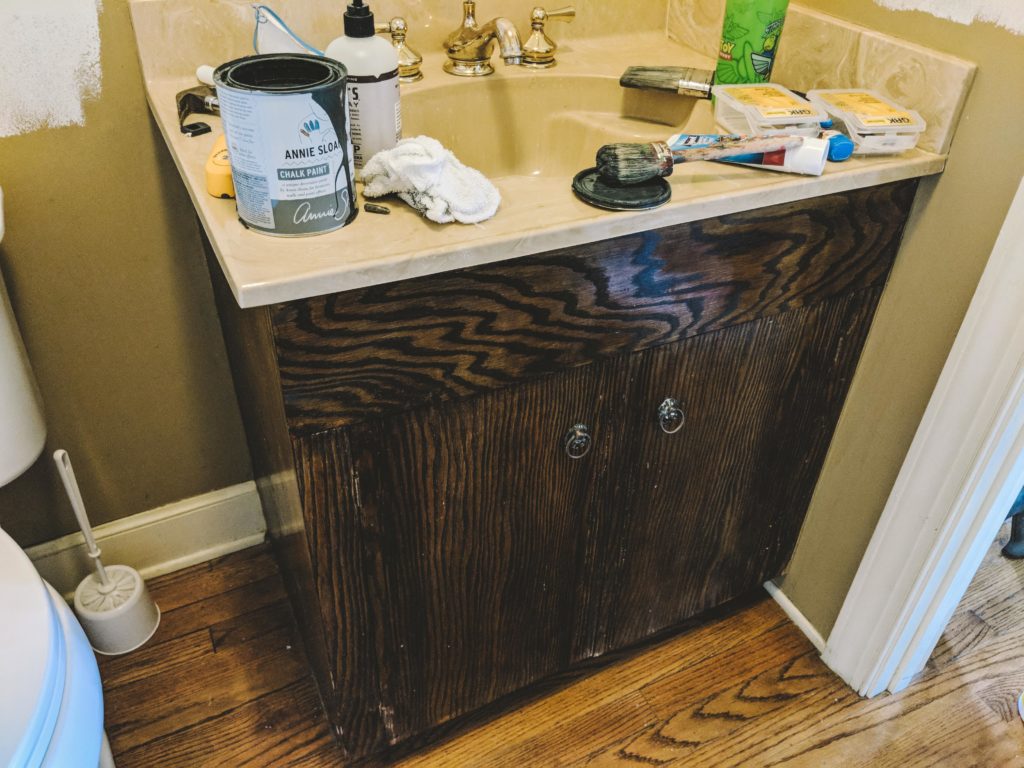
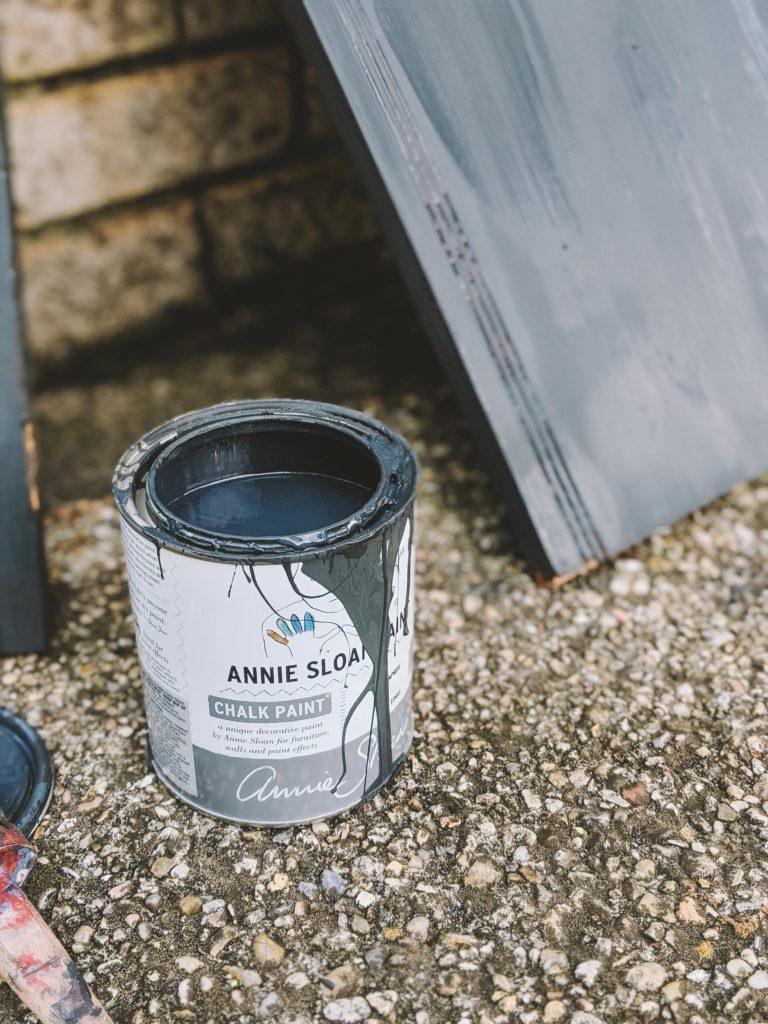
There are parts of this space that I knew I could easily address like the vanity. Since we decided on a white for the walls, it was an easy decision to go with Annie Sloan Chalk Paint in Graphite. I previously used ASCP Graphite on my fireplace and it’s been one of my favorites ever since. Plus, I had the Annie Sloan Chalk Paint on hand so no money was spent on this portion of the makeover either. I also removed the hinges and knobs so I could spray paint them.
The best advice I have for you if you’re on a budget with a makeover is – color and texture. Make an impact with paint and texture. They are your best friends. Thankfully, I spent no money on paint so that heavily influenced my color choices. This makeover would have cost $45-60 more without using what I had on hand. When you’re on a budget, that’s major savings.
BUT, paint is a very EASY way to make a big impact so know when you have to spend the money for the design.
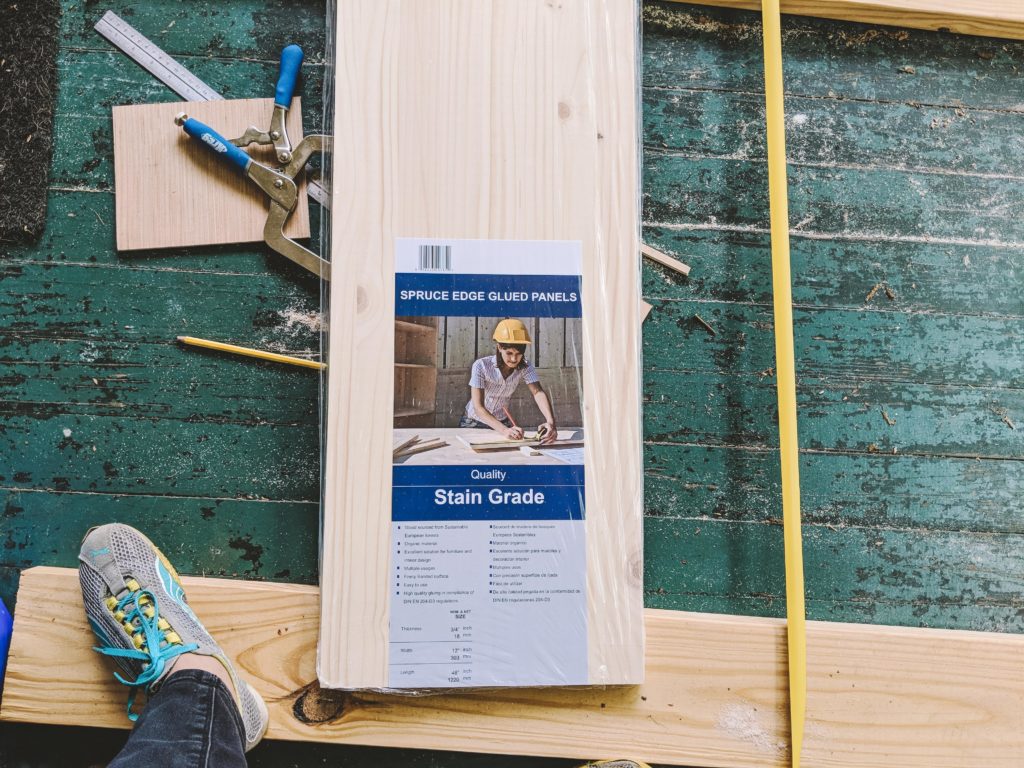
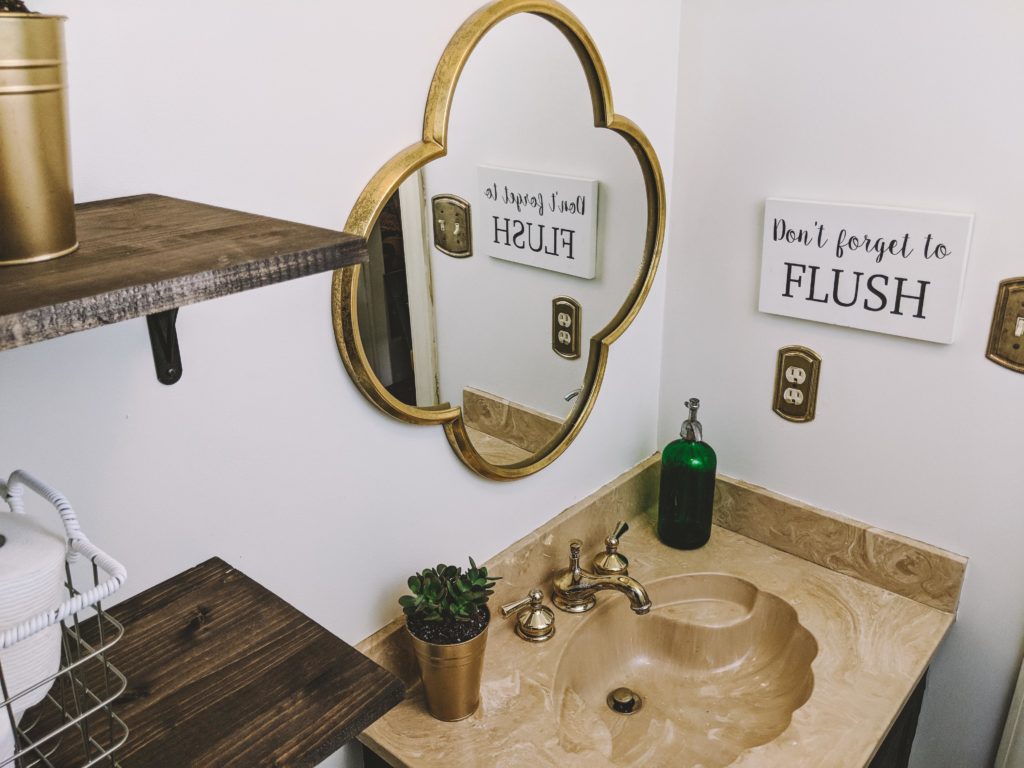
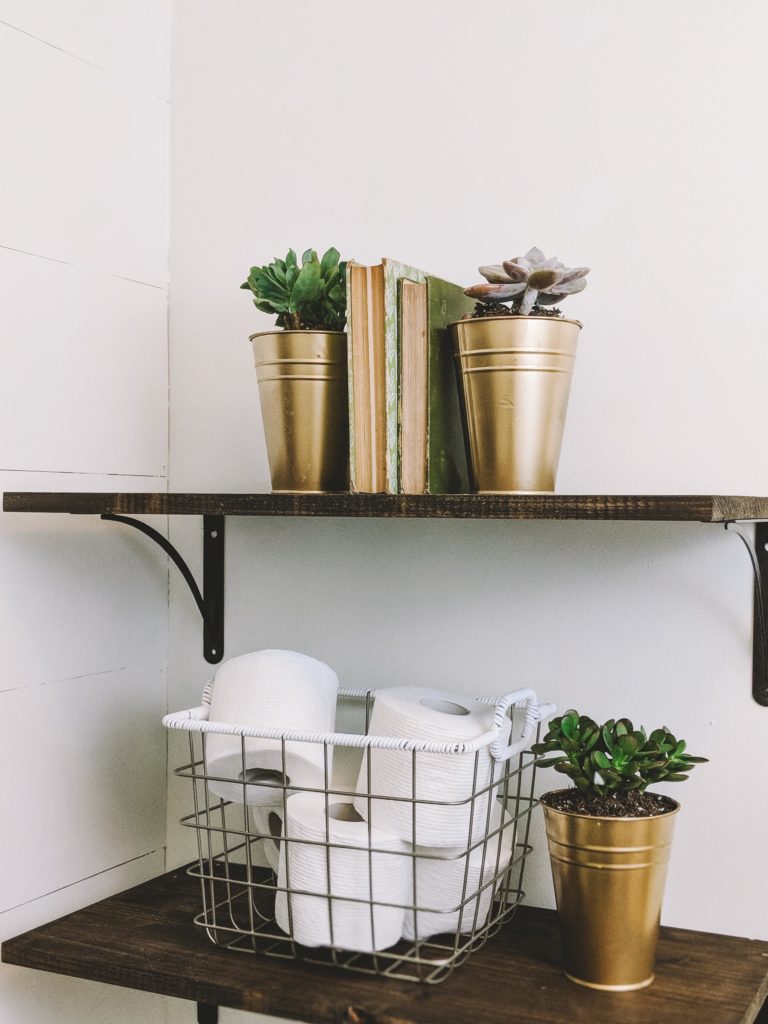
Lastly, the space needed something on the walls, so I decided on a DIY Chalkboard and DIY shelves. We bought one stain grade panel, which I cut it in half and stained. Then I hung it on brackets I purchased. That’s an easy project I also completed in the laundry room too.
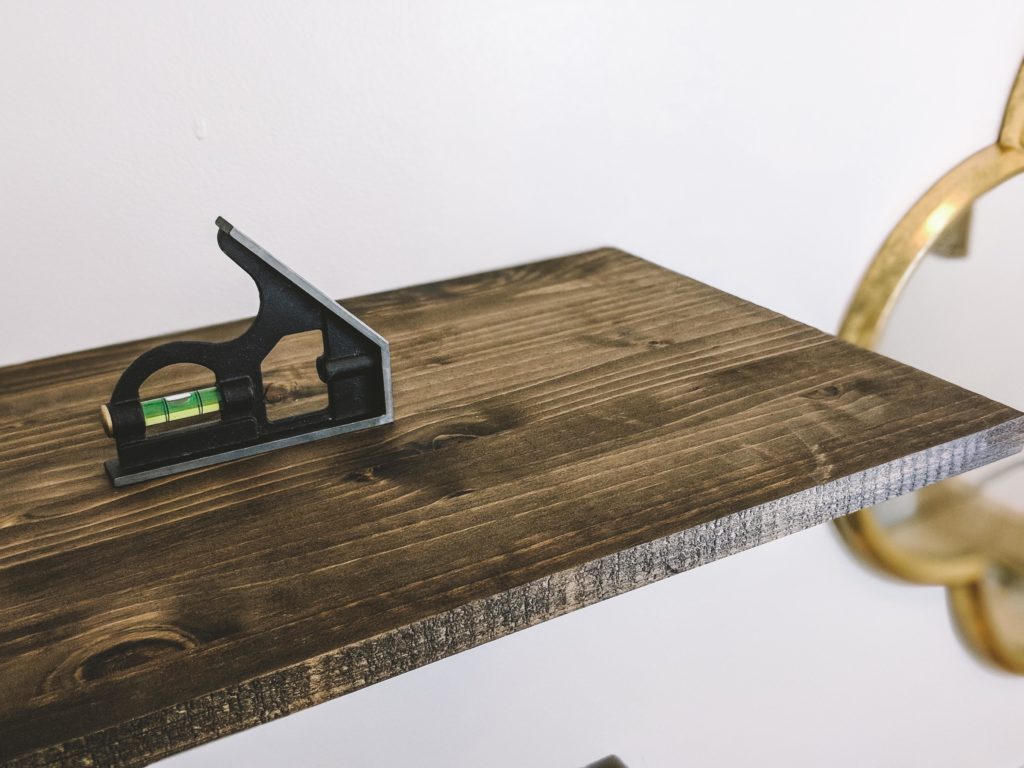
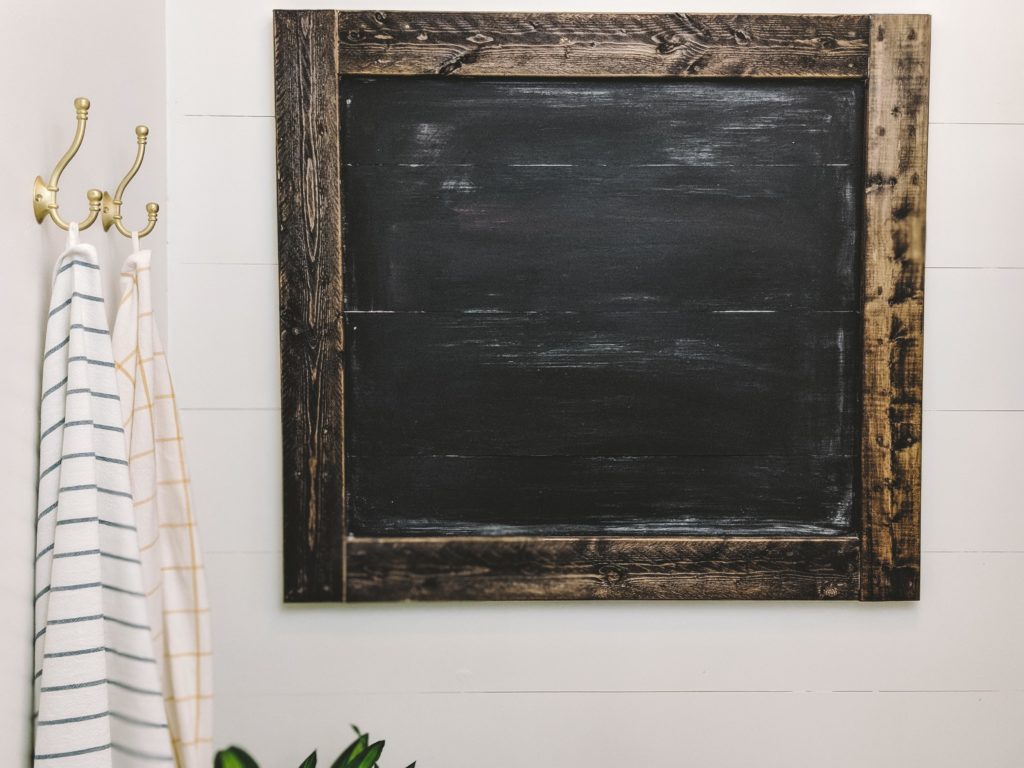
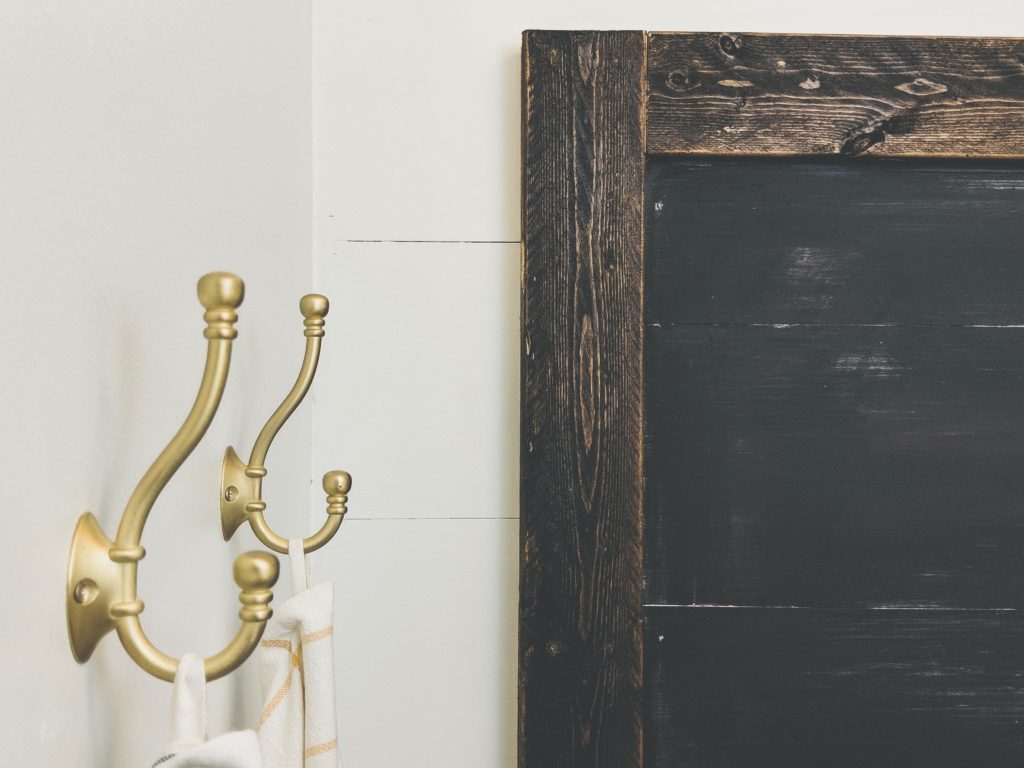
Brandon trusted my DIY Chalkboard idea and brought it to life for me. We used scrap wood to make a rustic chalkboard to serve as art for the powder room. I knew it may not come out right but it was my last hopes in making art large enough for the walls. Art is very expensive or not my style. Thus, the reason for going the DIY route.
Are you ready to see everything come together in the space? I’m very happy with the results and Brandon says it’s doesn’t even look like our home. Special thanks to my husband for believing in my ideas and helping me bring them to life. Here’s what it looked like before.
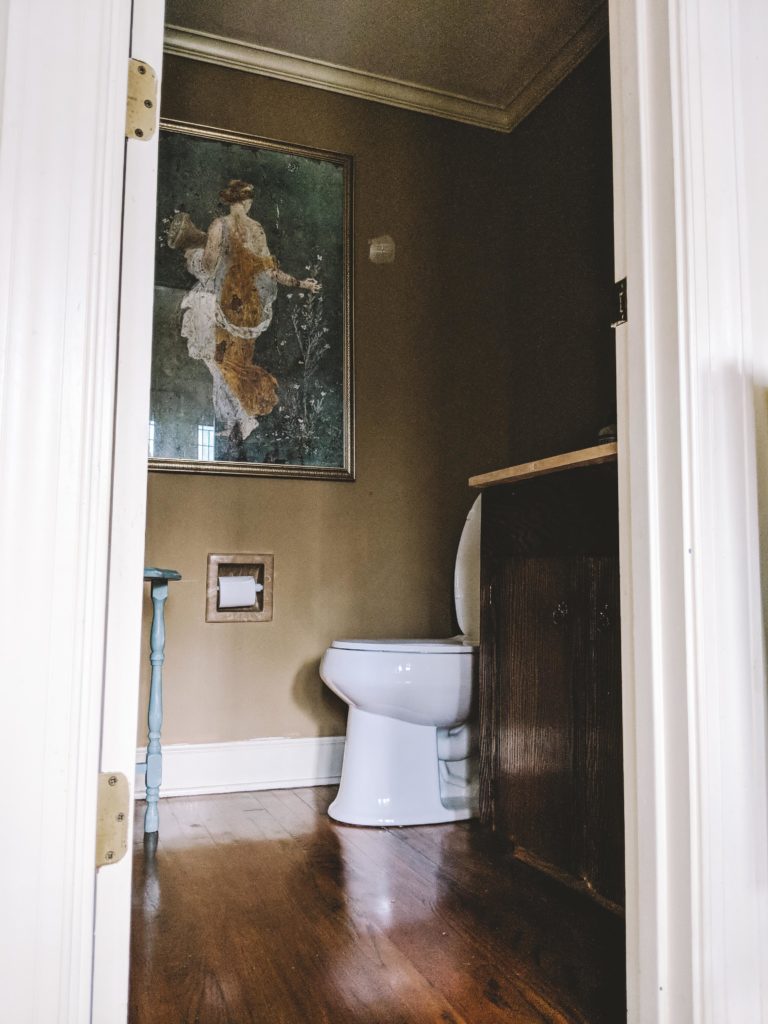
Introducing the most used room in our home…our powder room.
Wondering what I spent? Here is the price breakdown…
Budget Powder Room Makeover Cost:
- (2) Plywood Sheets – $30
- (4) Arch Brackets – $25
- Stain Grade Panel – $12
- Annie Sloan Chalk Paint Graphite – Free
- 1 Gallon SW Alabaster – Free
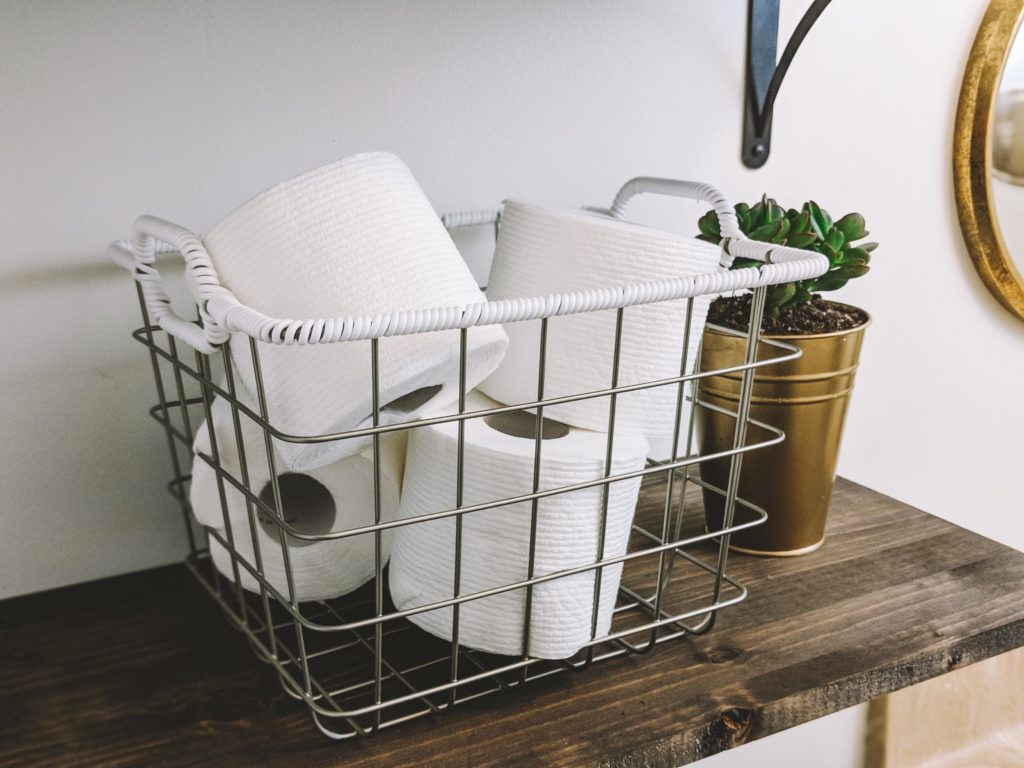
- (3) Target Dollar Spot Planters – $3
- Threshold Decorative Wall Mirror – $40
- Threshold Decorative Basket – $20
- Project 62 Bath Rug – $20
- (2) Brass Hooks – Free
- Scrap Wood Chalkboard – Free
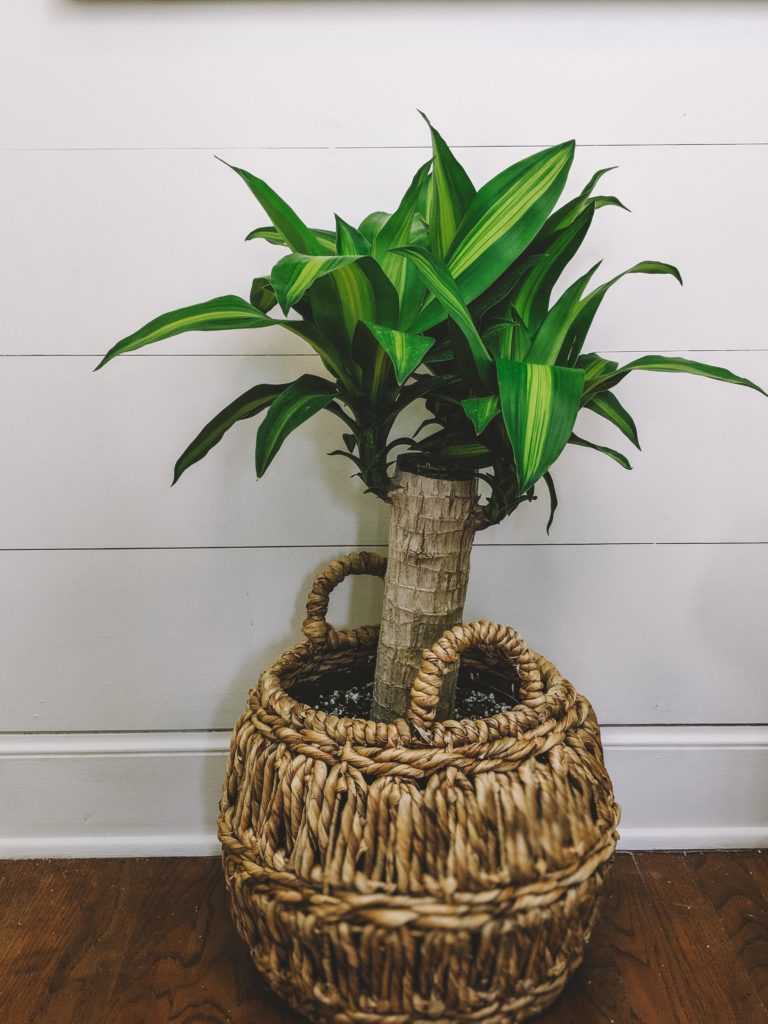
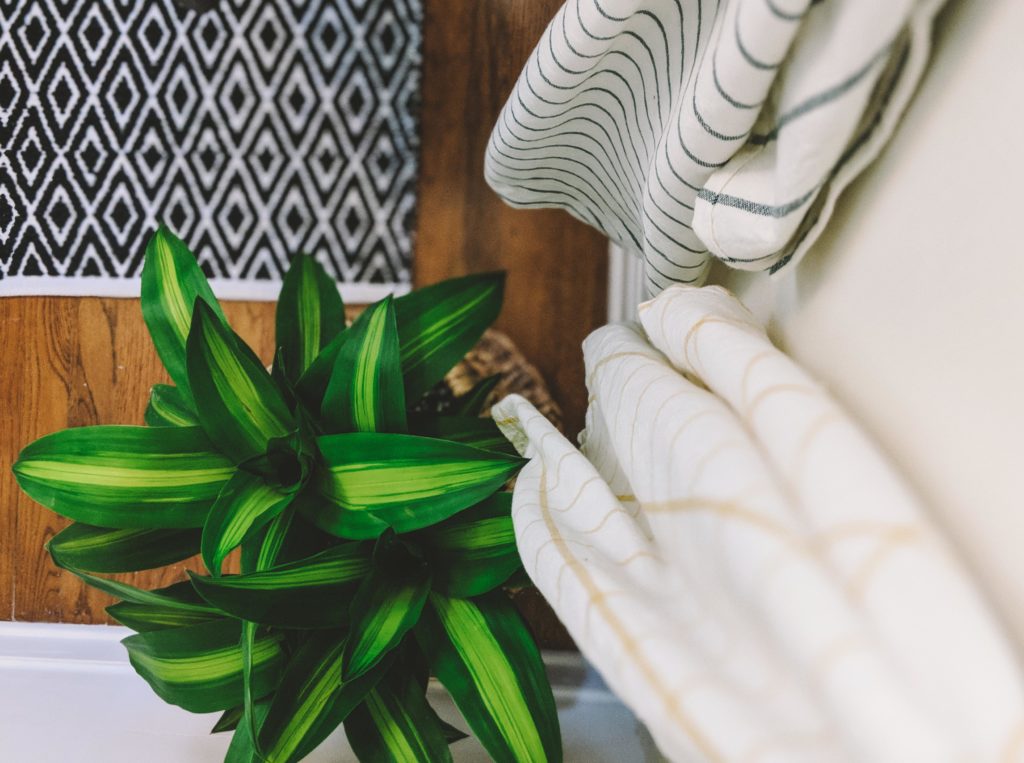
- Plants – $20
Total: $170
I actually spent more on decor and accessories for the space than I did on actual DIY supplies. Again, I used what I had on hand, and tried to make the best use of the money I needed to spend. It’s hard to work on a budget, but it can be done. Hopefully, this powder room makeover proves that you can transform a room even if you have a small budget. If you need help, I’d be glad to help. Just shoot me an email.
As a blogger, I always enjoy participating in blogger collaborations. I always get a ton done! This “Spring into Action” was no different. Thanks for stopping by for my powder room makeover! Now, please head over to Nicole at Home on Poplar Creek for her pantry organization project.

Here’s the full lineup for the blogger collaboration:
Erin
Live Pretty on a Penny: Upstairs Hallway
Carli
Crystal
The Holliday Collective: Budget Powder Room Re-fresh
Nicole
Home on Poplar Creek: Pantry shelving and organization
Ola
J’Adore Le Decor: Quest for a Hypnotic Bedroom
N’Ckyola
4th House on the Right: Decked Out Apartment Living Room
Kenyatta
My Design Rules: Diy Front Door Decor
Arie
Delightfully Styled: Master Bed & Bath Refresh
Nicole
She Does a Bunch: Kitchen Update
Mimi
Kendra
Three Bean Circus: Pantry Organization
Whitney
Whitney J Decor: Hallway Update
Carla
Carla Bethany: Home Office/Guest Room Update



19 Comments
5 Pings & Trackbacks
Pingback:
DIY: Faux Shiplap - The Holliday Collective
Pingback:
How to Wow Your Front Door Decor Now! | My Design Rules
Pingback:
My Bright & Cheerful Home Office Makeover - CARLA BETHANY
Pingback:
Updating my Kitchen Hallway for the #SpringIntoActionBlogHop
Pingback:
Spring Into Action Blog Hop - Kitchen Refresh - She Does a Bunch